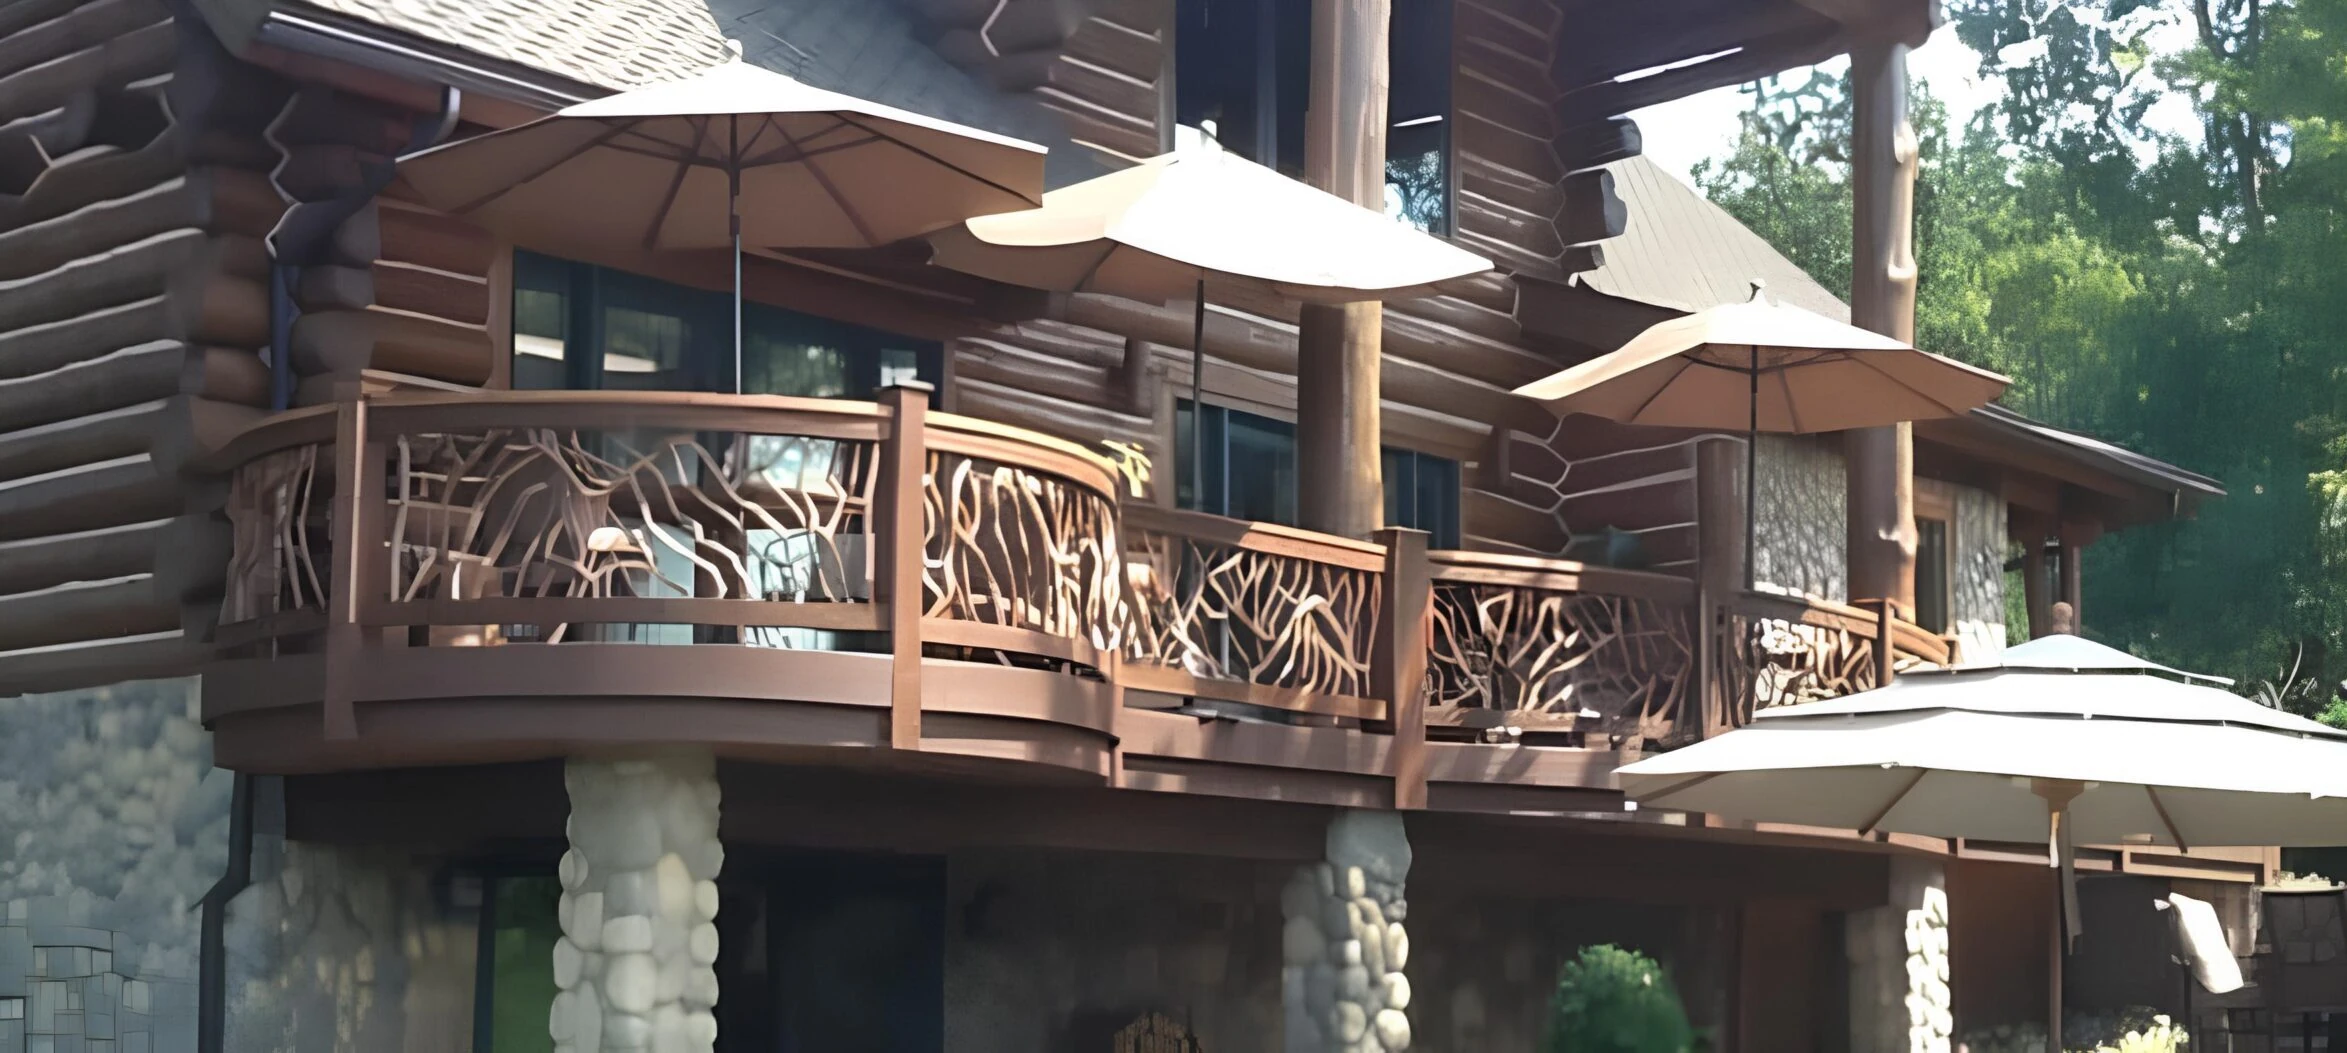
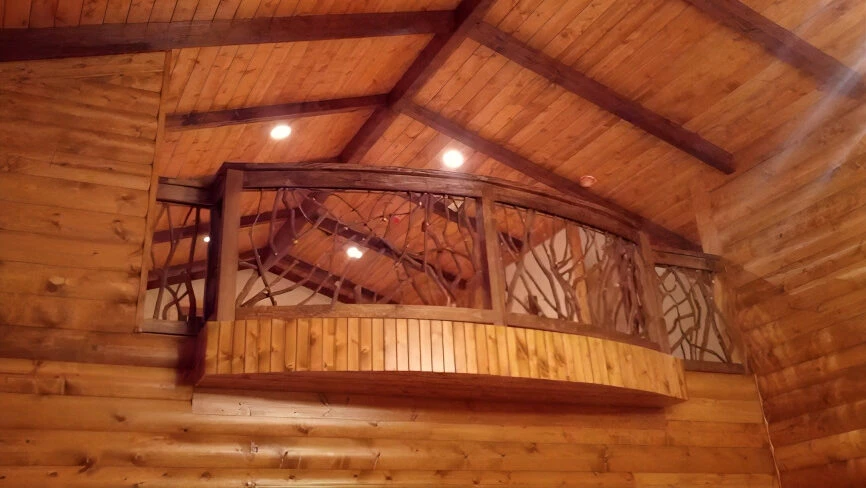
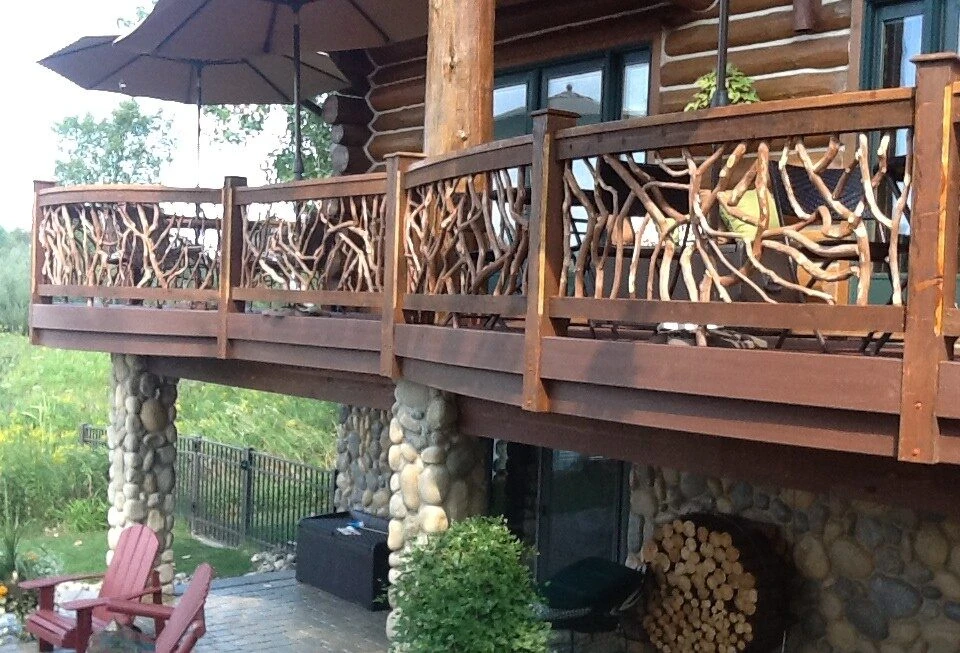
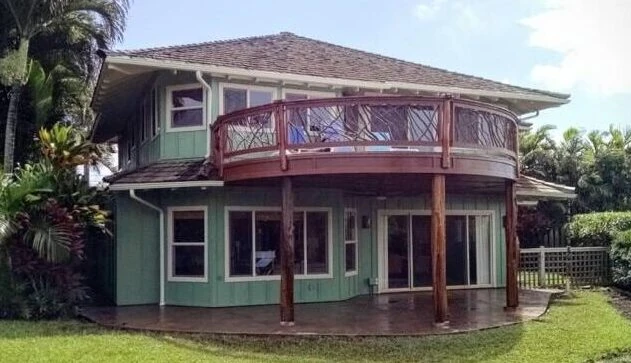
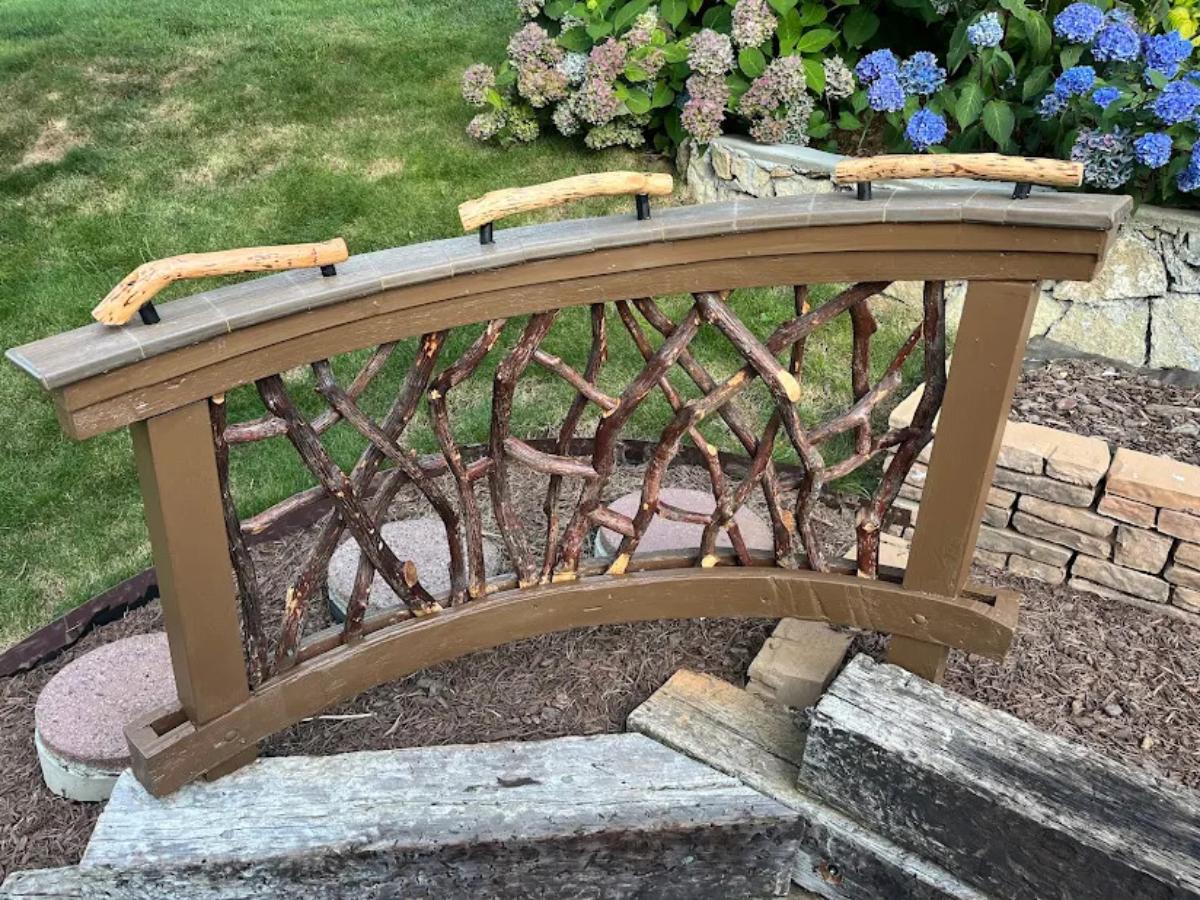


For curved railings, we use cedar 1×4 since it is bendable. For curved sections, we DO provide the additional 1x4s since we bend them here. You provide the top cap since it will need to be cut on site before the posts are installed.
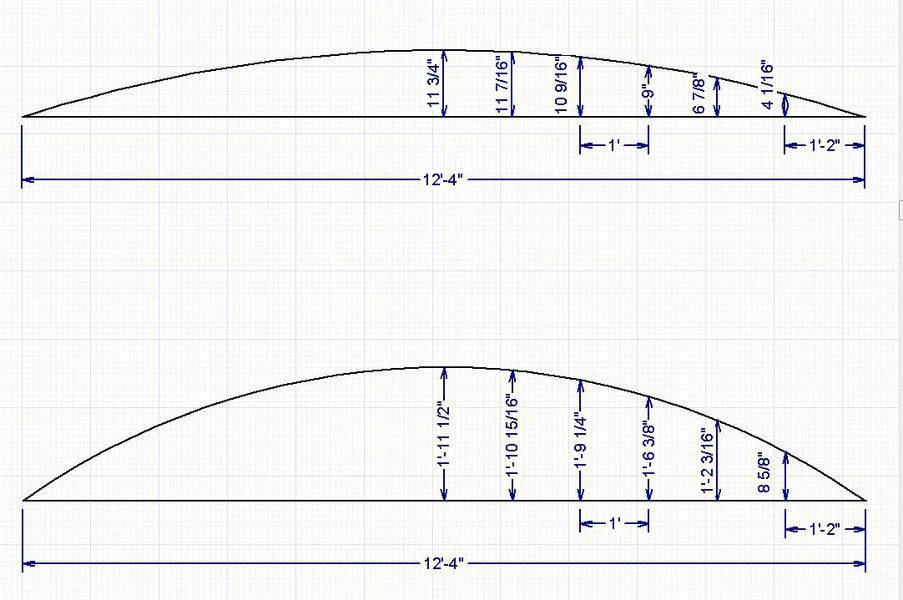
This image shows how to measure. Find a straight line that connects the points on the posts where the boards will land. Find the center of this line. Measure and mark one foot increments from center. Measure the distance in inches from the straight line to the arc.

Comprehensive drawing demonstrating how to accurately measure for curved railings sections, ensuring precise installation.
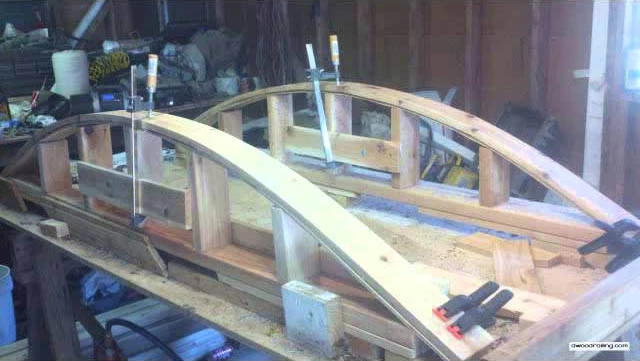
In this section, we will take an in-depth look at the steps in how to make a curved handrail.

This image captures the process of making a curved railing, highlighting the craftsmanship and design techniques used to create stylish outdoor railings.
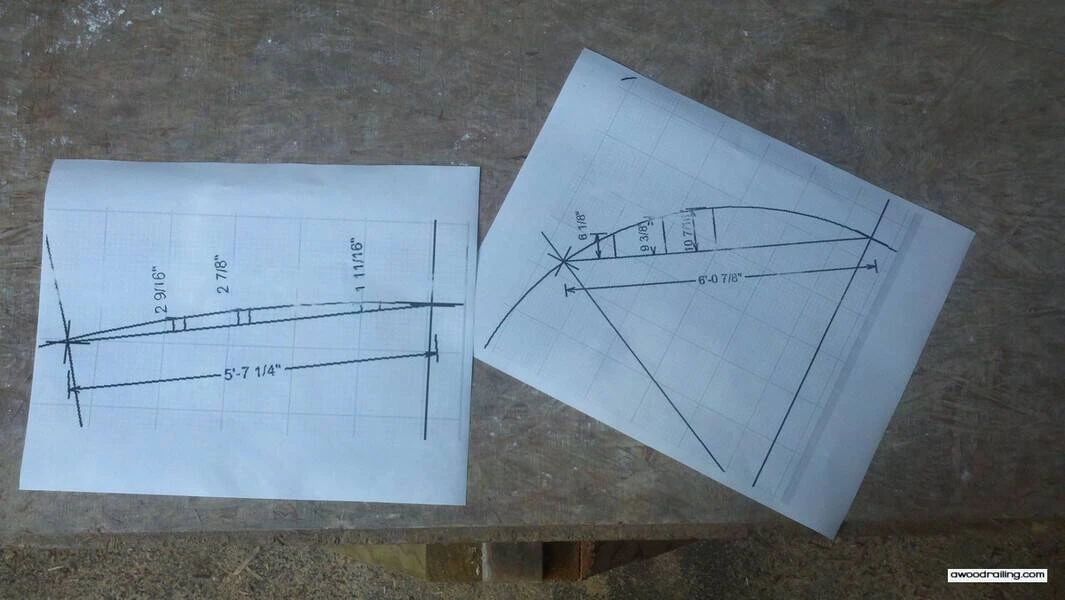
We make systems and kits that are easy to install. Like any good building project, it starts with a set of plans. The plans are made in a CAD program and are used for setting up both the bending jig and the building jig.

Curved Railing Plans
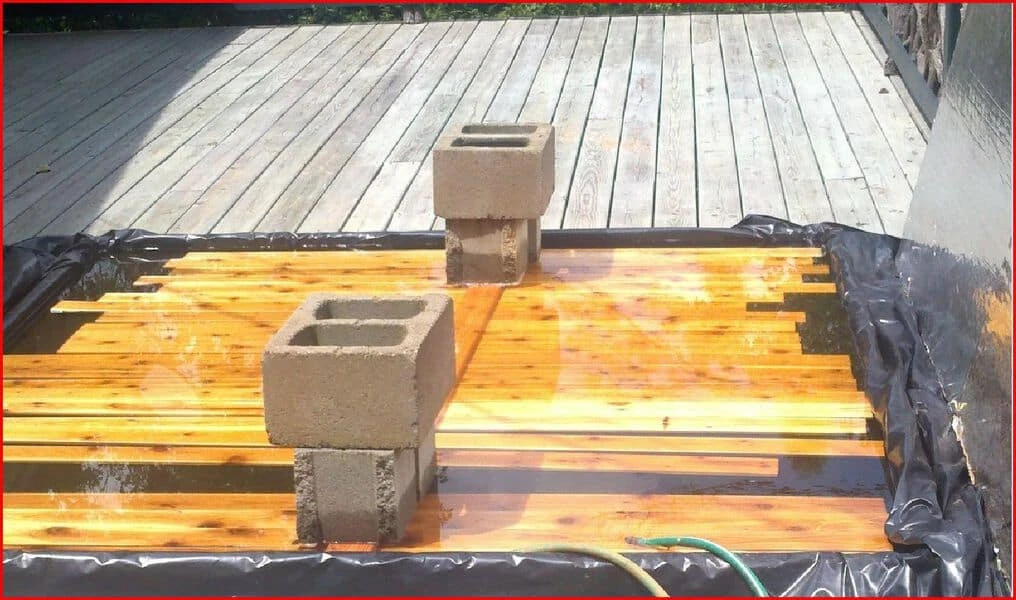
The cedar 1×4 lumber has to soak in a pool for a minimum of 48 full hours, preferably over the weekend. This is a temporary soaking pool made with a 2×4 framework and a piece of black plastic. Heating attempts proved futile. Your pool should measure a few inches larger than your lumber.

Soaking Pool for Lumber
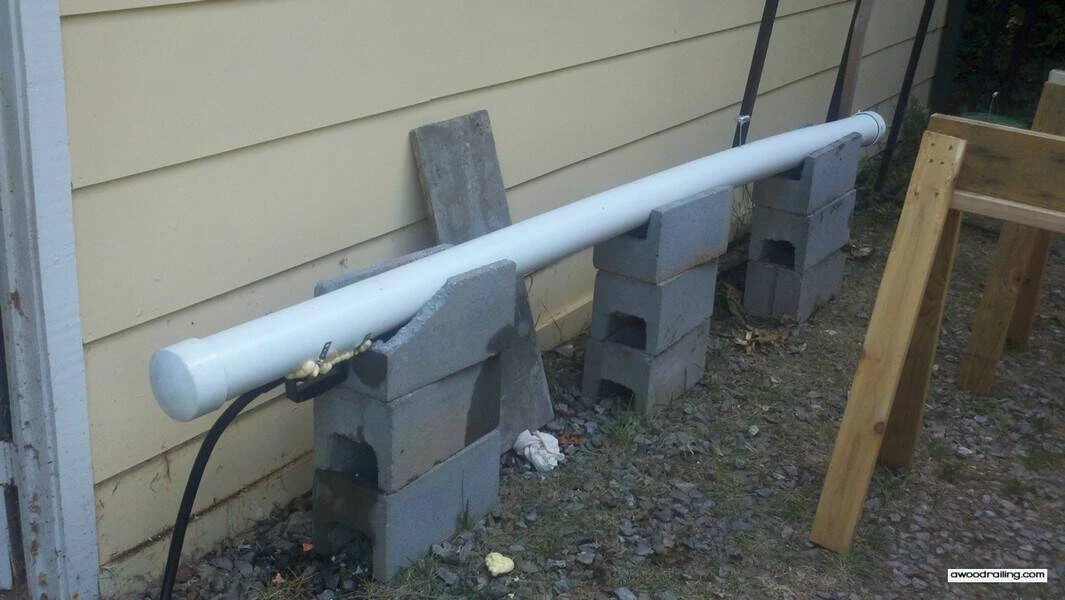
People have asked how to curve wood, and the answer is simple: First, steam the boards and then bend them on a jig. This is how we built a steam chamber to curve wood. A steamer was constructed from a piece of 4″ PVC with a wallpaper steamer attached to a hole cut into the pipe. The hole is sealed with spray foam. For a gentle curve, it takes one tank, and strong curves take two.

Steamer for Curved Lumber
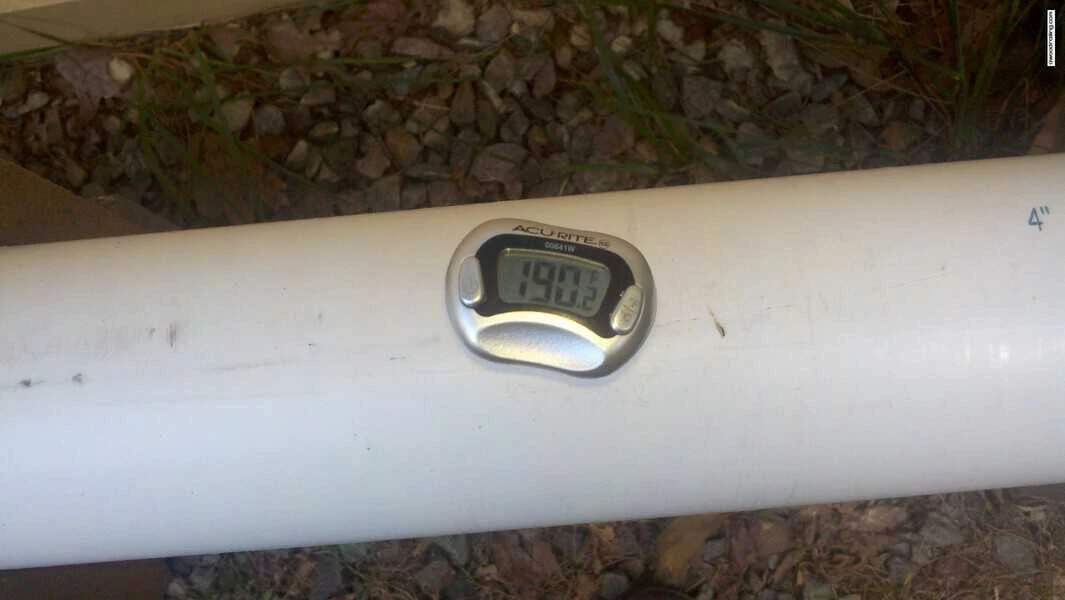
The temperature in the steam chamber. The lumber gets pretty hot also. As the lumber cools, I’ve observed the lumber temperature drop below ambient temperature. I guess this is some kind of runaway reaction as the moisture evaporates into the atmosphere. Scientists, please leave comments explaining this phenomenon.

Temperature in Steamer
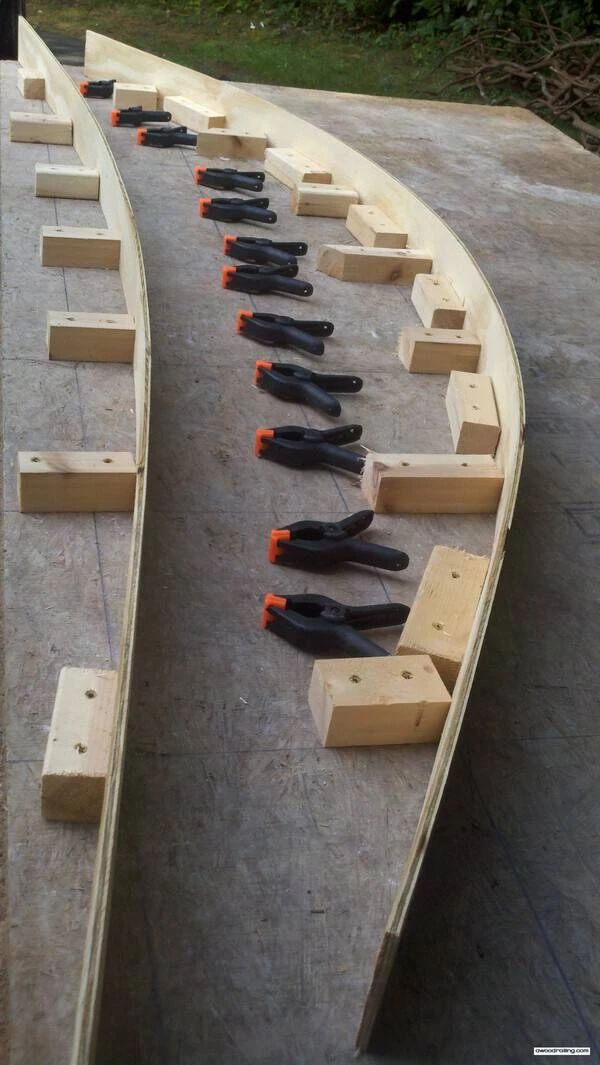
This is the first jig for the bending. It didn’t work. The two jigs are too close together, and the spring clamps are garbage. Only bar clamps work.

First Jigs for Curved Railing
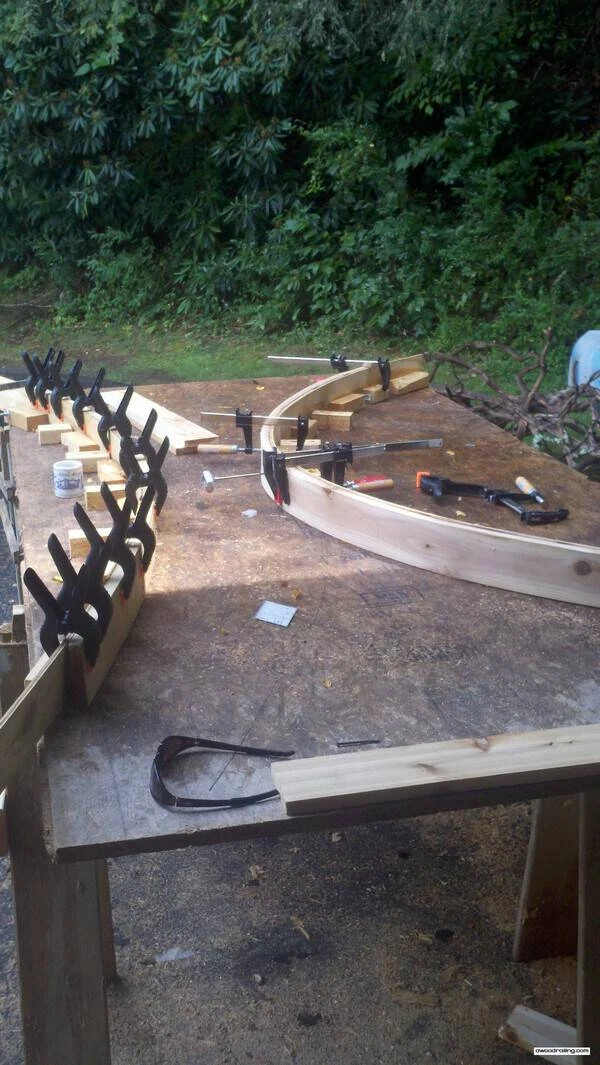
This is the current system minus the spring clamps. They’re useless. Even for one arc, two jigs are set up for production.

Jig Curved Railing System

Final Jigs for Curved Railing
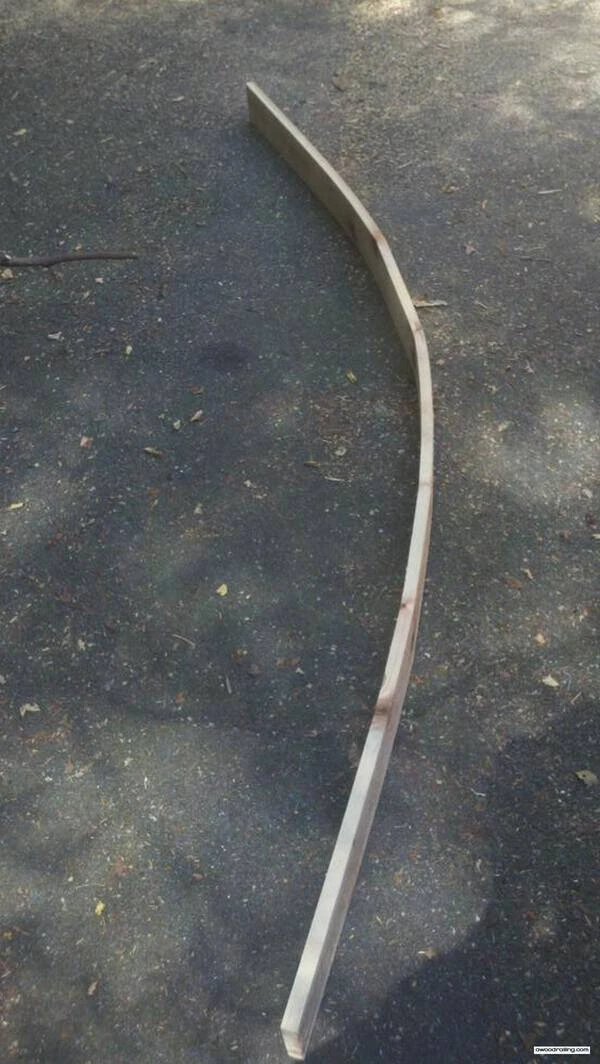
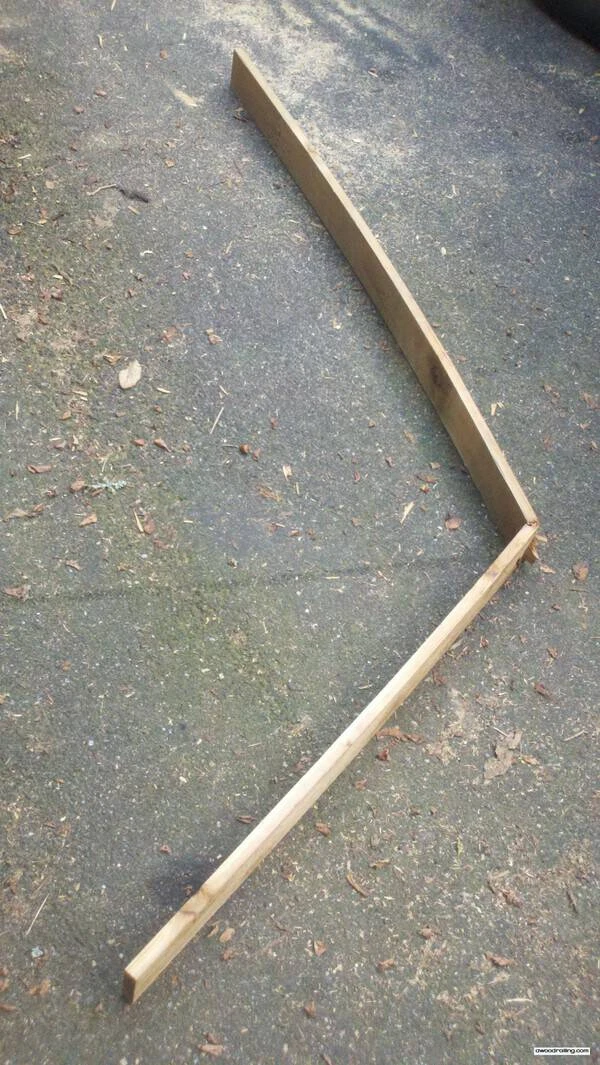
This is a board that has been bent for a curved wood handrail system.

Curved Board for Railing System

Broken Board from Bending
This is a board that has been broken. Breaking the boards by bending is not really predictable, not even by the knot locations, although they do break on the knots. We have not yet used any lumber except for the red cedar 1×4 s4s1e pictured here. Perhaps clear cedar would bend nicer?
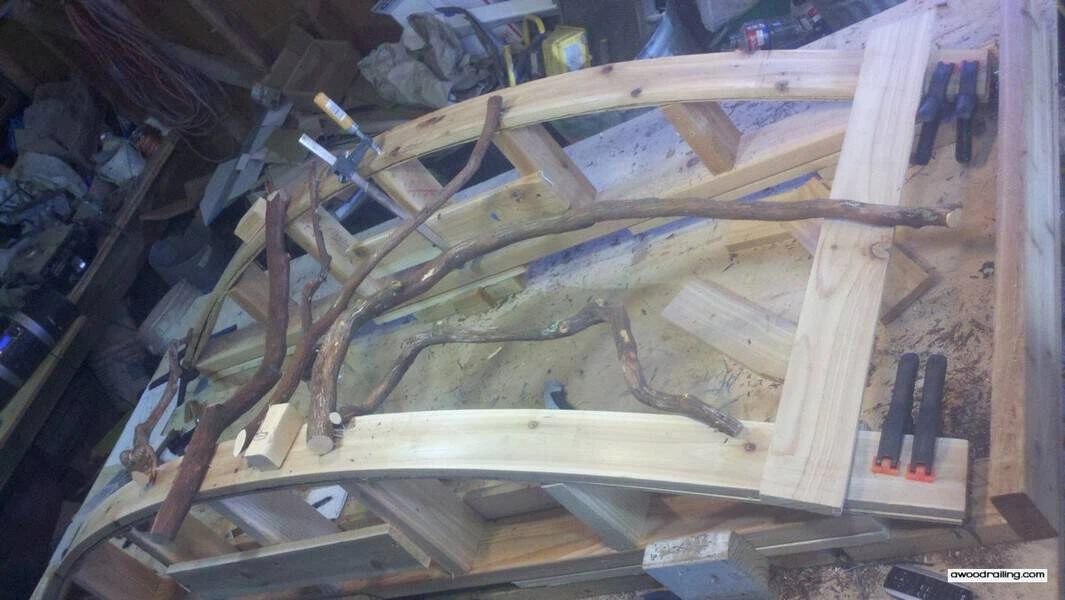
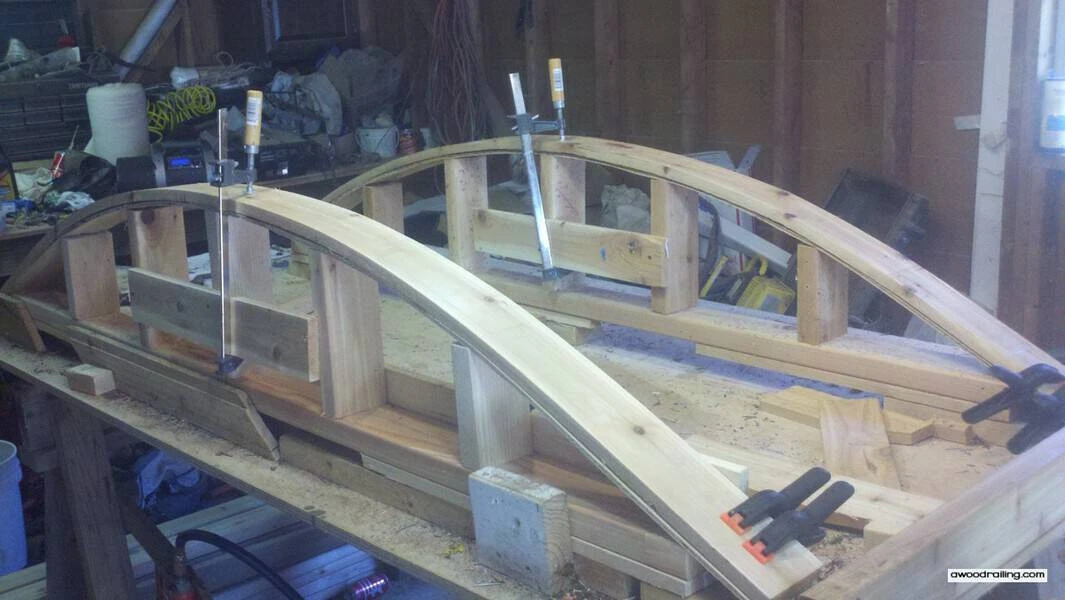
This is the building jig for the curved wood handrail. Lumber sits on the bending jig for 24 hours then goes to storage where it is still under pressure, usually from stacked concrete blocks and pieces of lumber. The building jigs go on the table, and the sticks help the railings hold their shape.

Curved Railing Construction Started
Construction on this section of curved wood railing has begun. From here, it’s just putting on sticks according to the 4″ sphere rule.

Curved Railing Construction Started
This is an overhead picture of a section that will be shipped directly to the job site. These sections are easy to install by cutting the ends of the lumber to fit the posts. With these instructions, it should be easy to know how to do it yourself although it does take some specialized equipment.
This is a long angle view of a single section of curved deck handrail. Each section is custom built to actual measurements and carefully packaged for shipment.
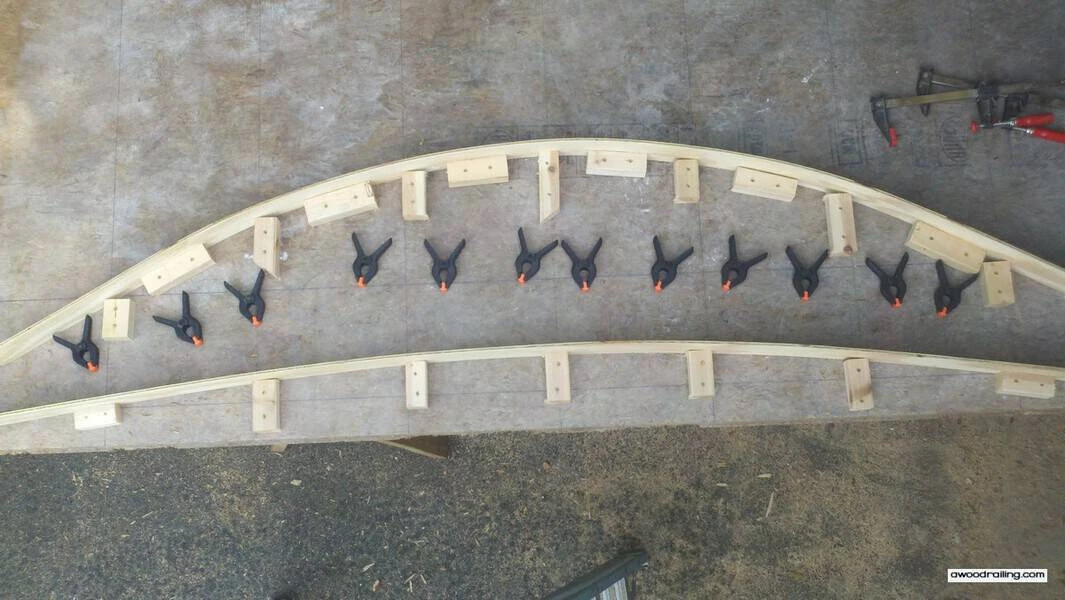
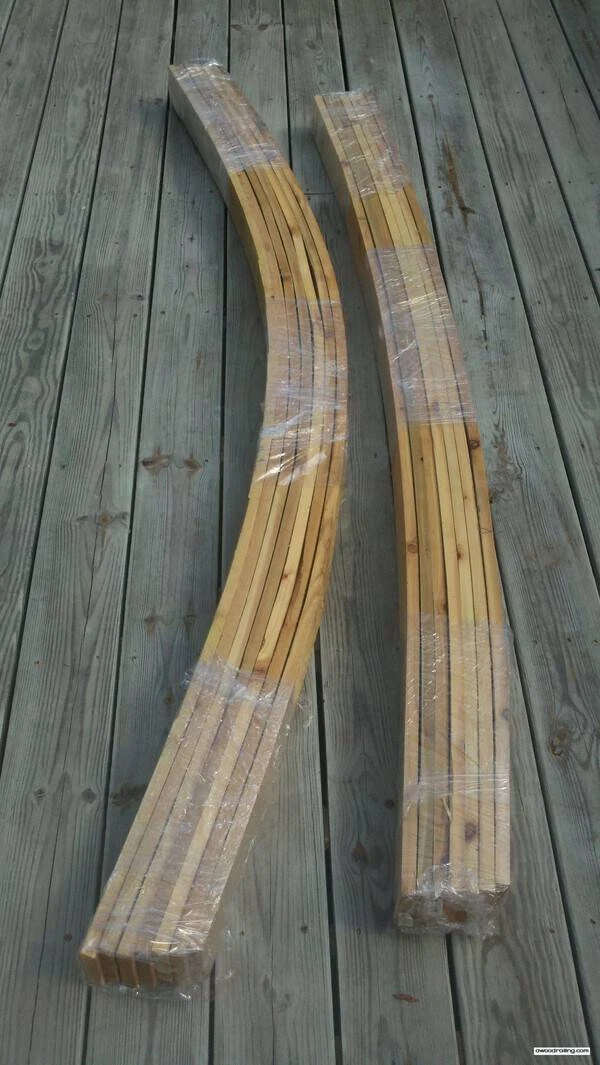
The lumber to complete the outside of the top and bottom of the sections is provided. The picture below shows two different arcs that have been bent for a curved deck. The top 2x that caps the railing is not provided and must be installed on site.

Lumber for Curved Railing System