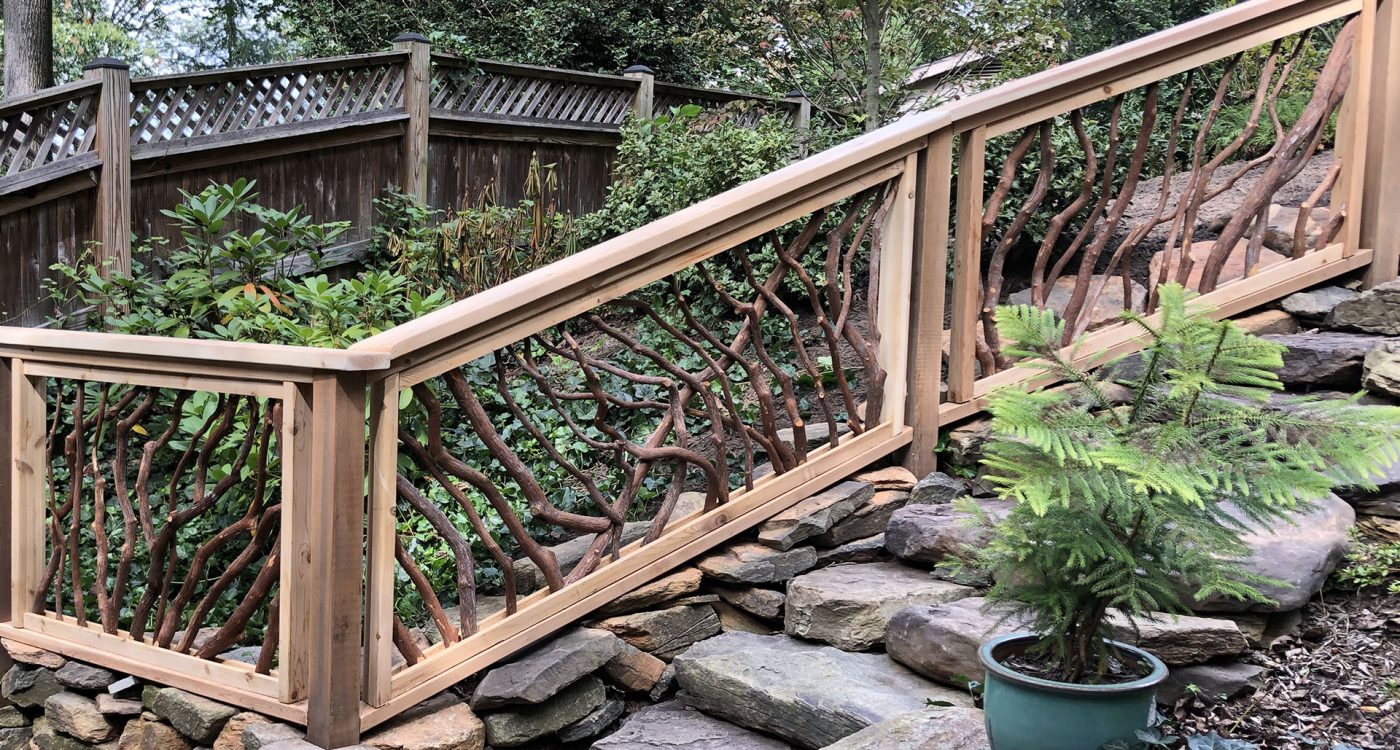
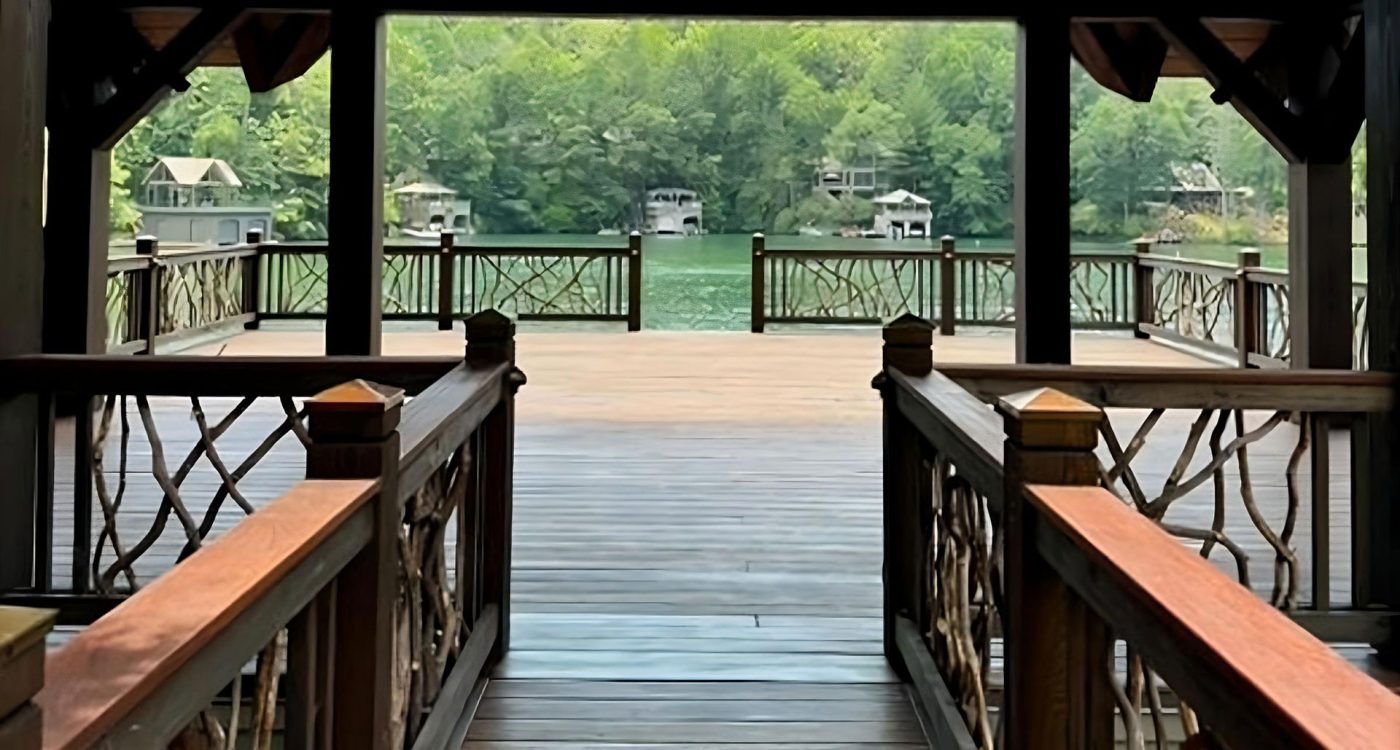
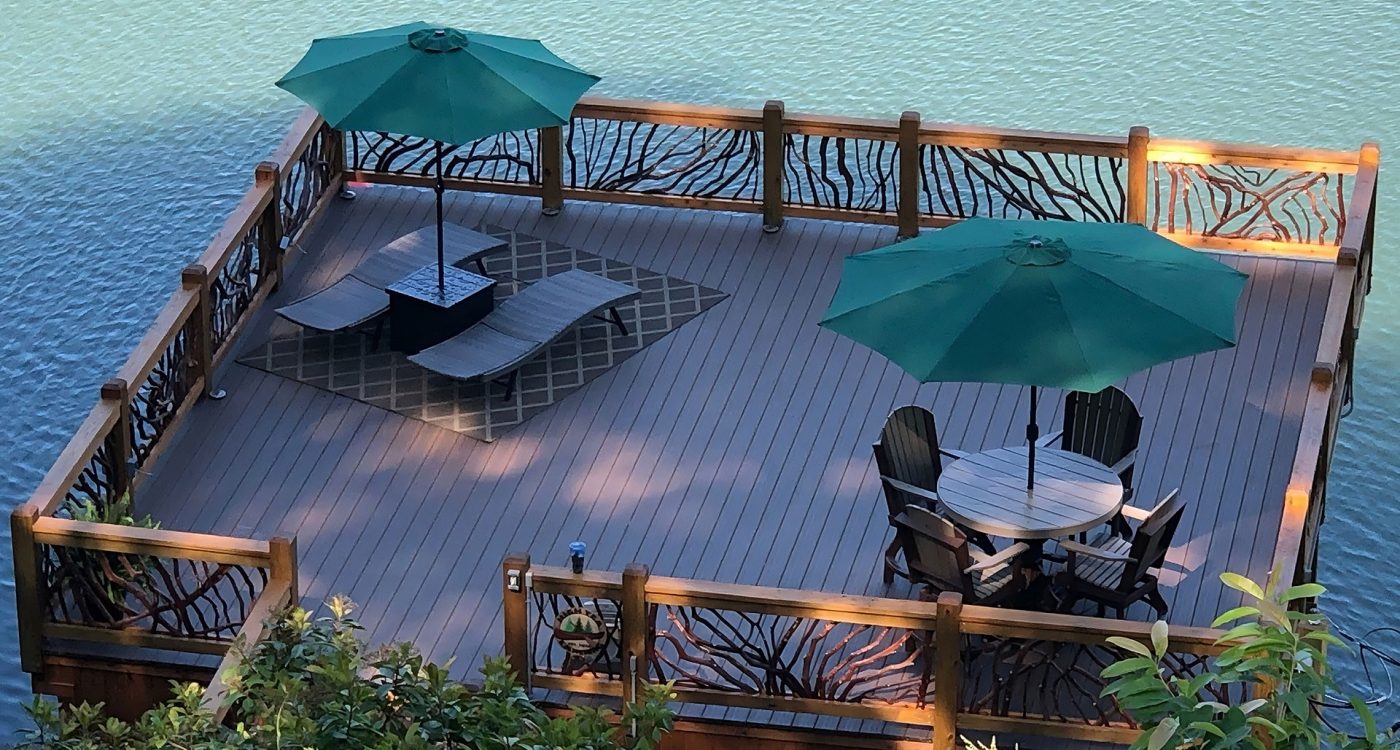
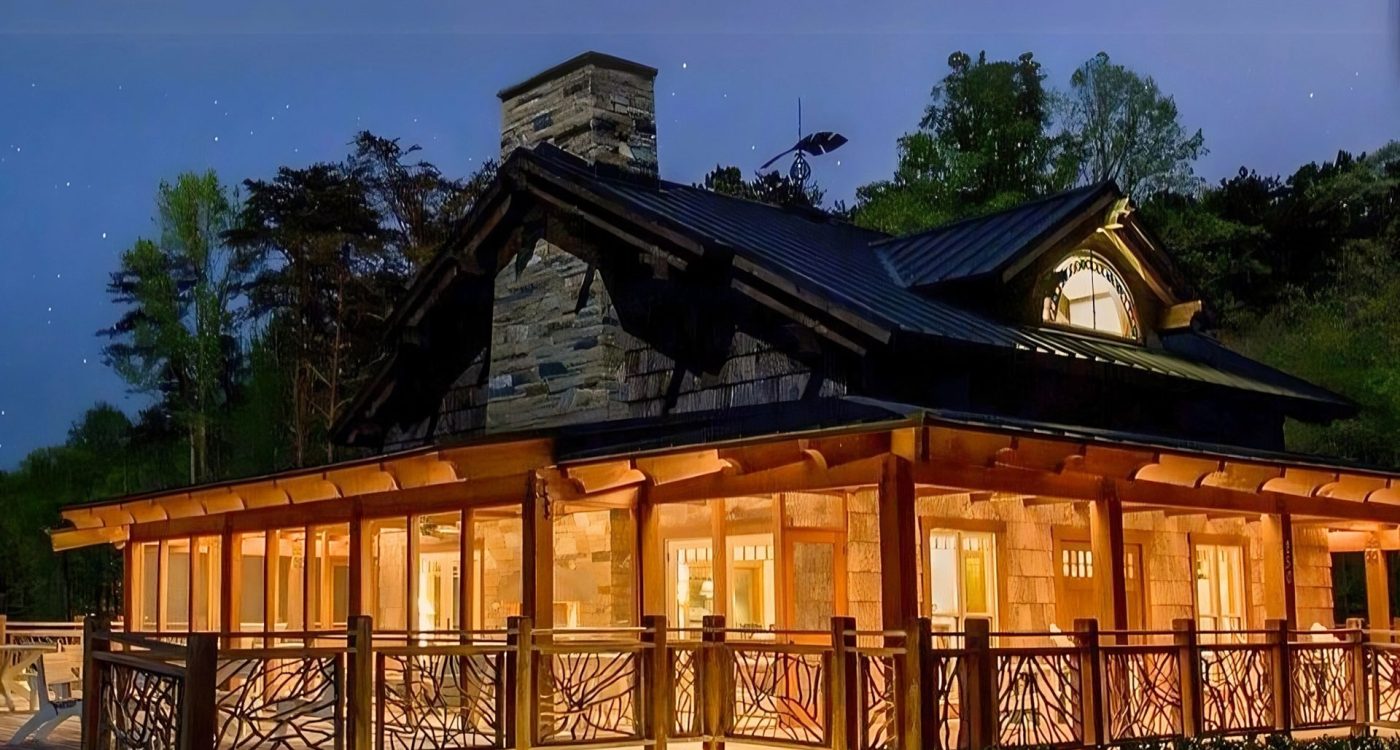
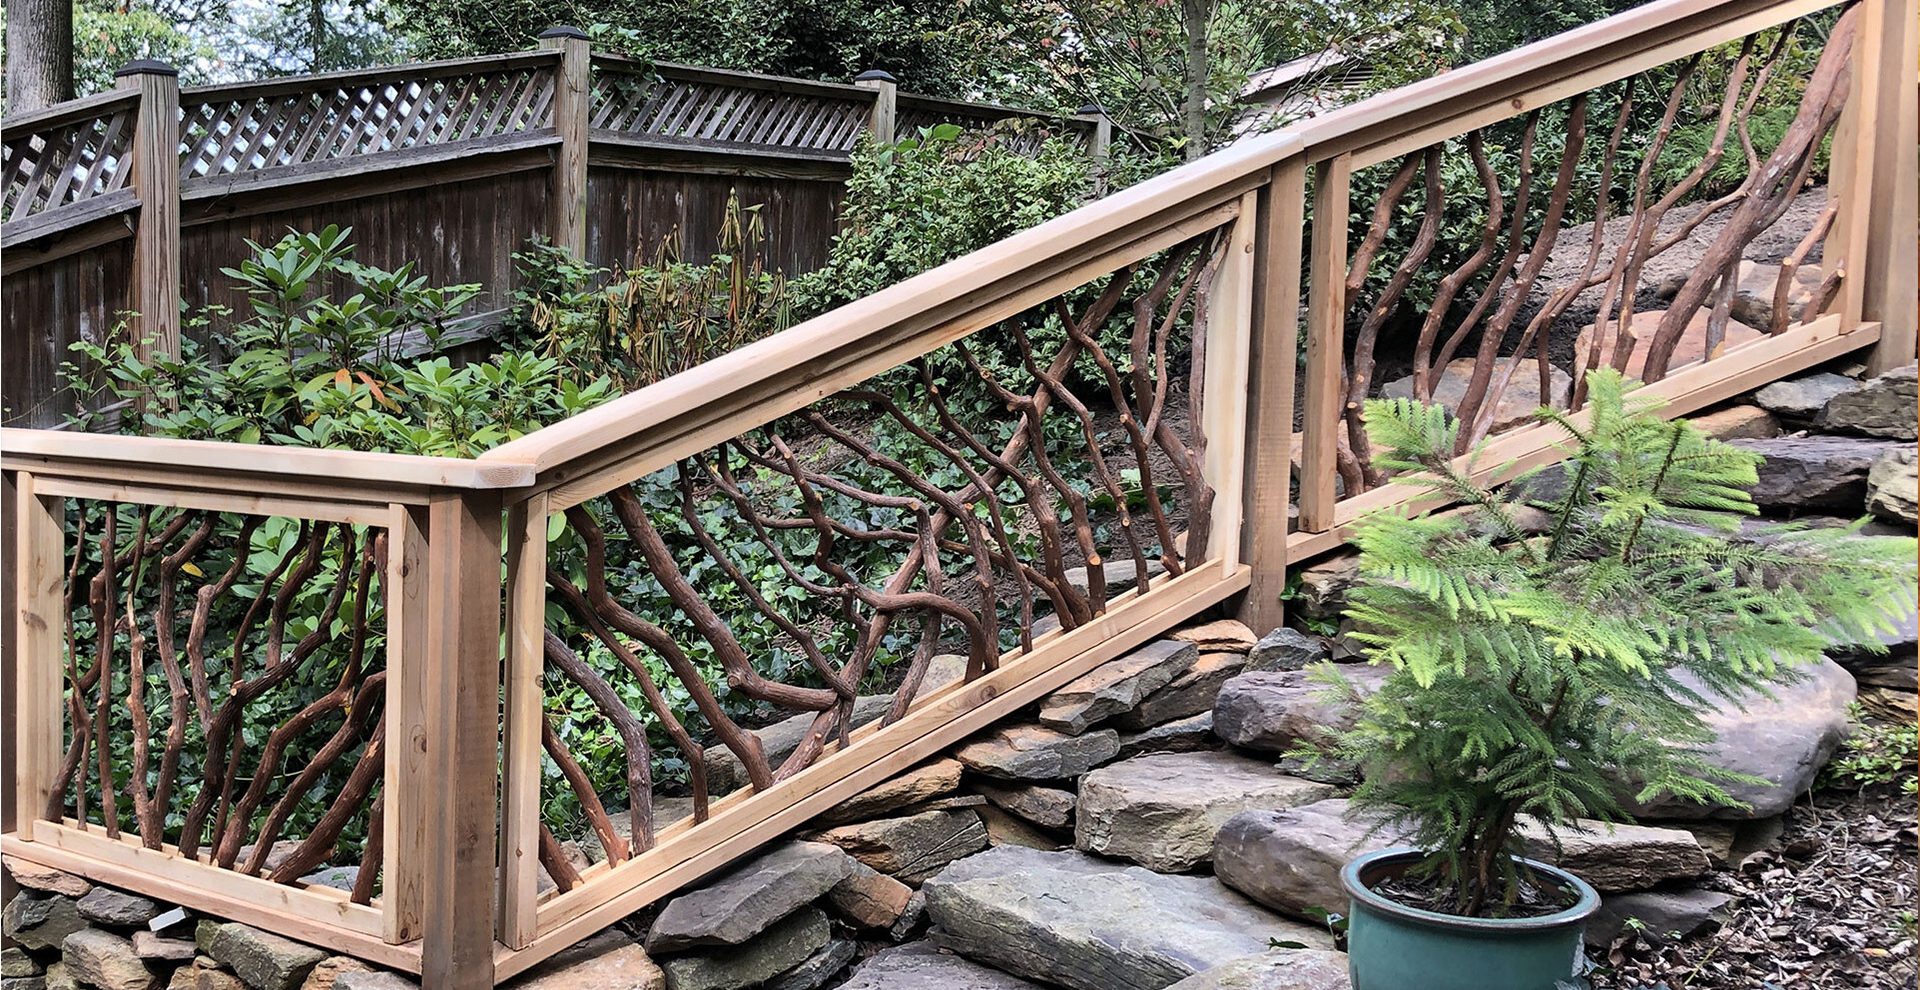
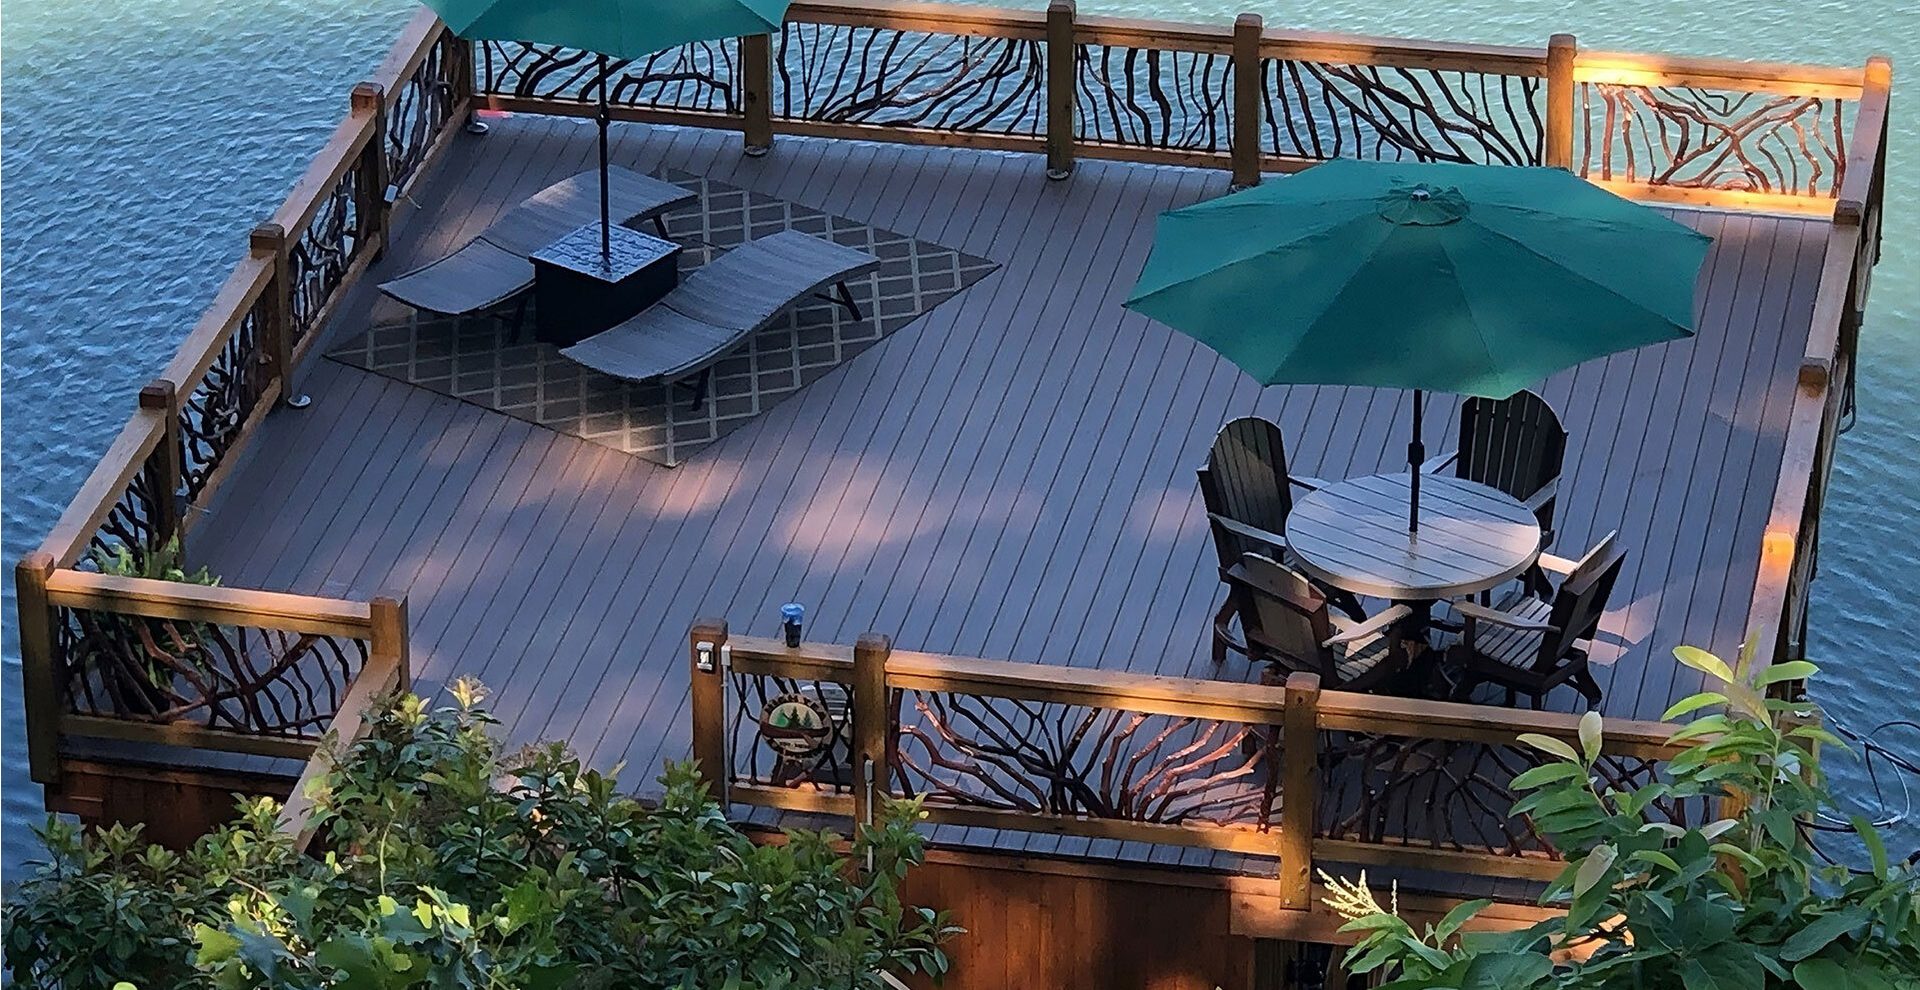
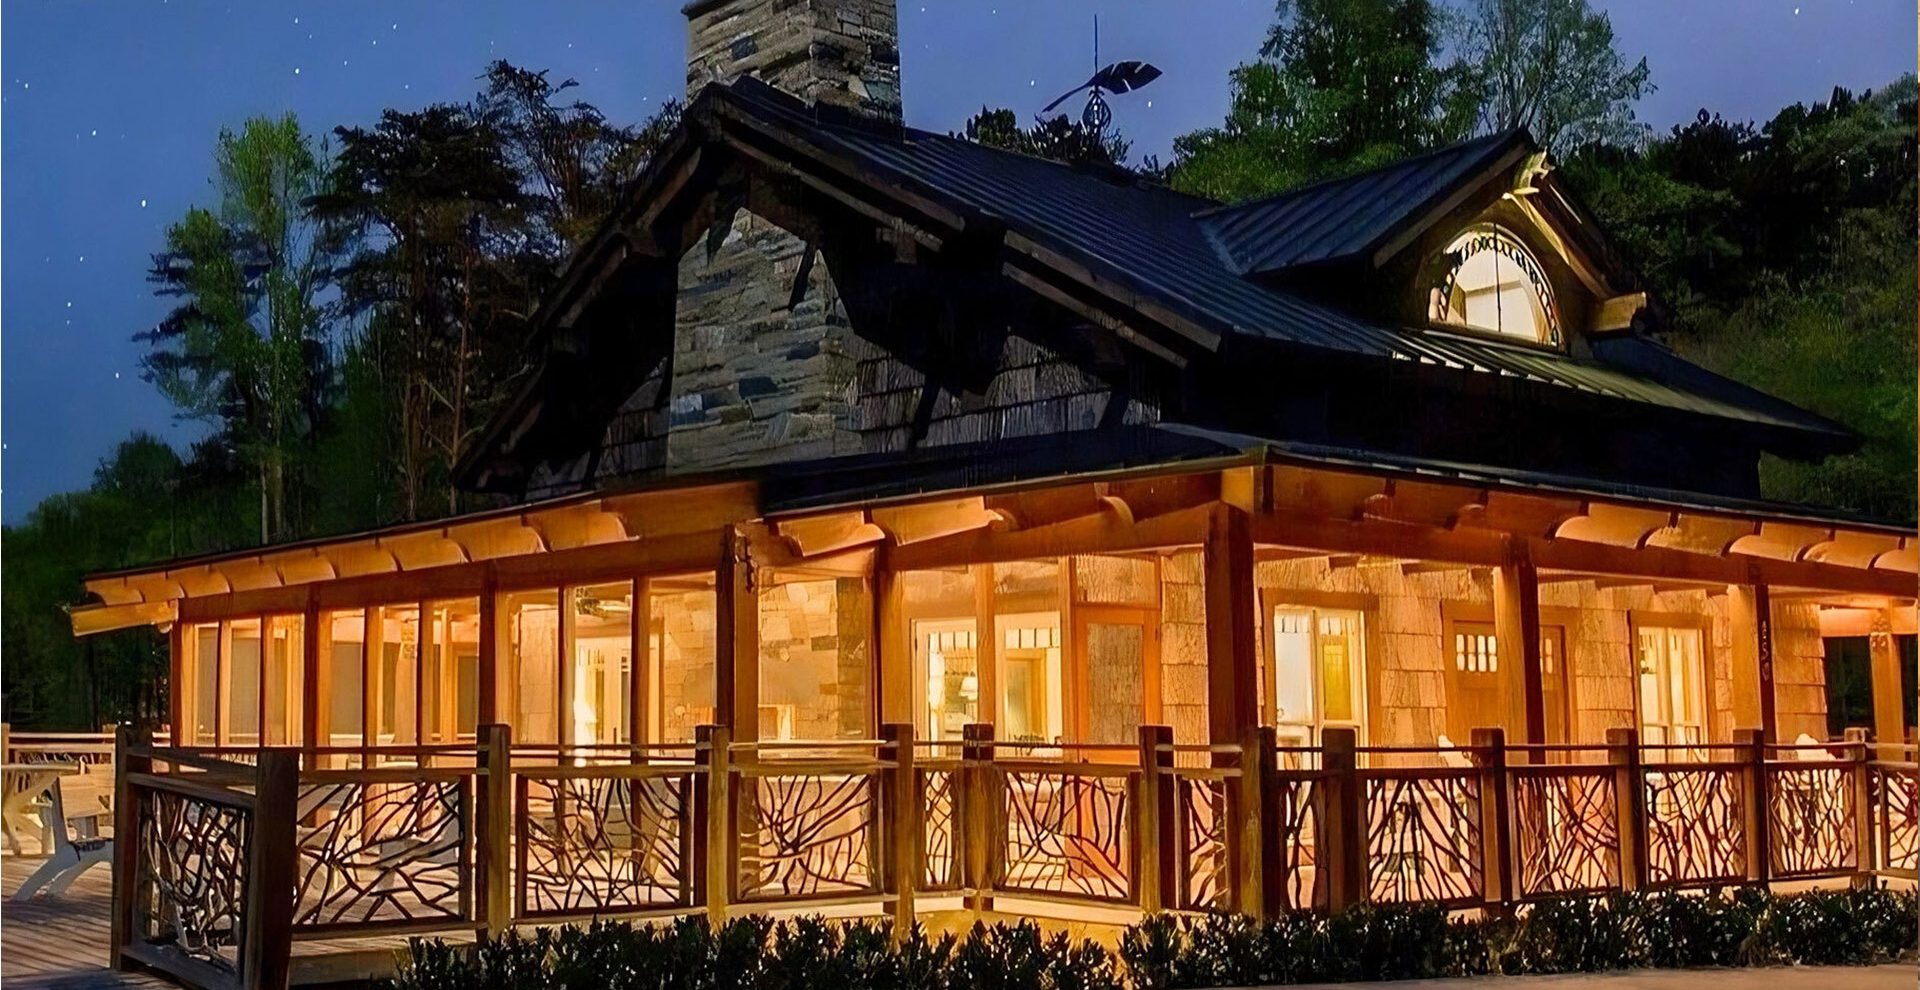
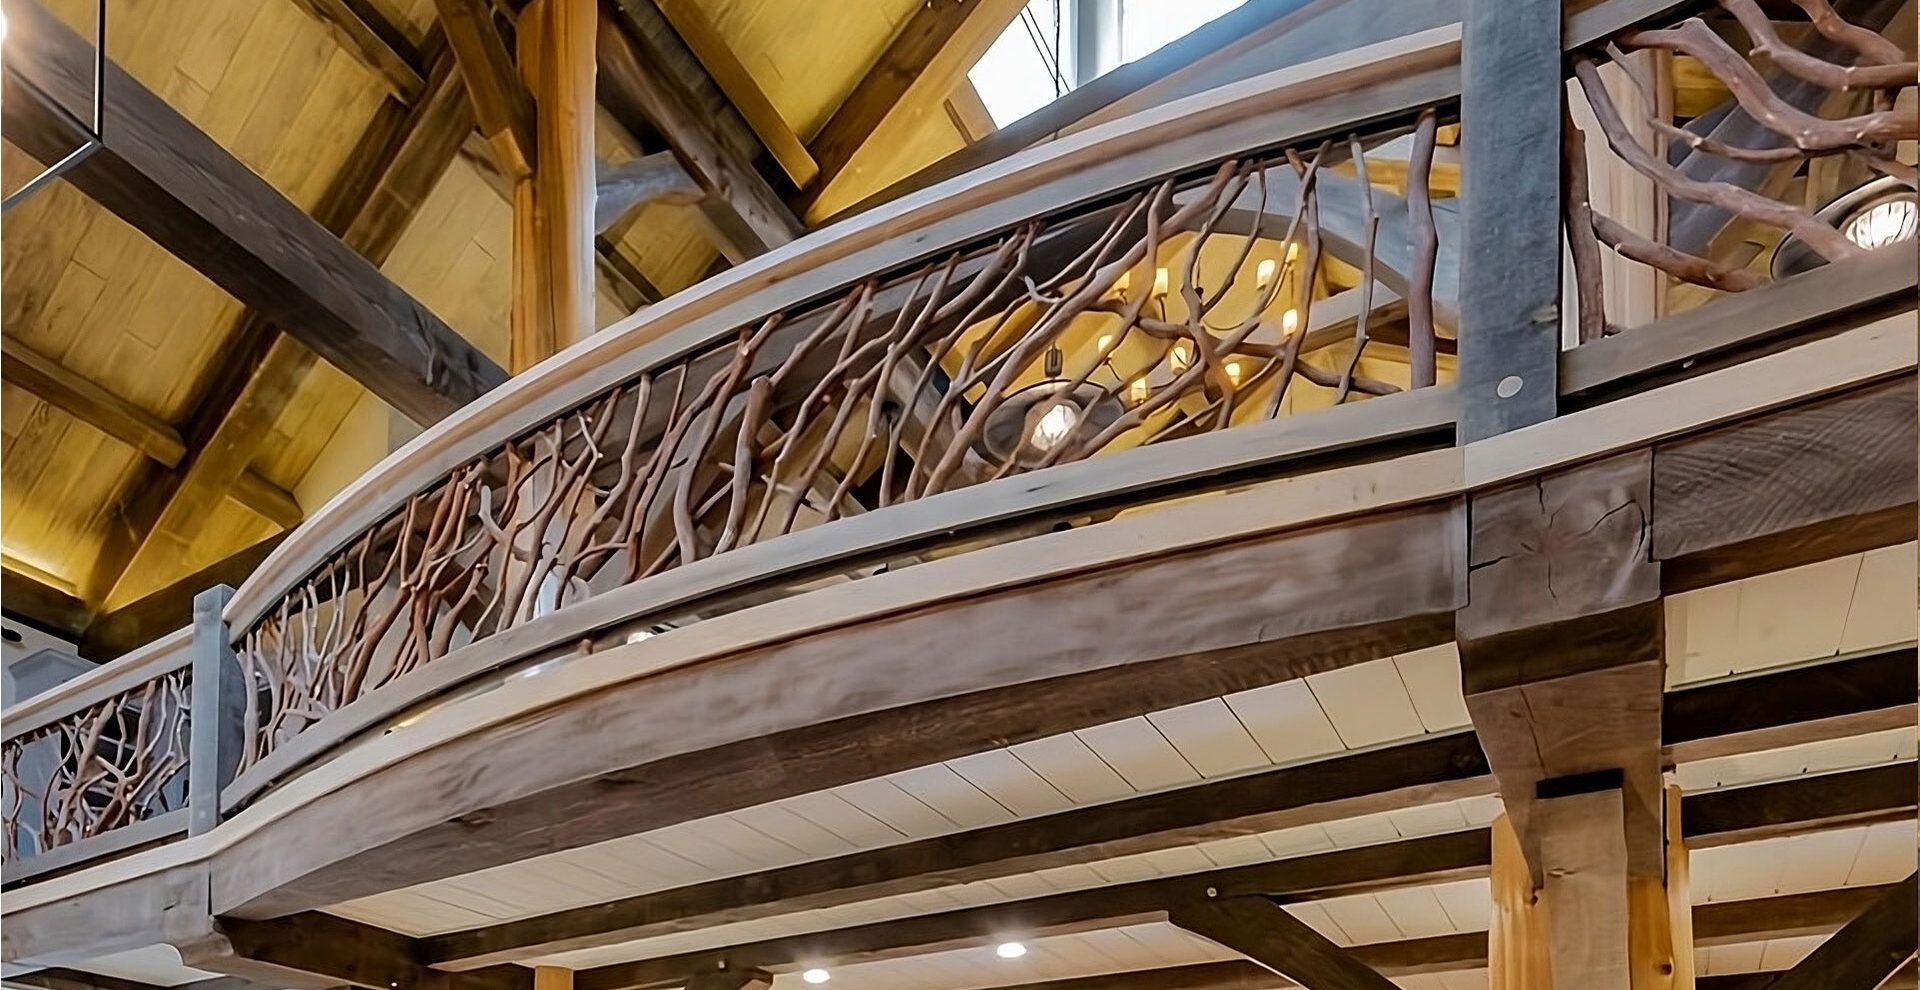
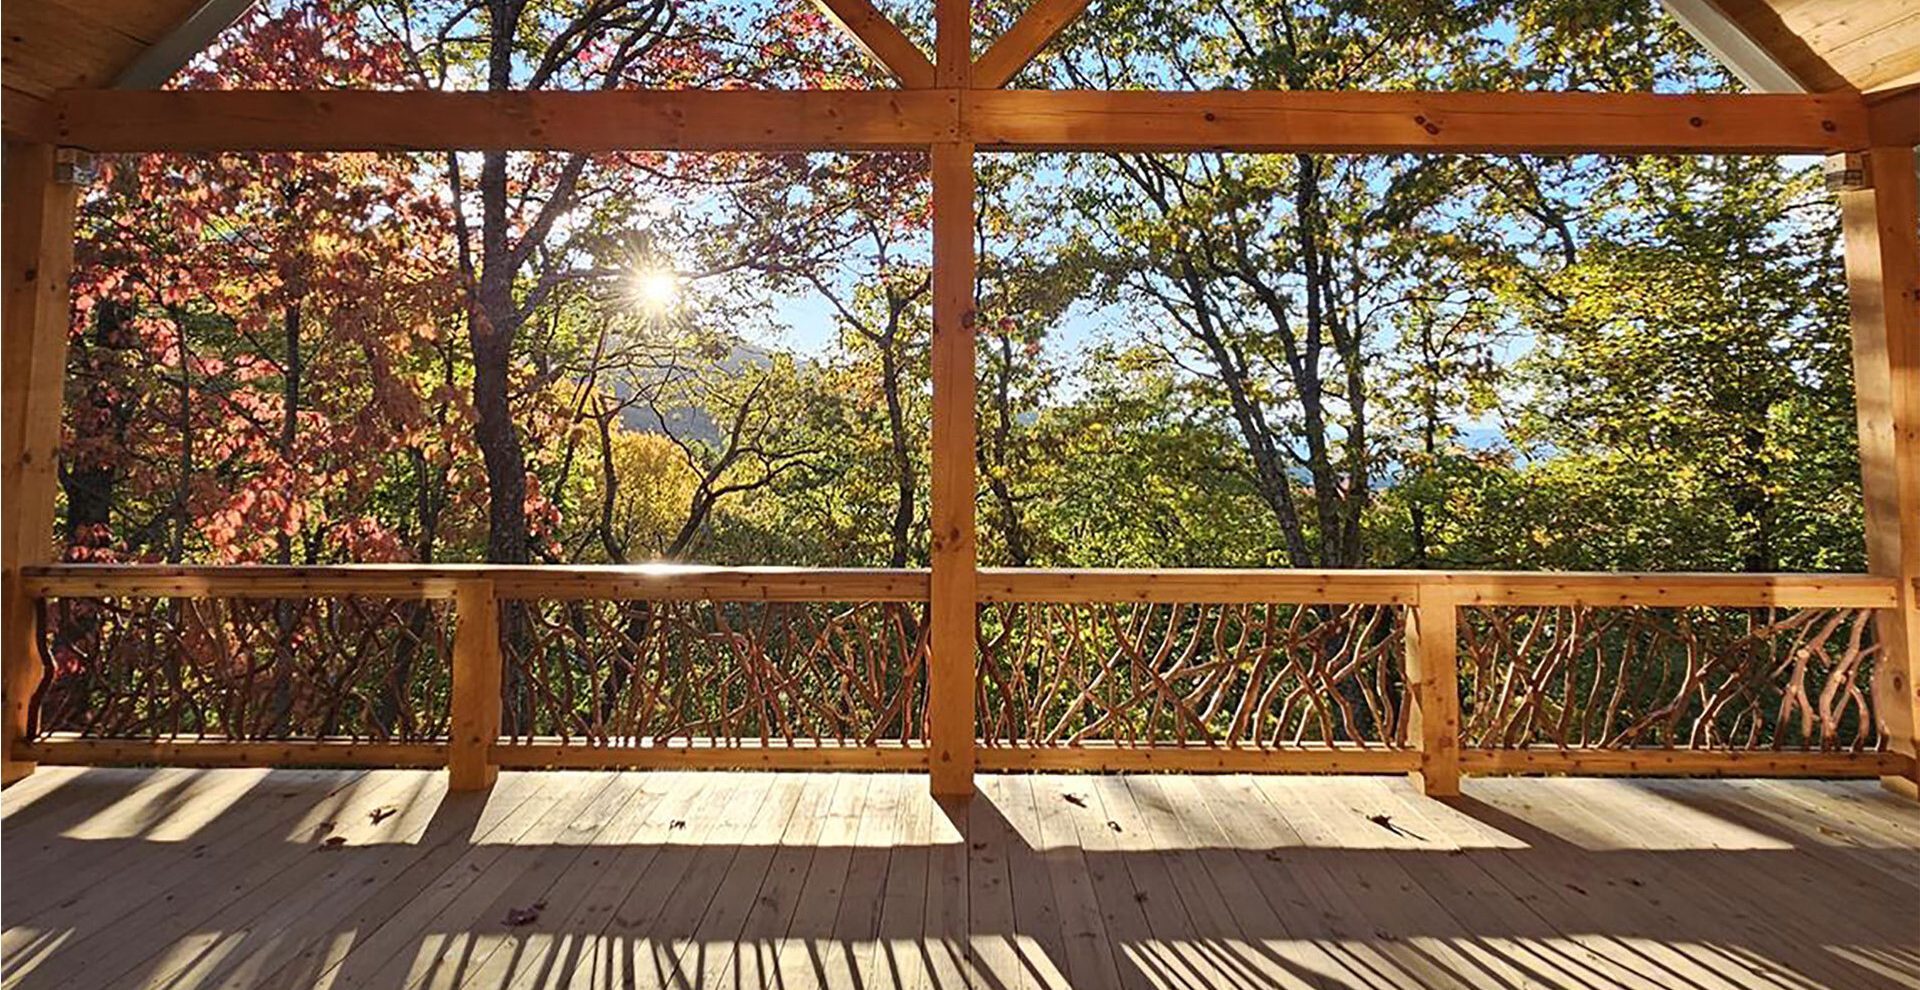
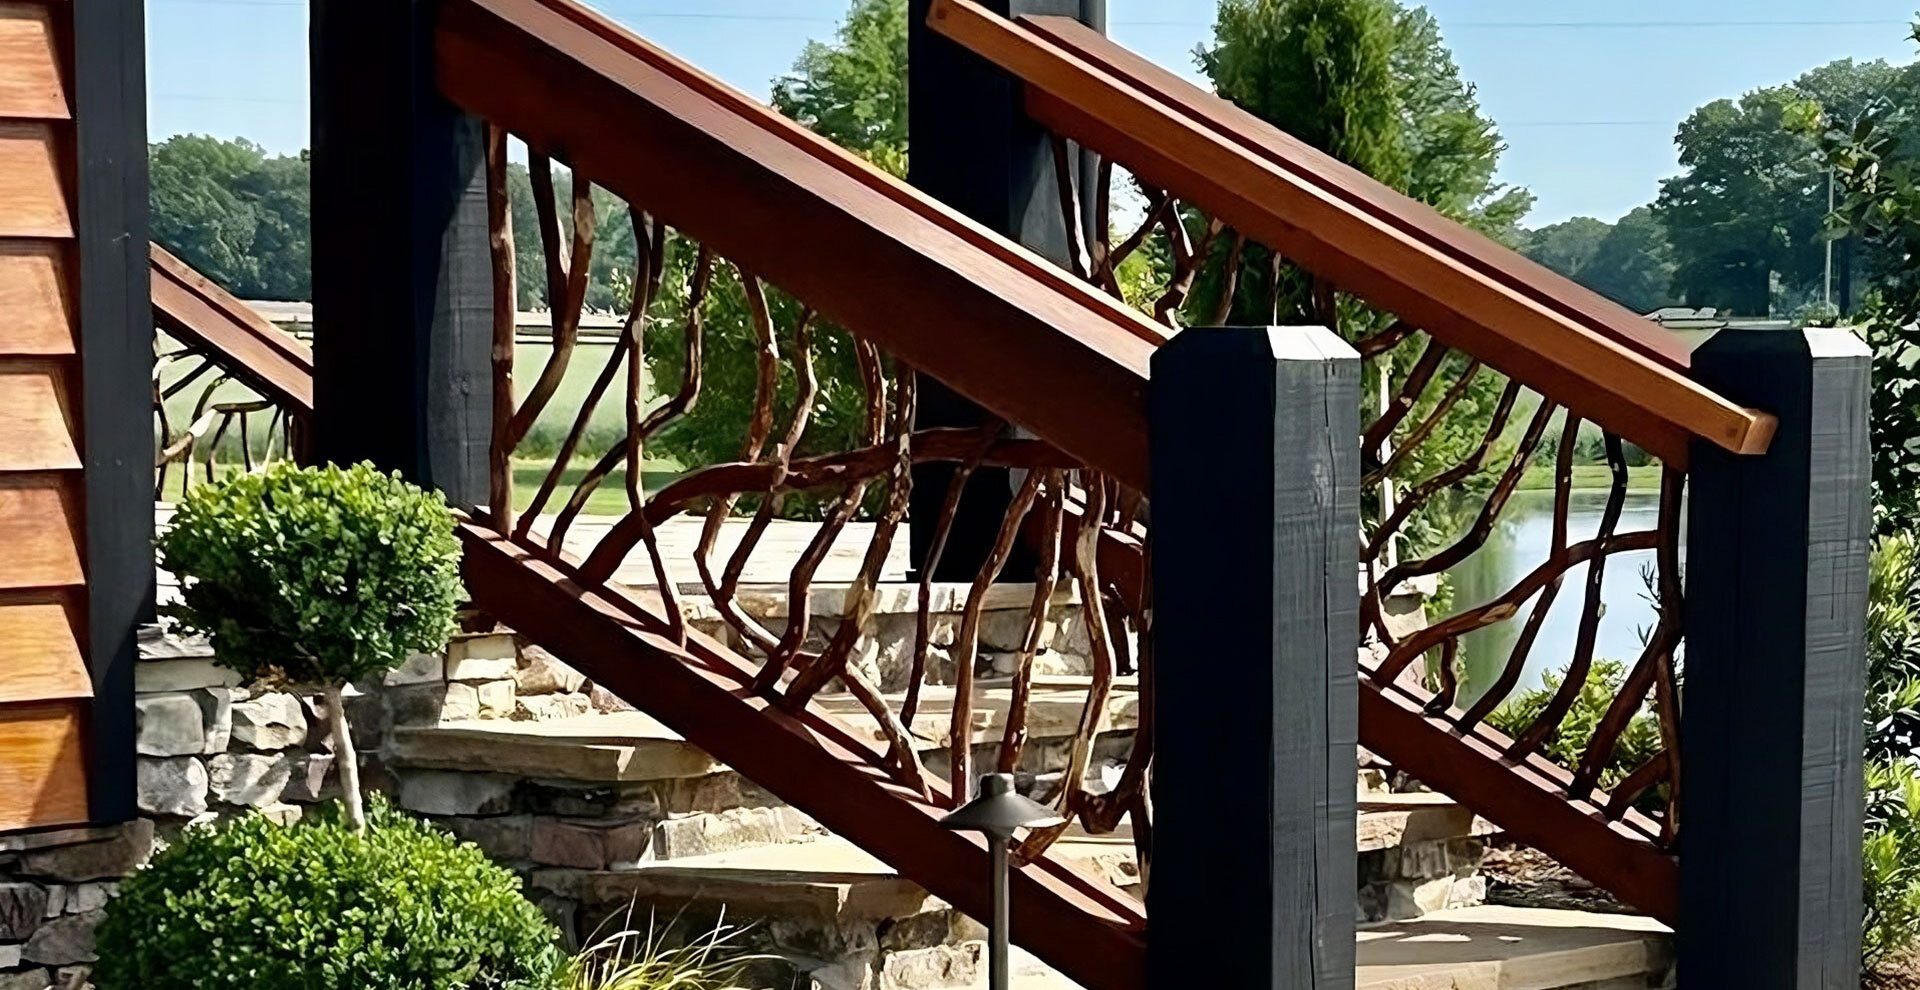
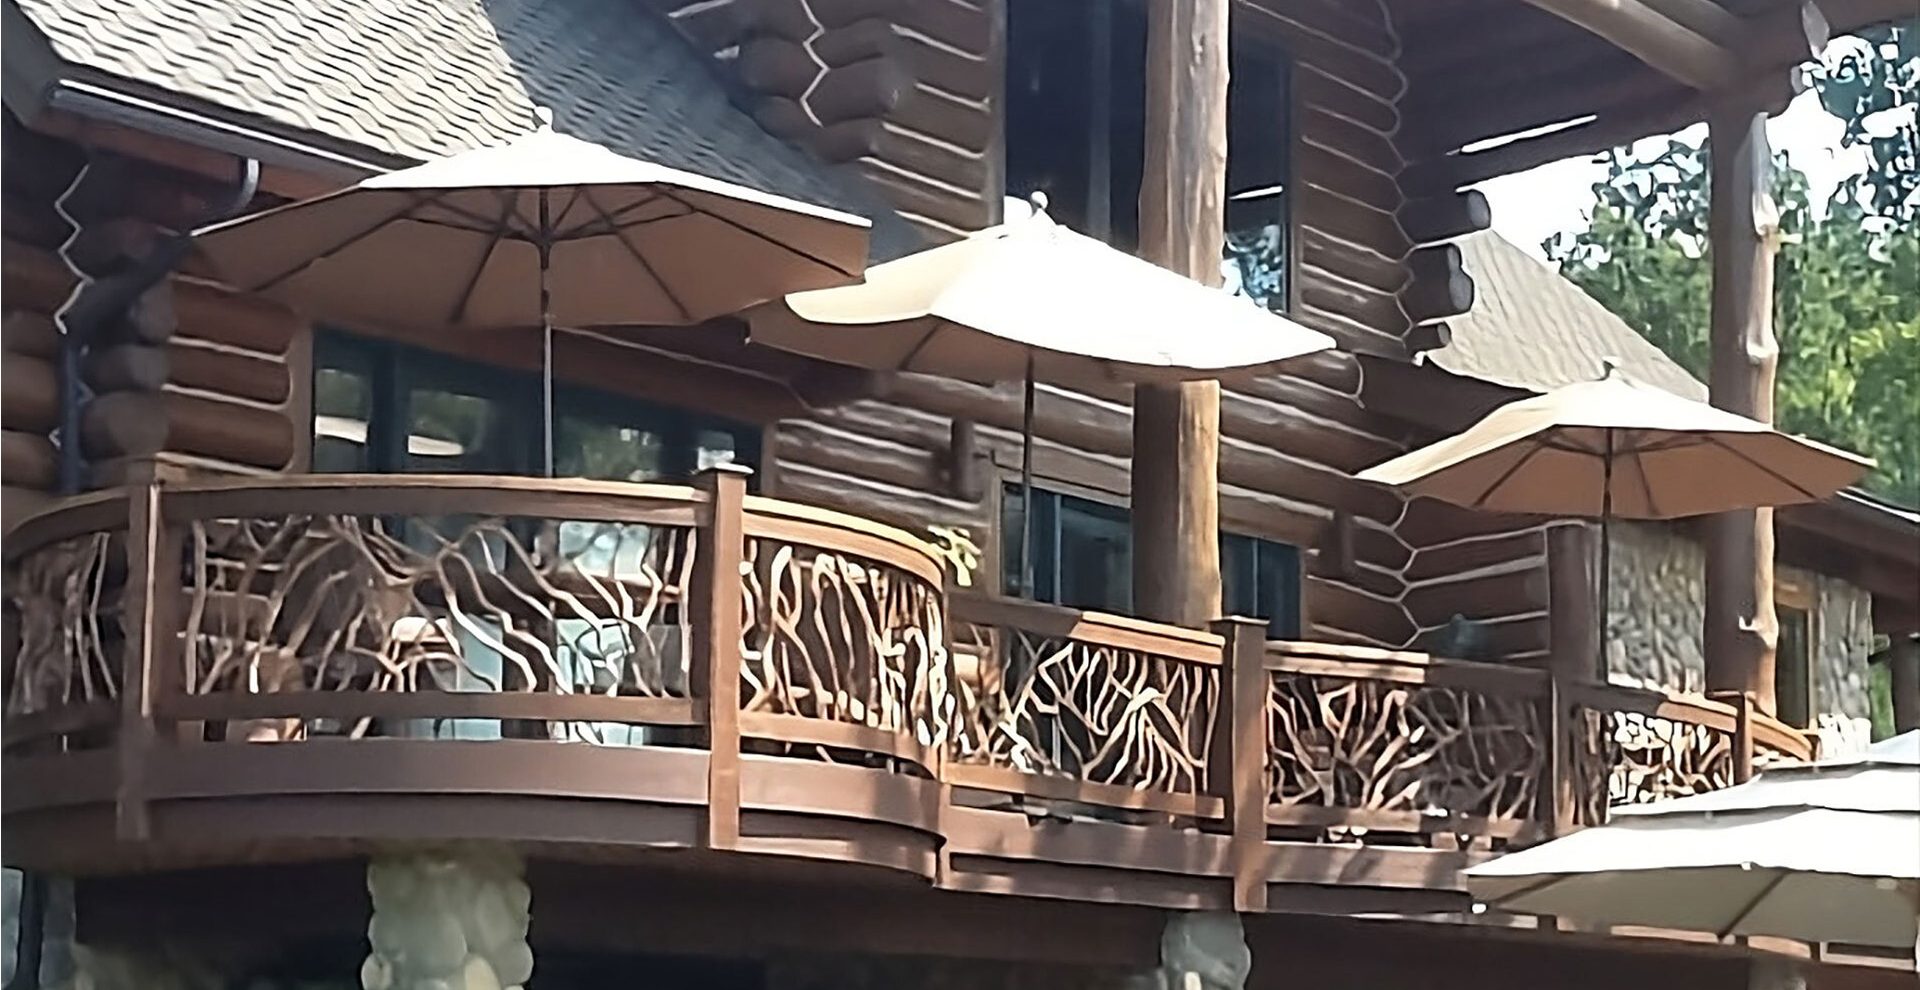


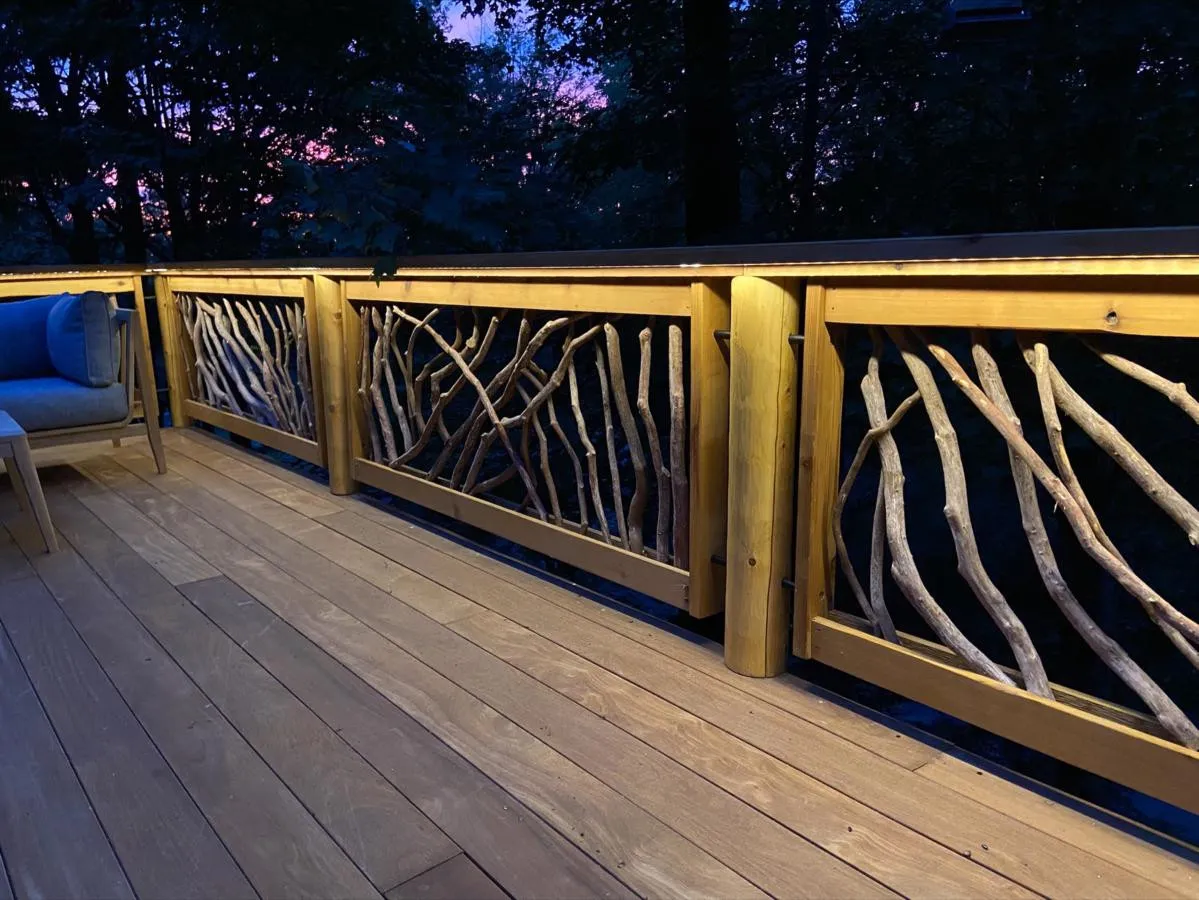
Mountain Laurel Handrails are "Jewelry for your Home" giving it unique rustic beauty unlike anything else. The natural beauty is unmatched by any other railing system.
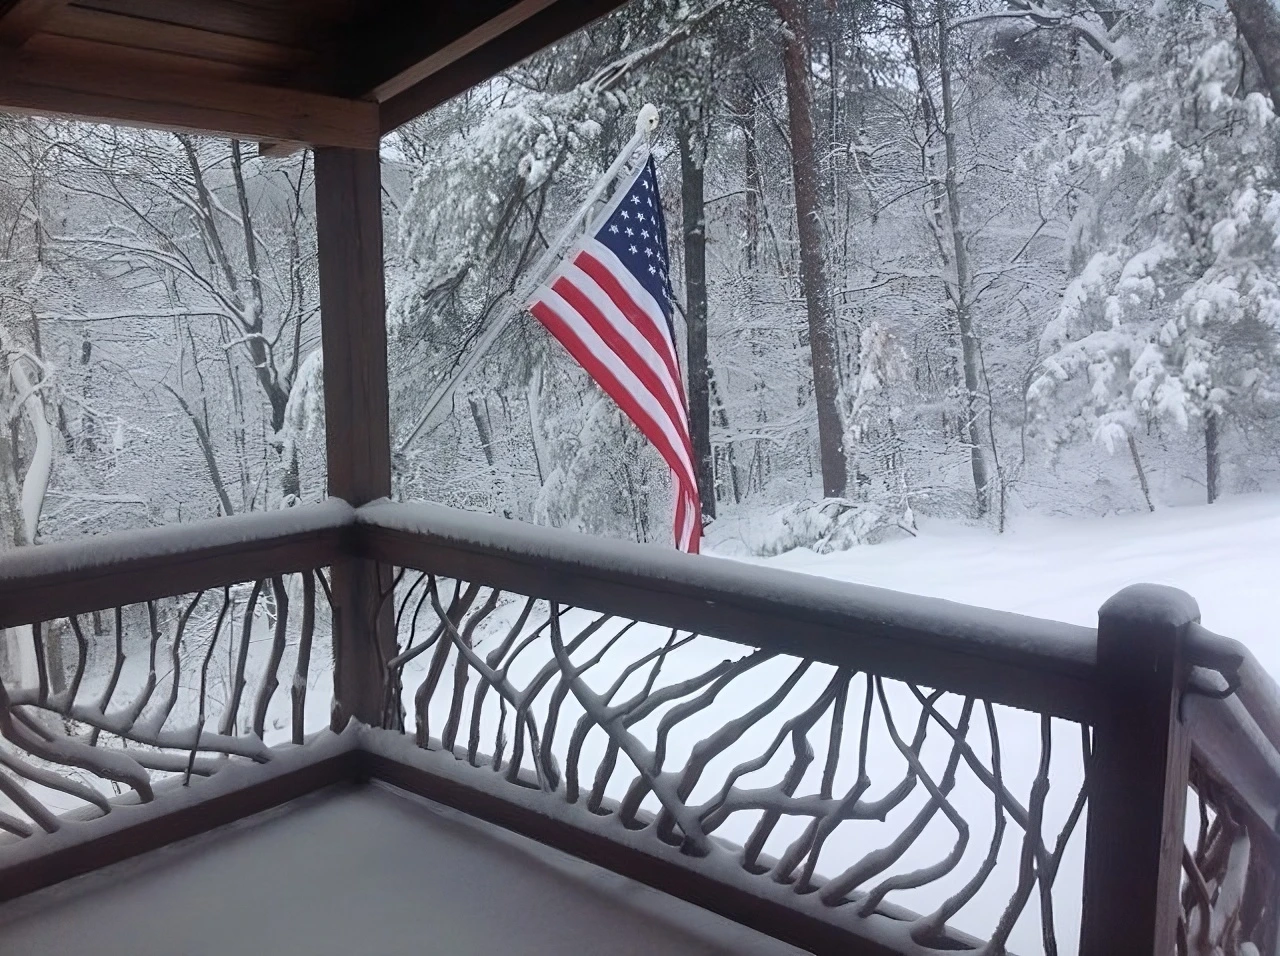
Custom Made in the USA by master carpenters. Each section is a unique
work of art guided by the shape of the branches and skilled hands.
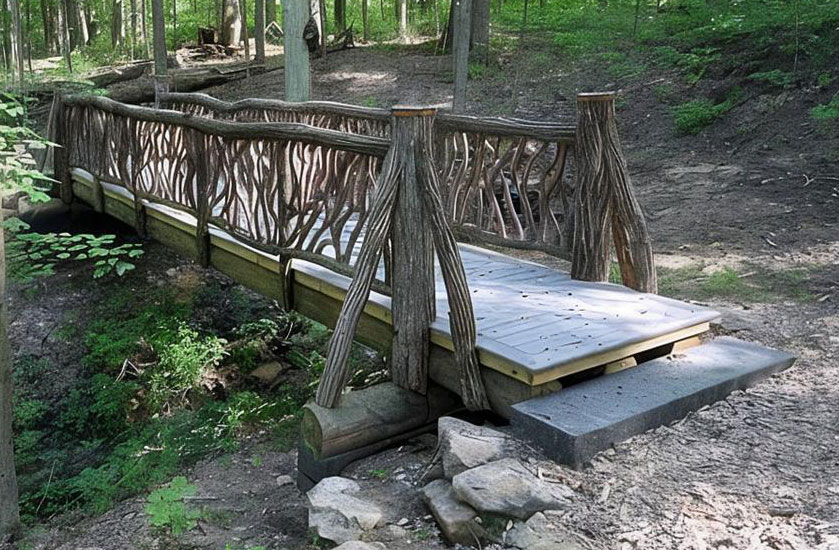
We save these amazing treasures from the burn pile of
developments helping to conserve natural resources.
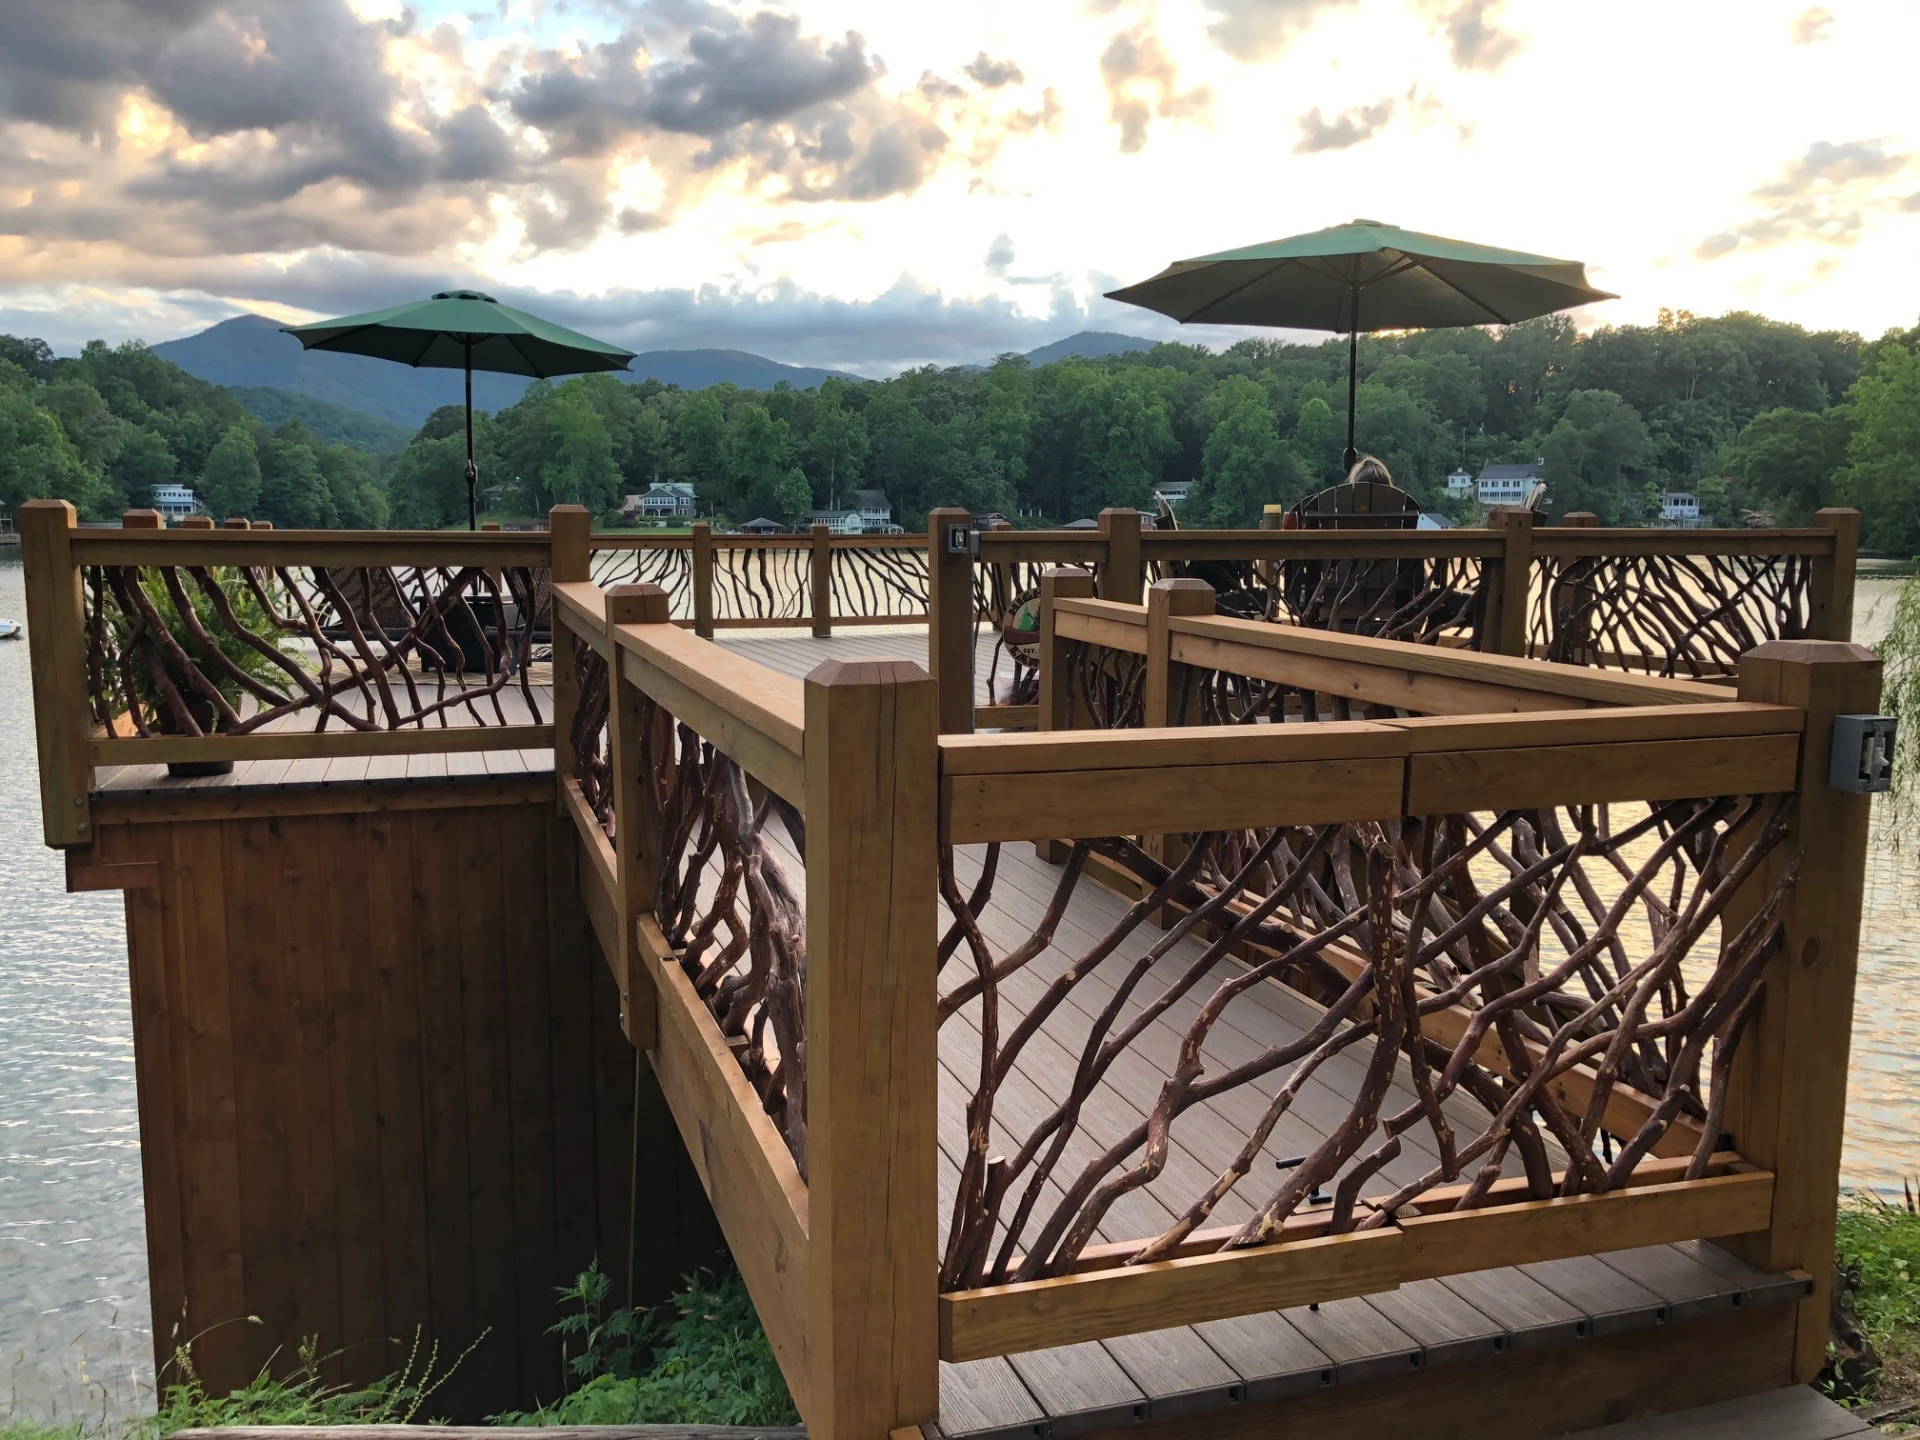
Based in picturesque Western North Carolina, we have shipped to all 50 states, including Alaska and Hawaii, along with Canada, the Bahamas, and the British Virgin Islands.
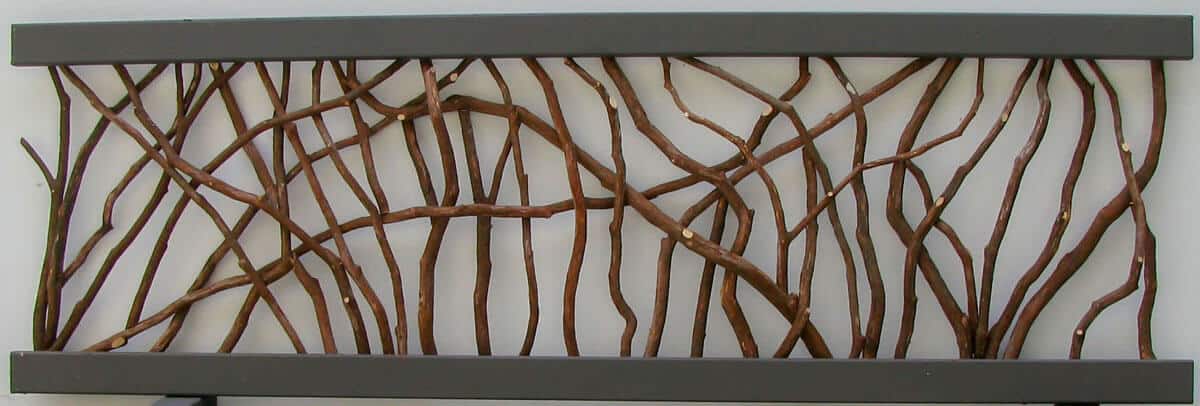
Preassembled sections are easy to install by any skilled carpenter and go in quickly
with spectacular results in a short time which simplifies the construction process.

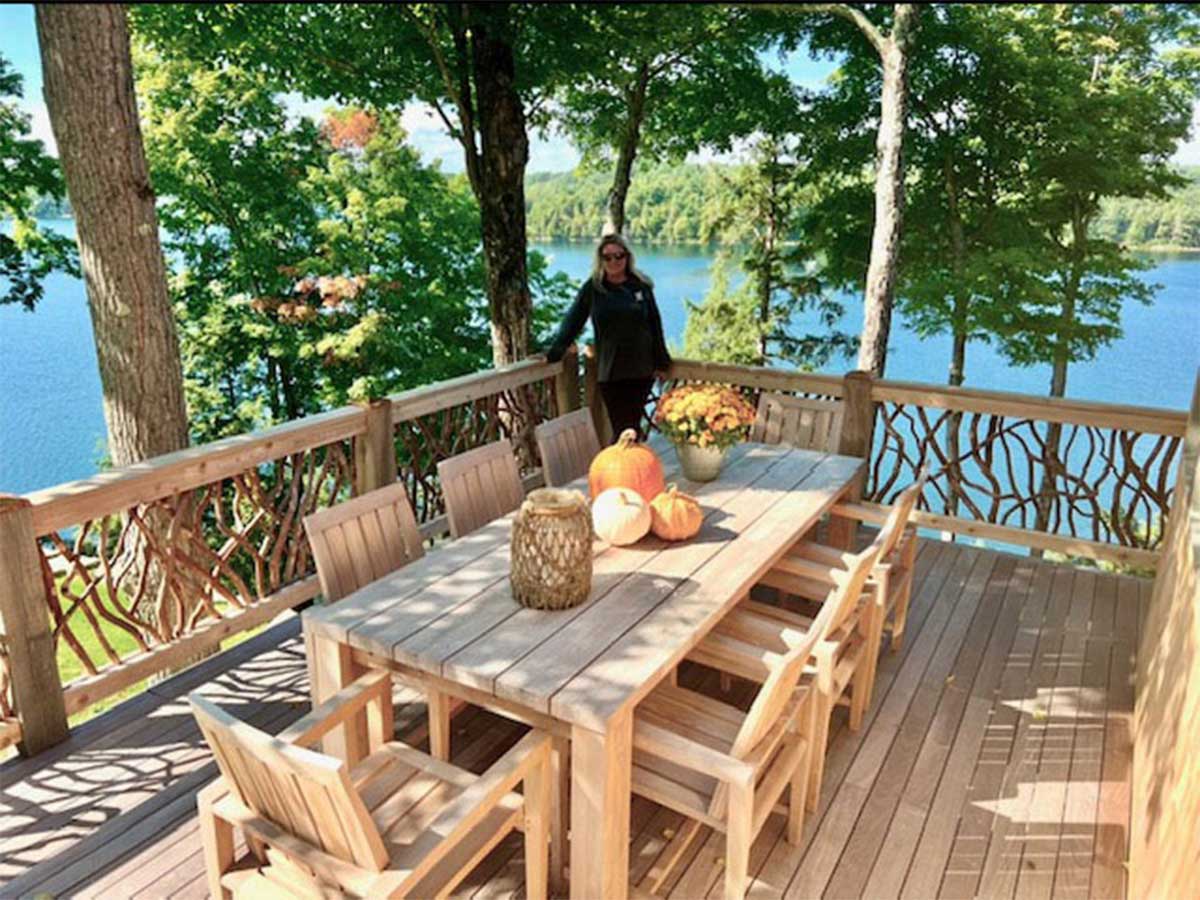
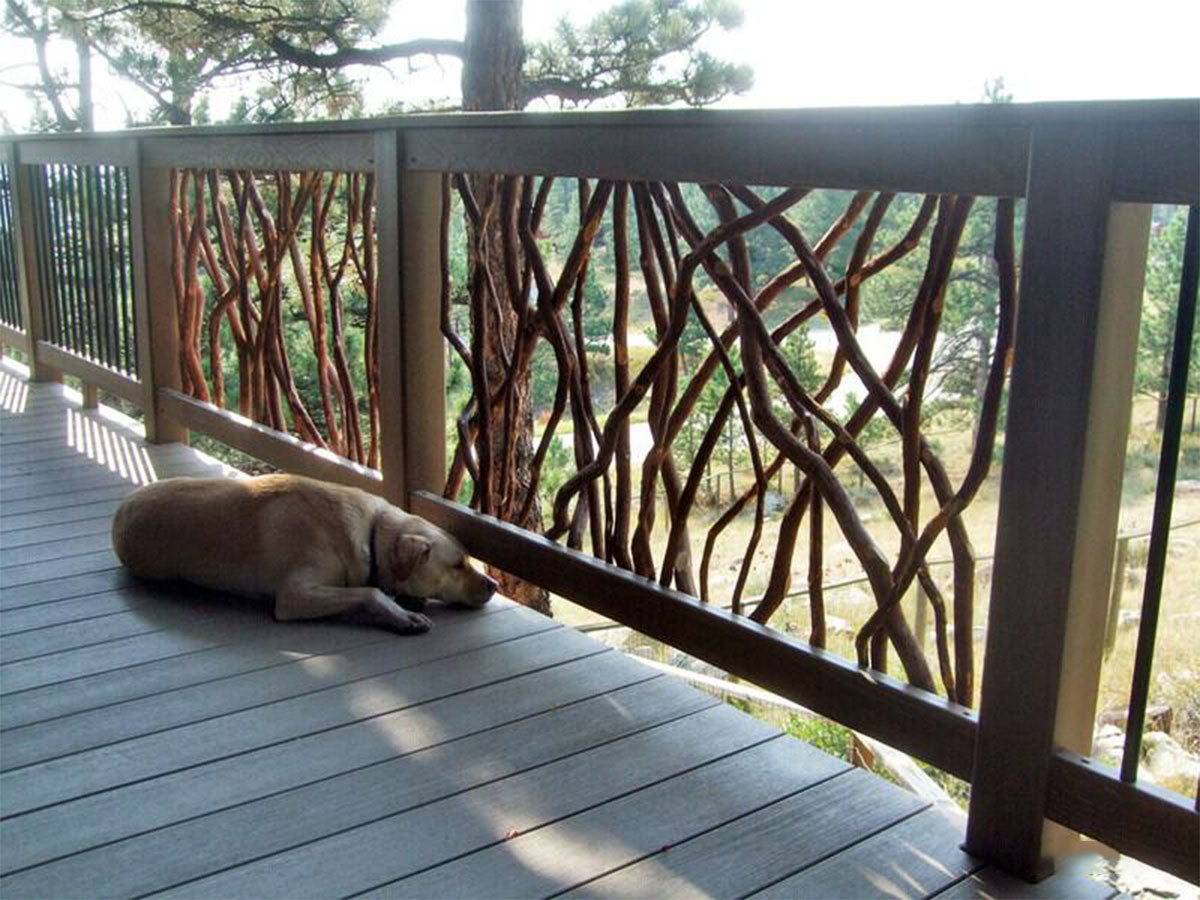
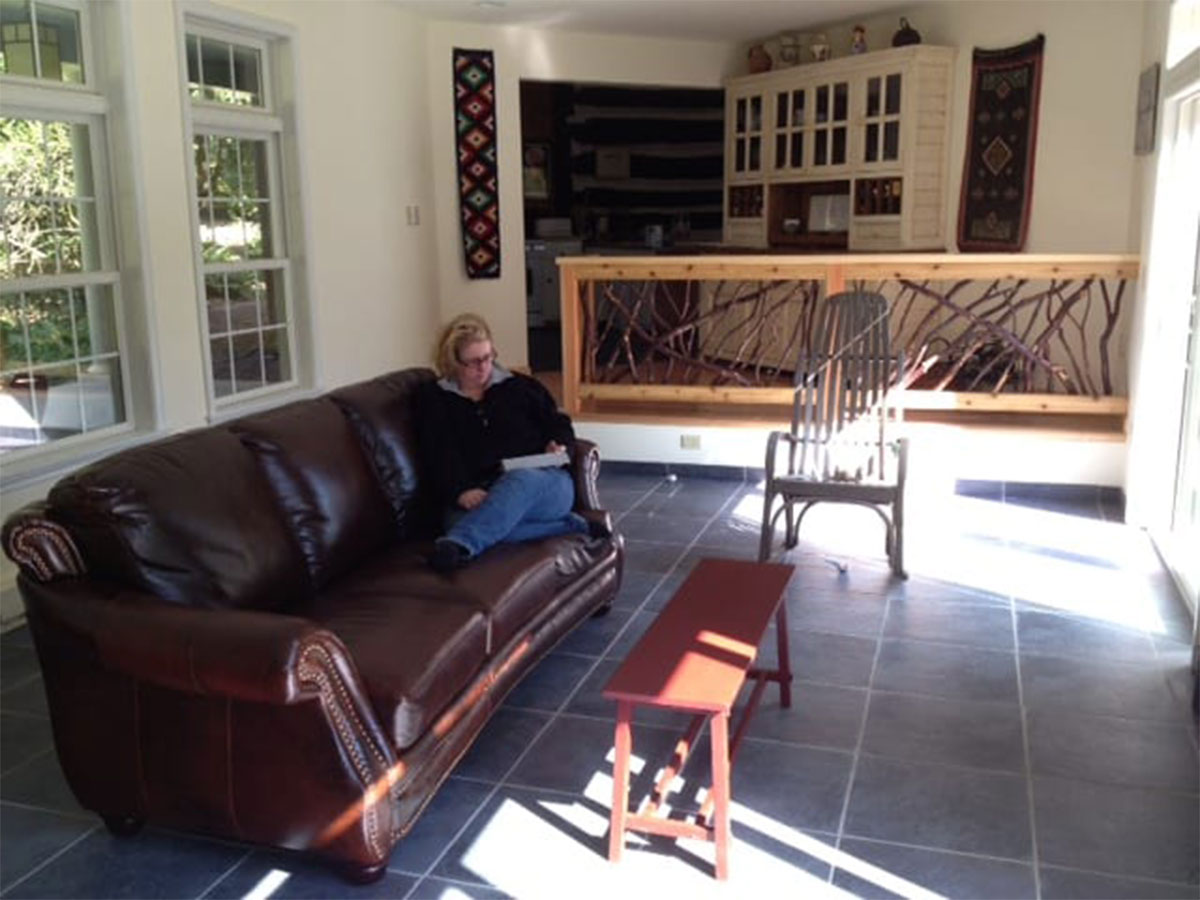
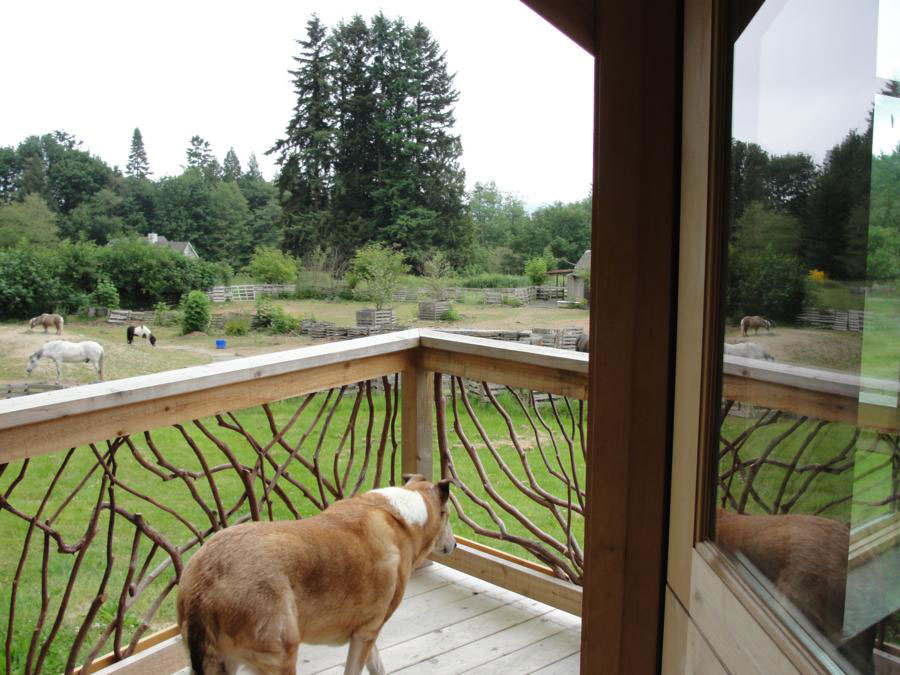
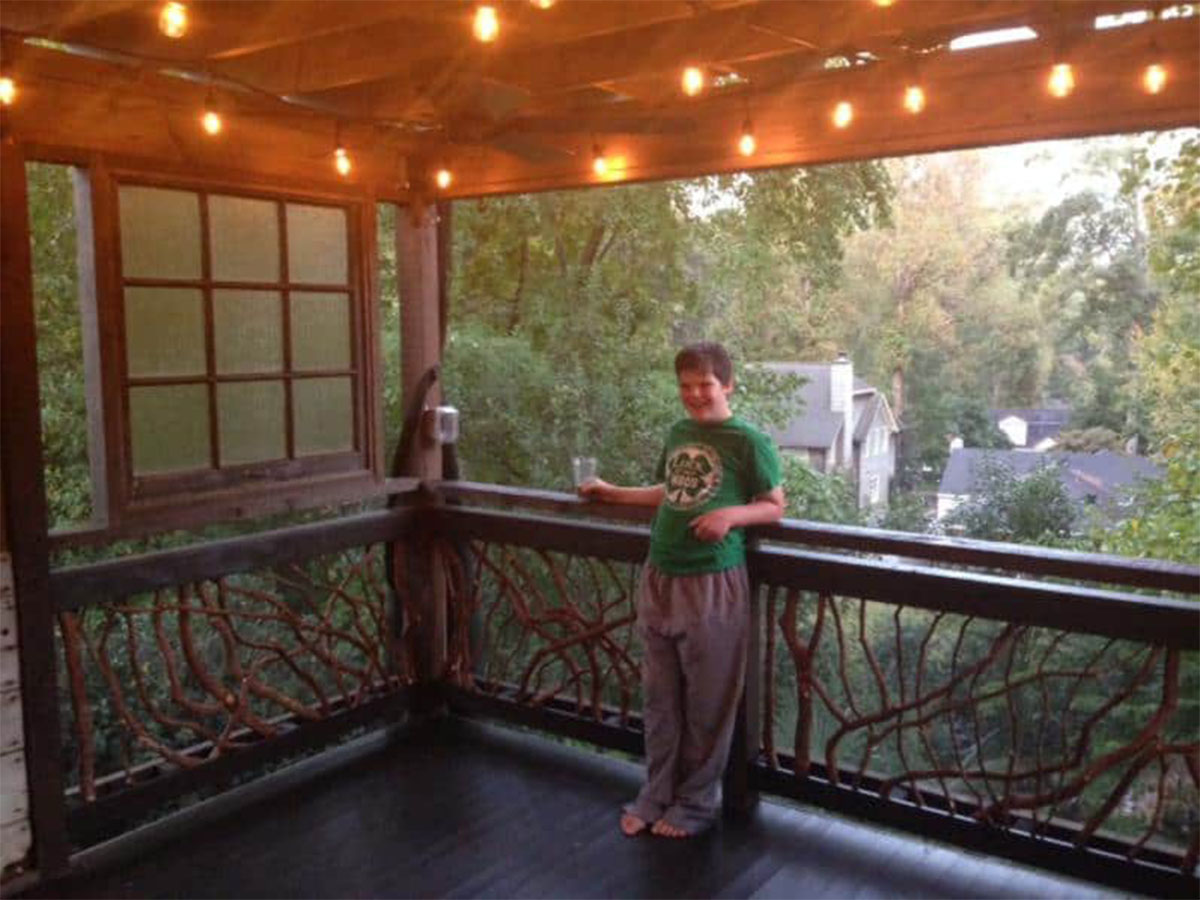
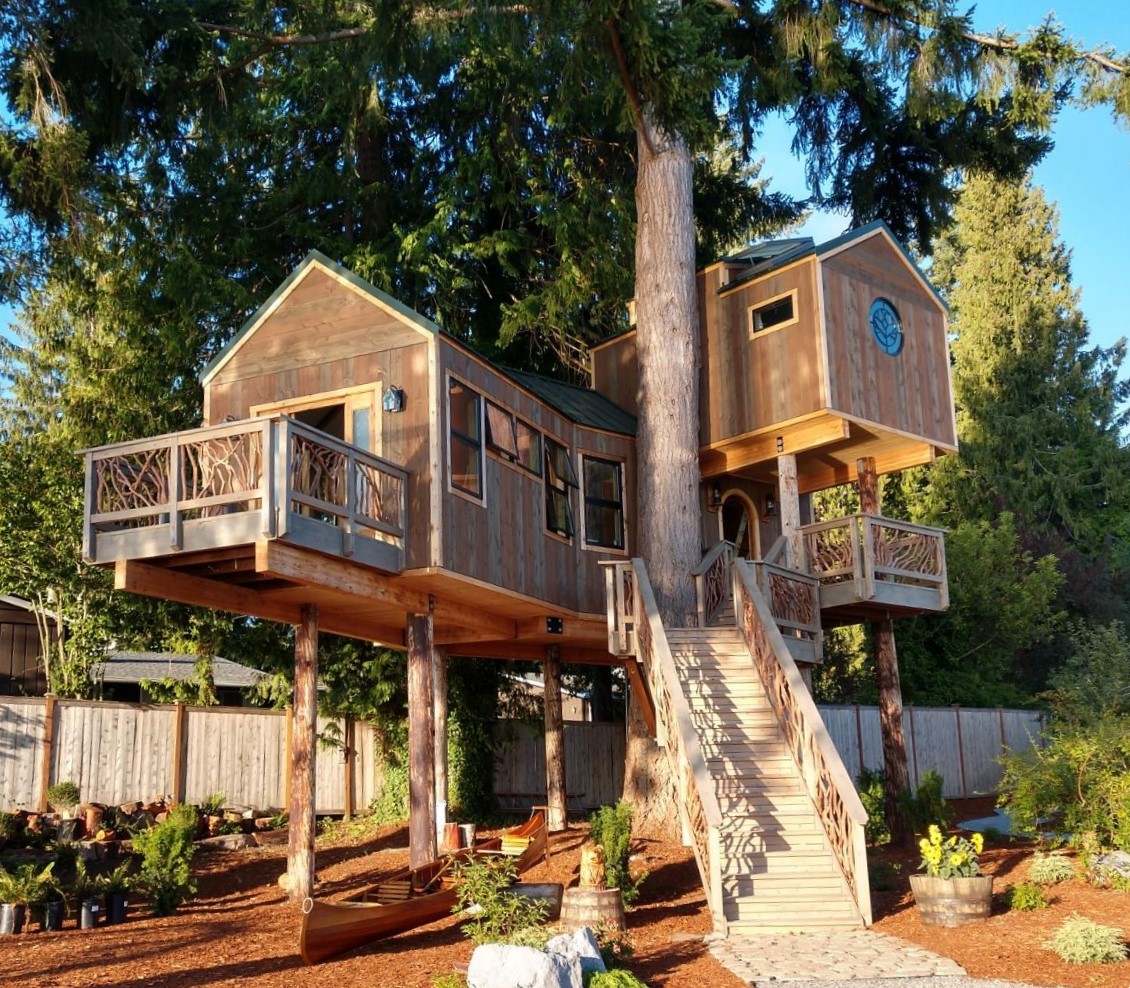
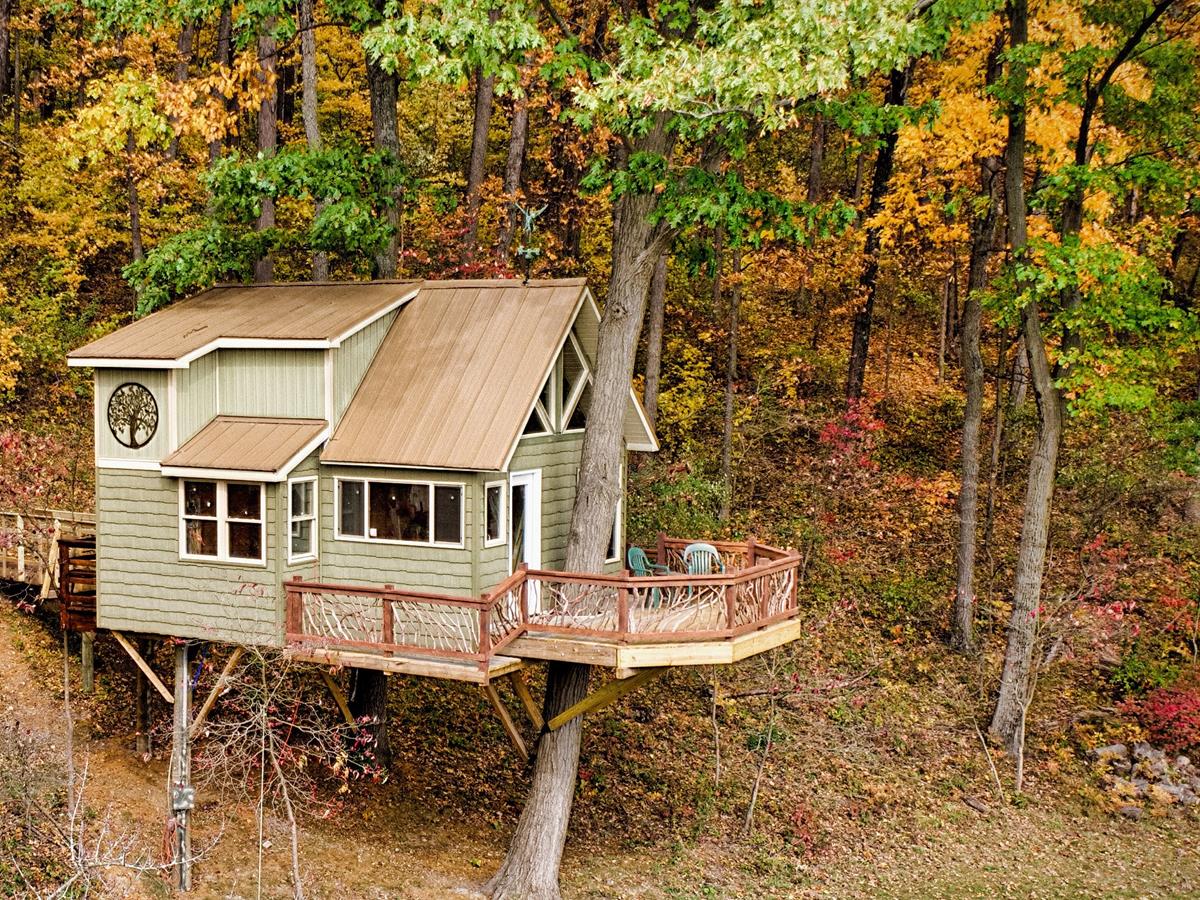
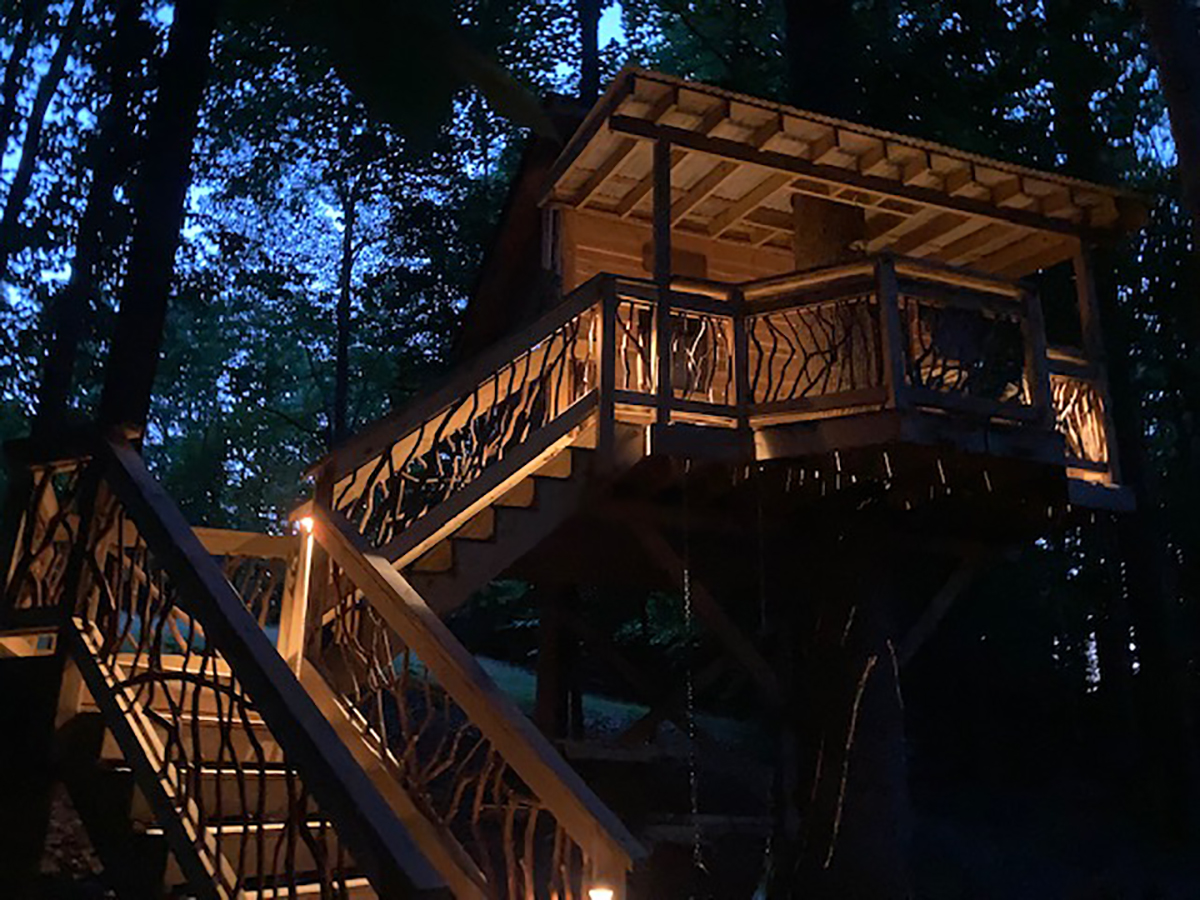
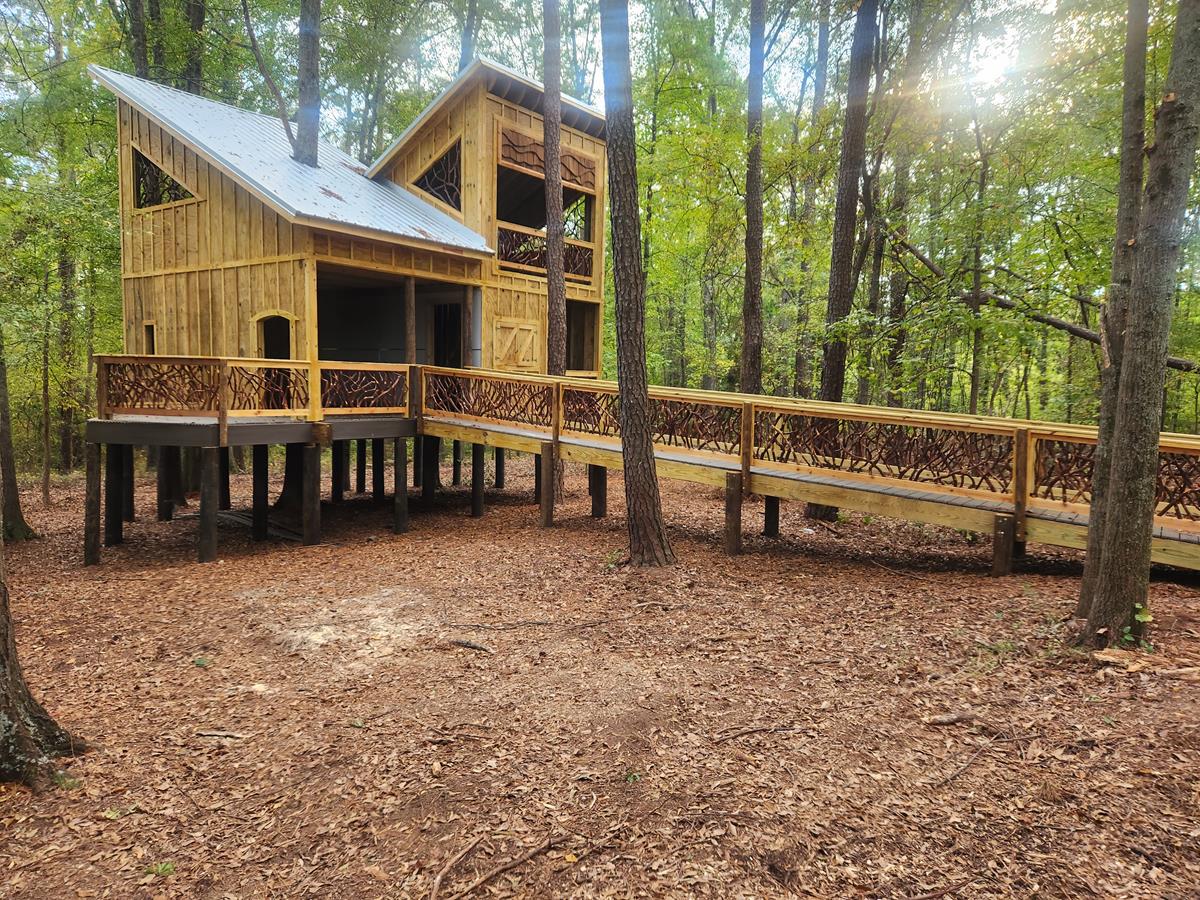
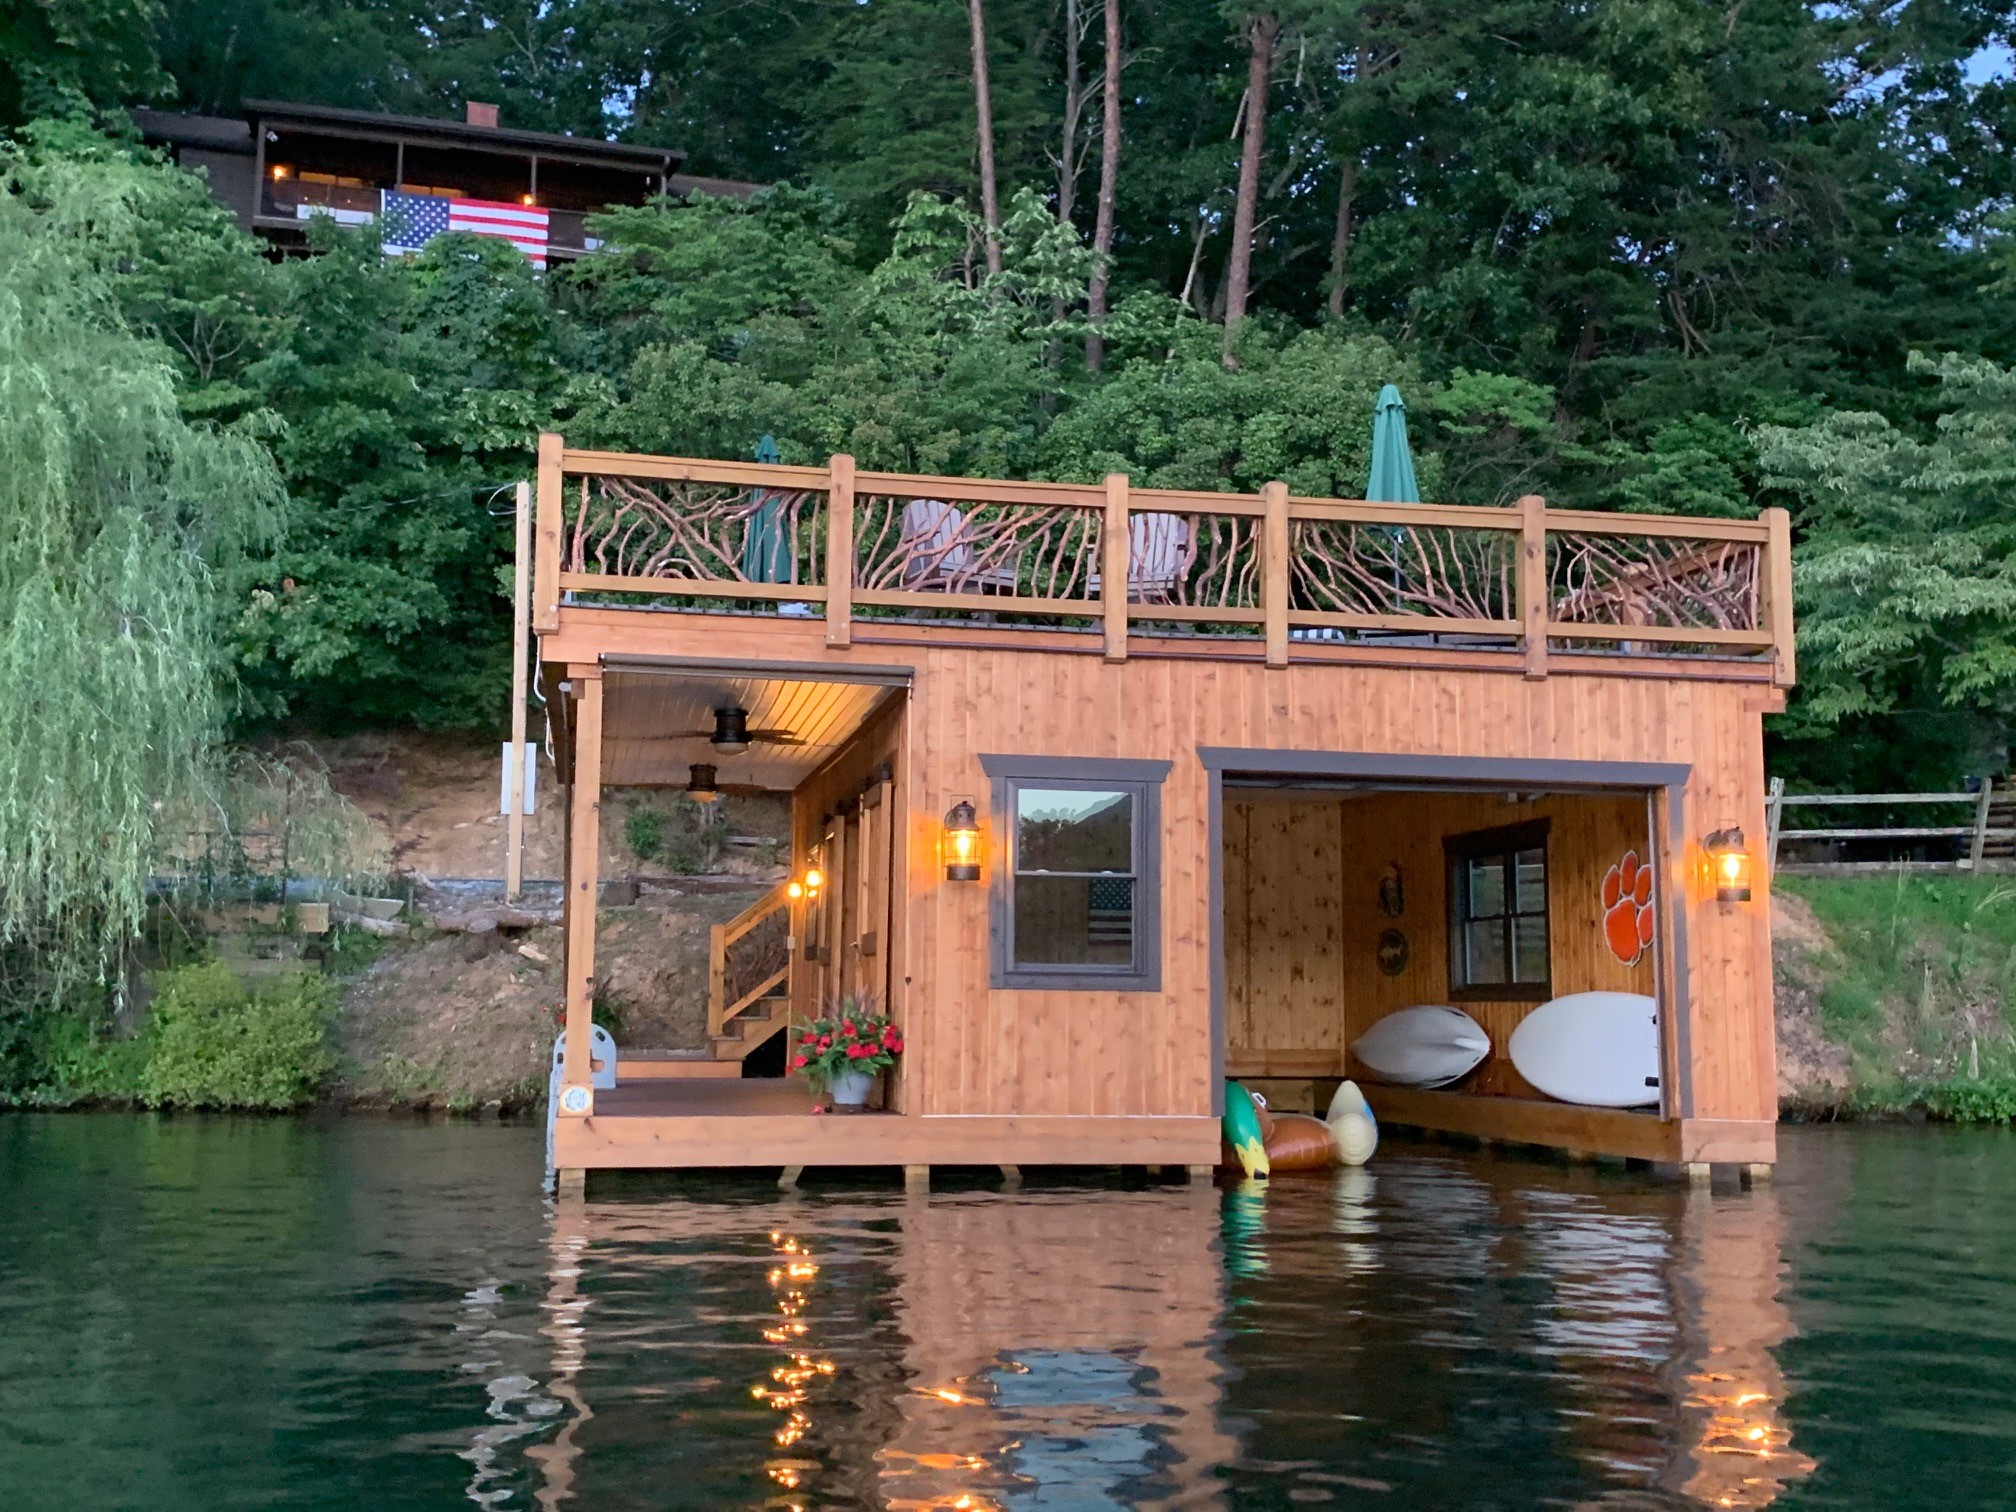
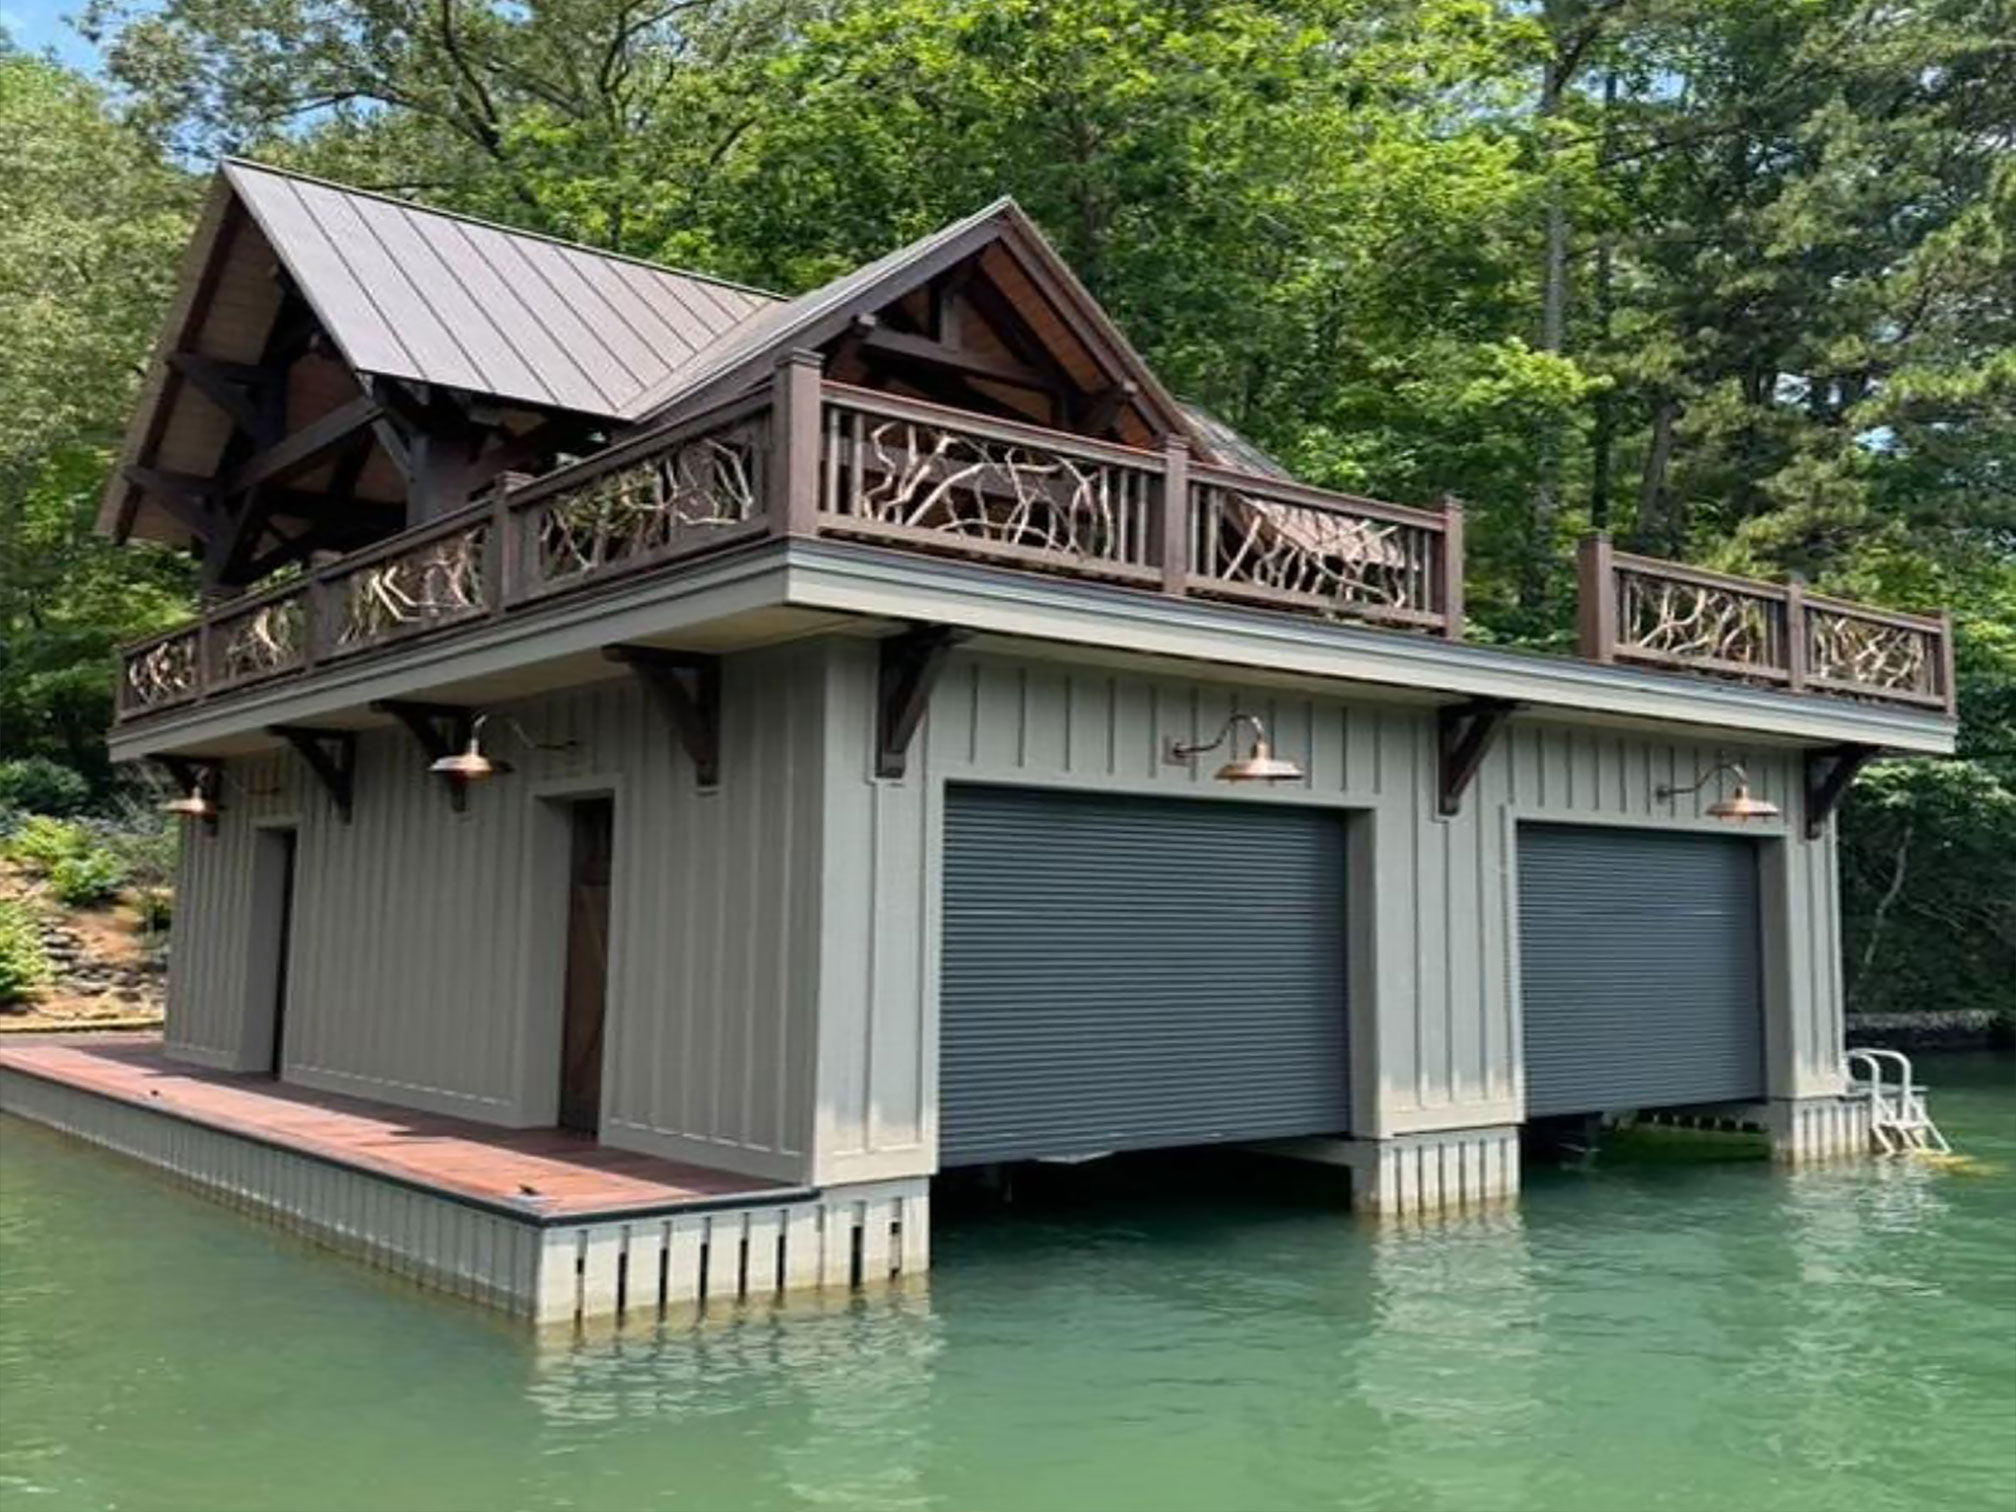
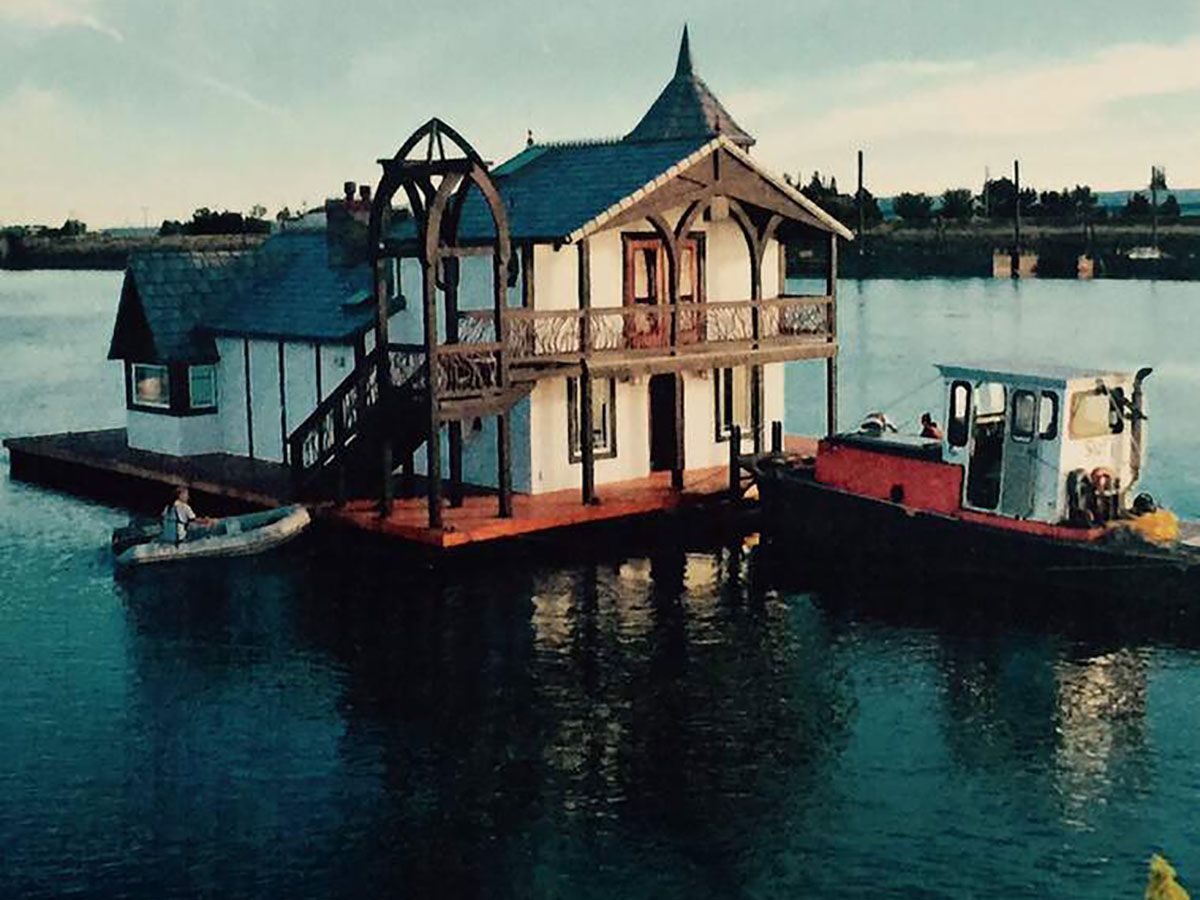
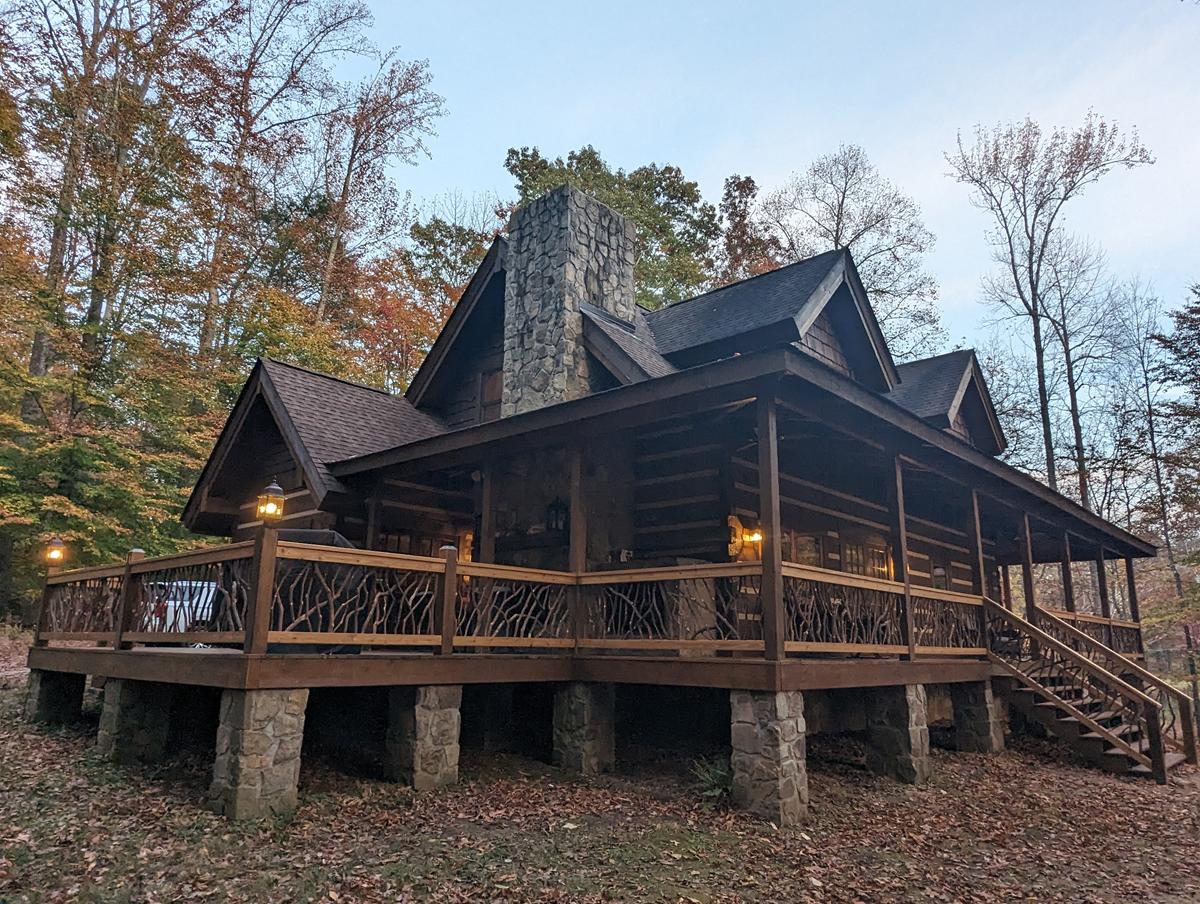
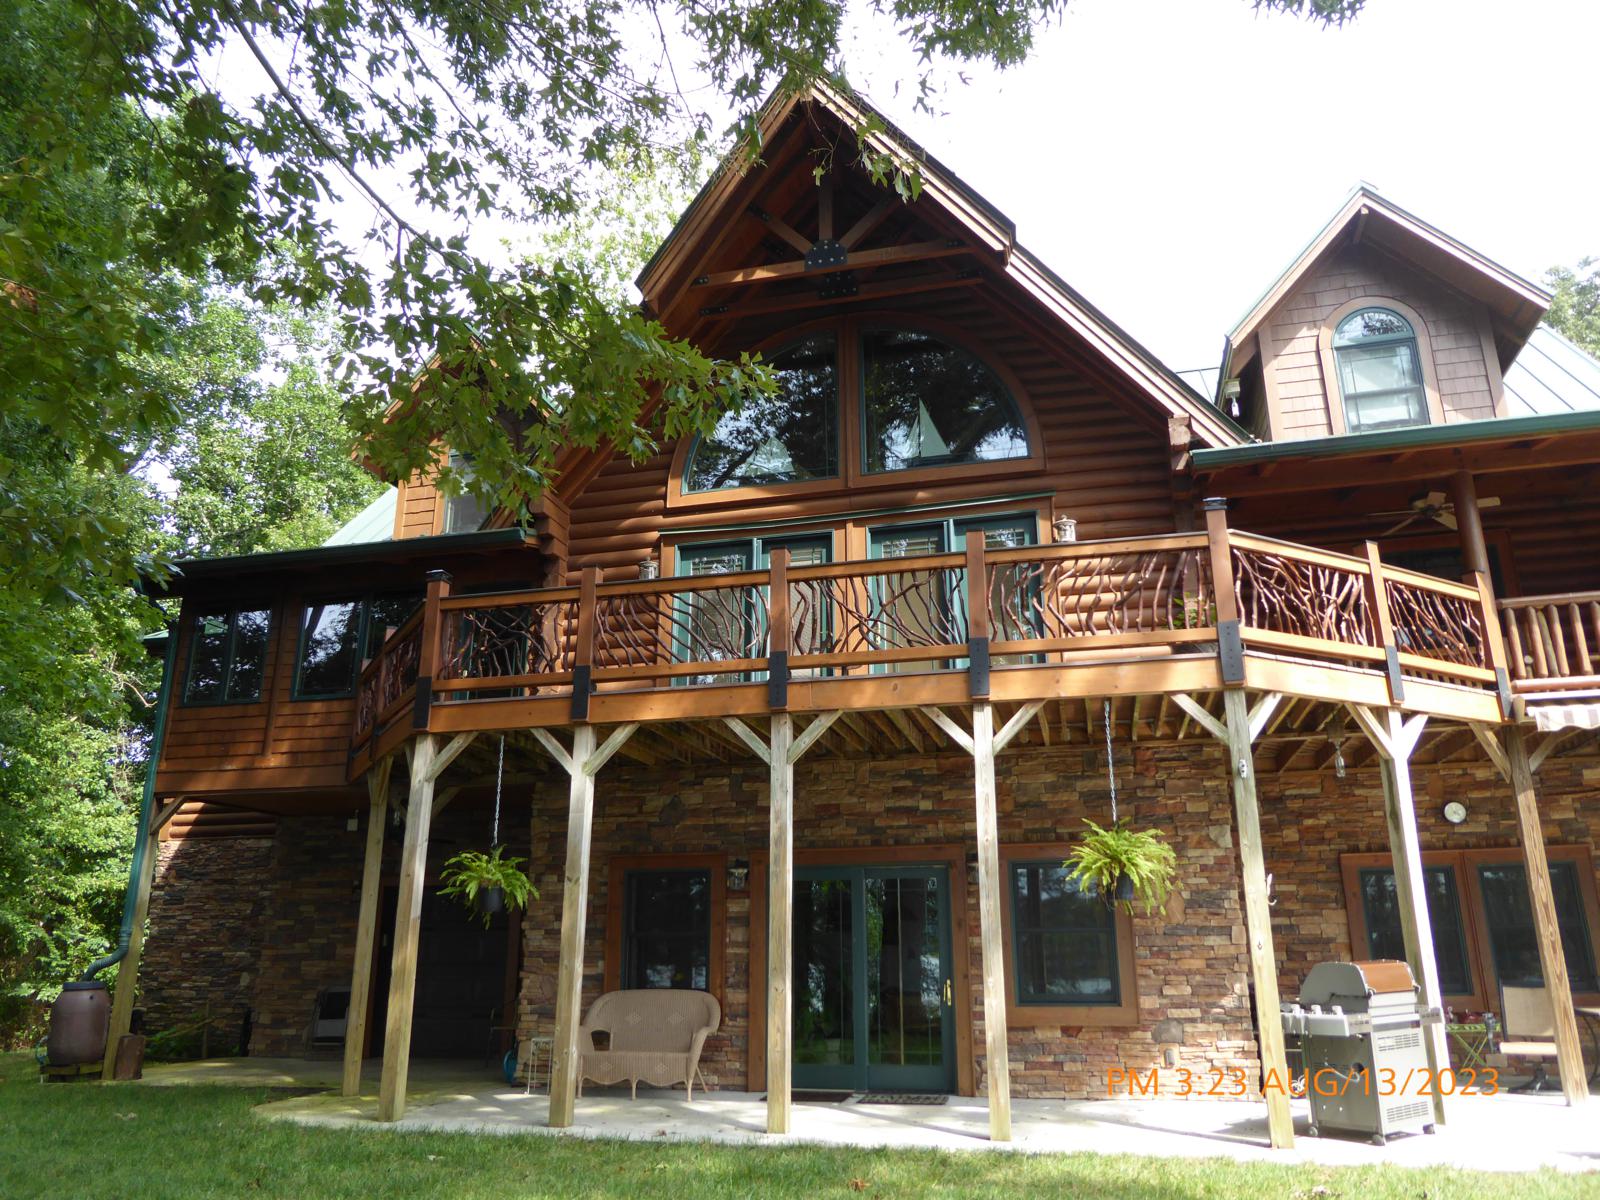
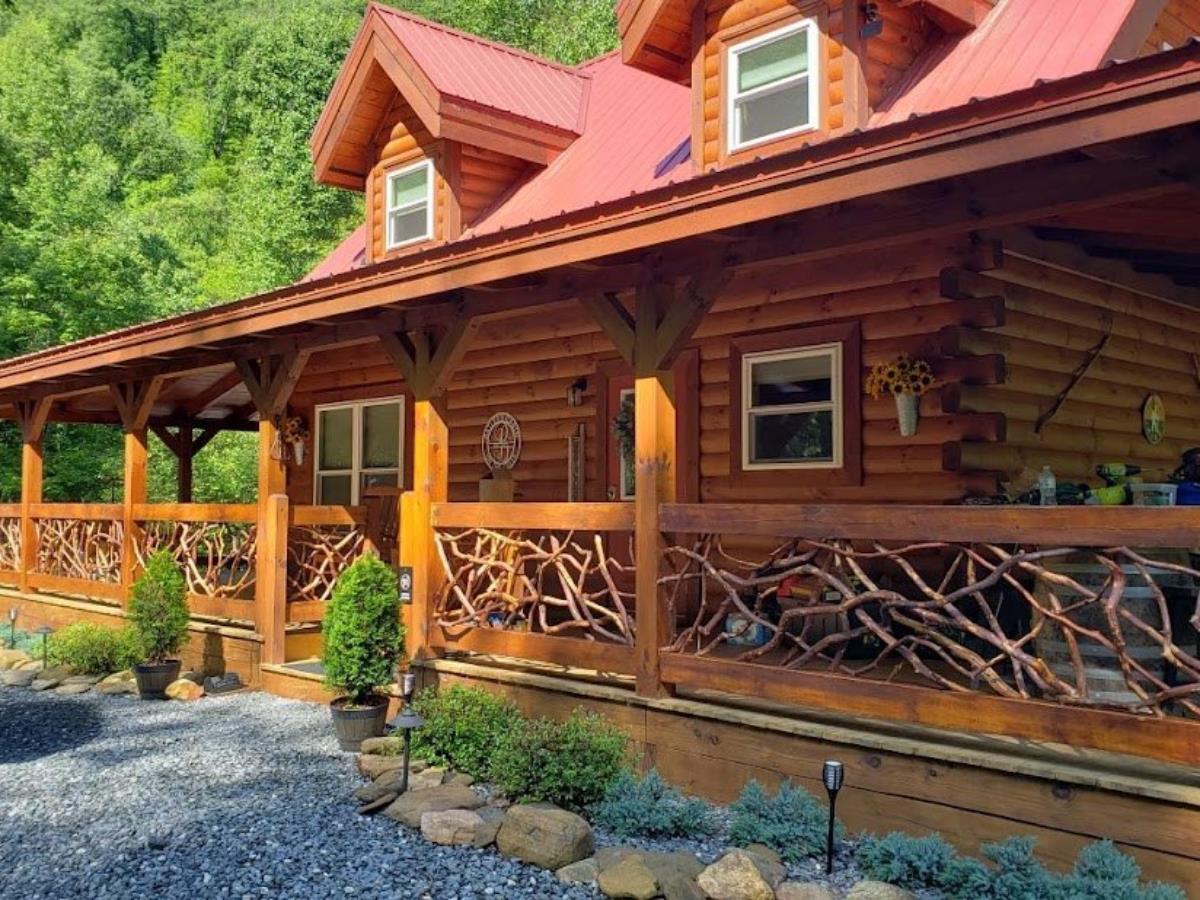
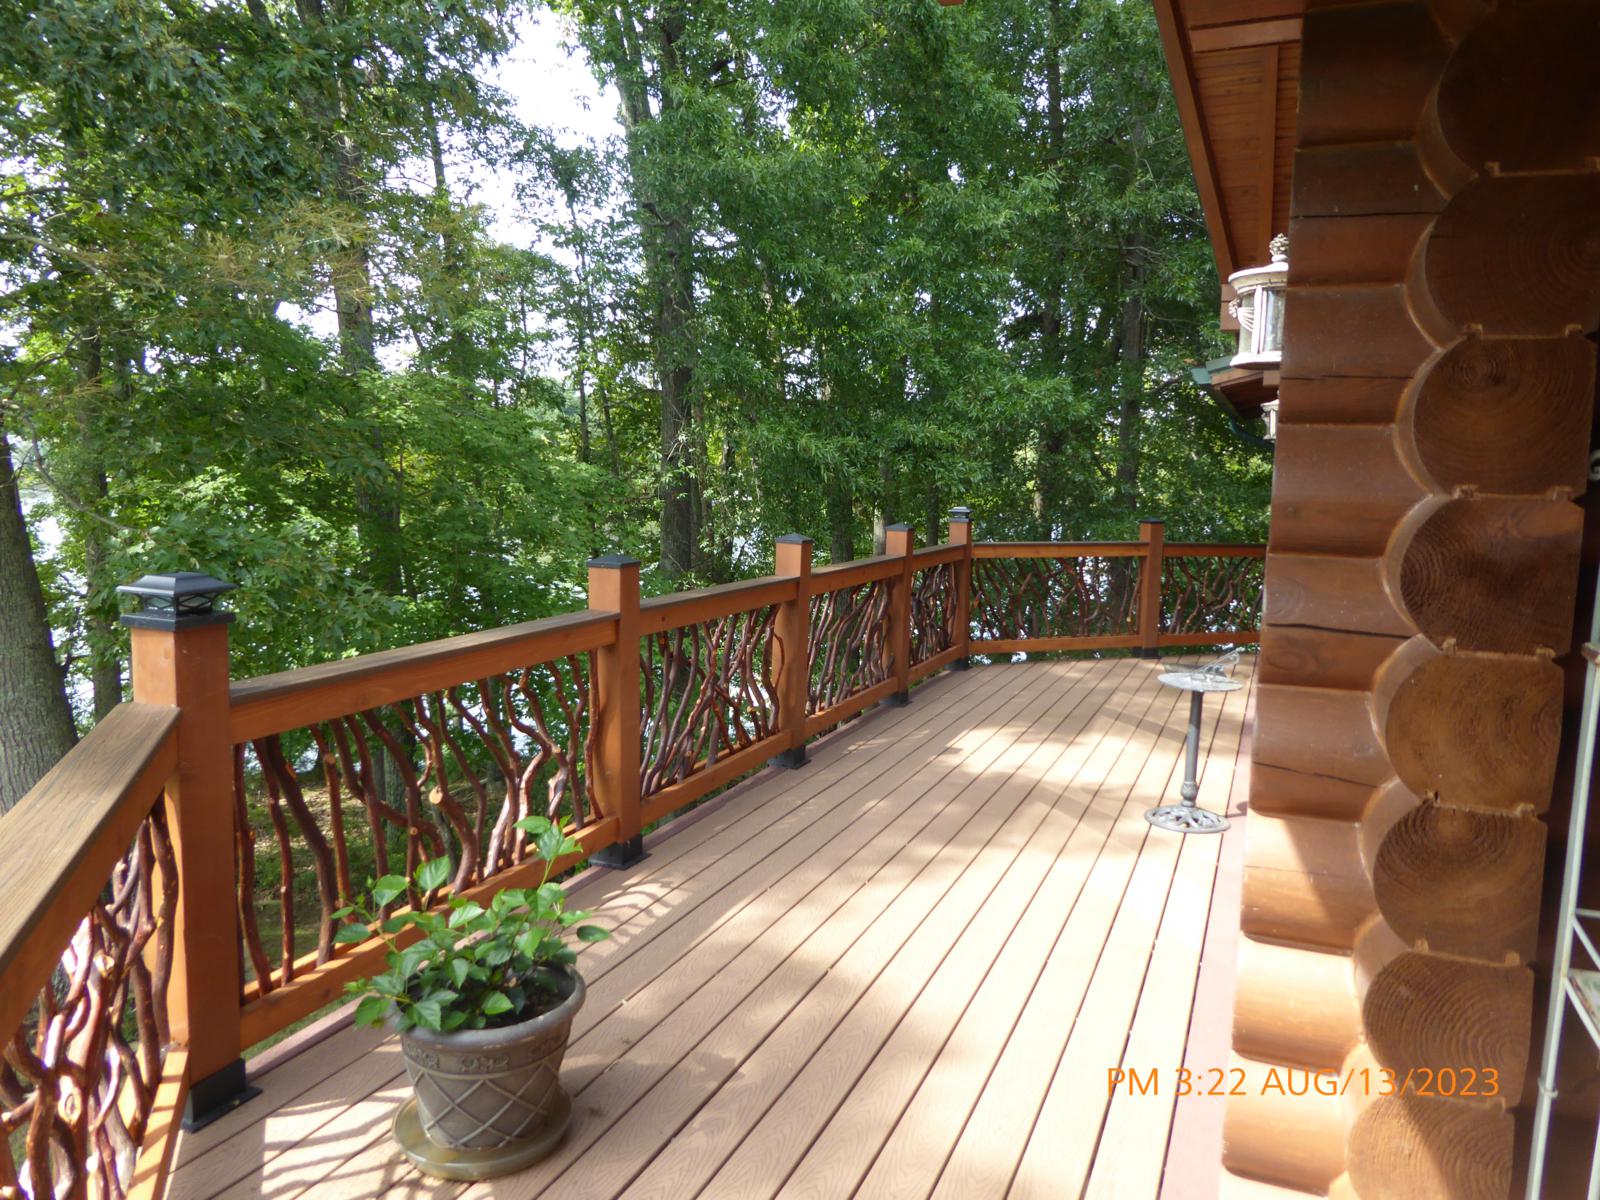
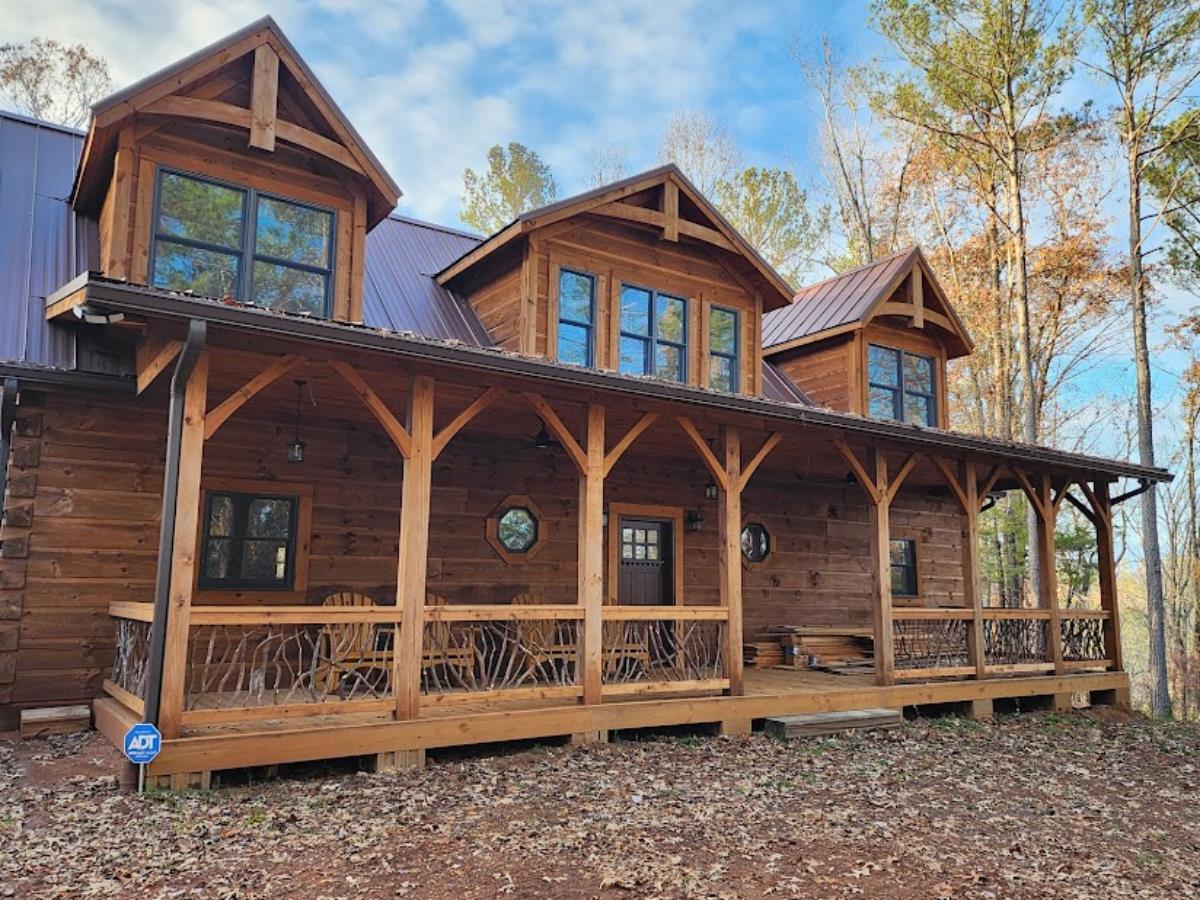
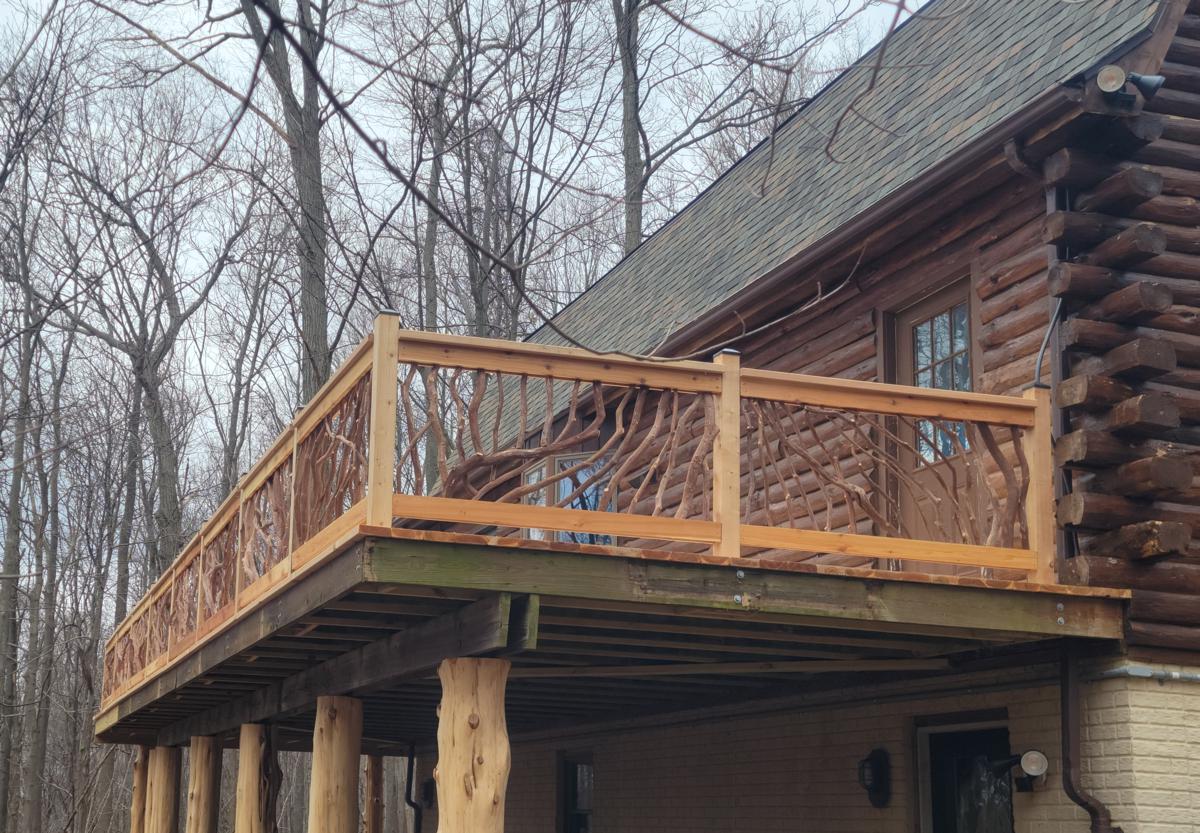
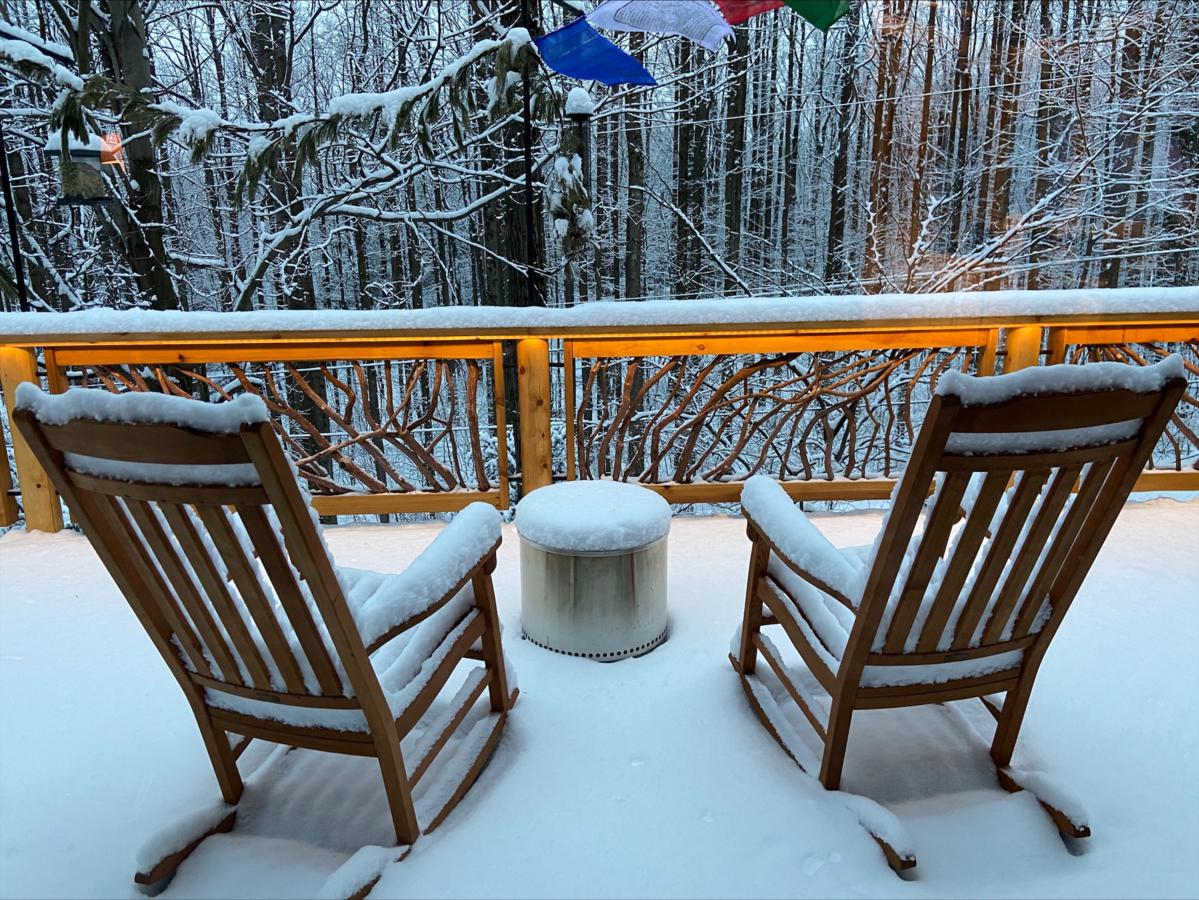
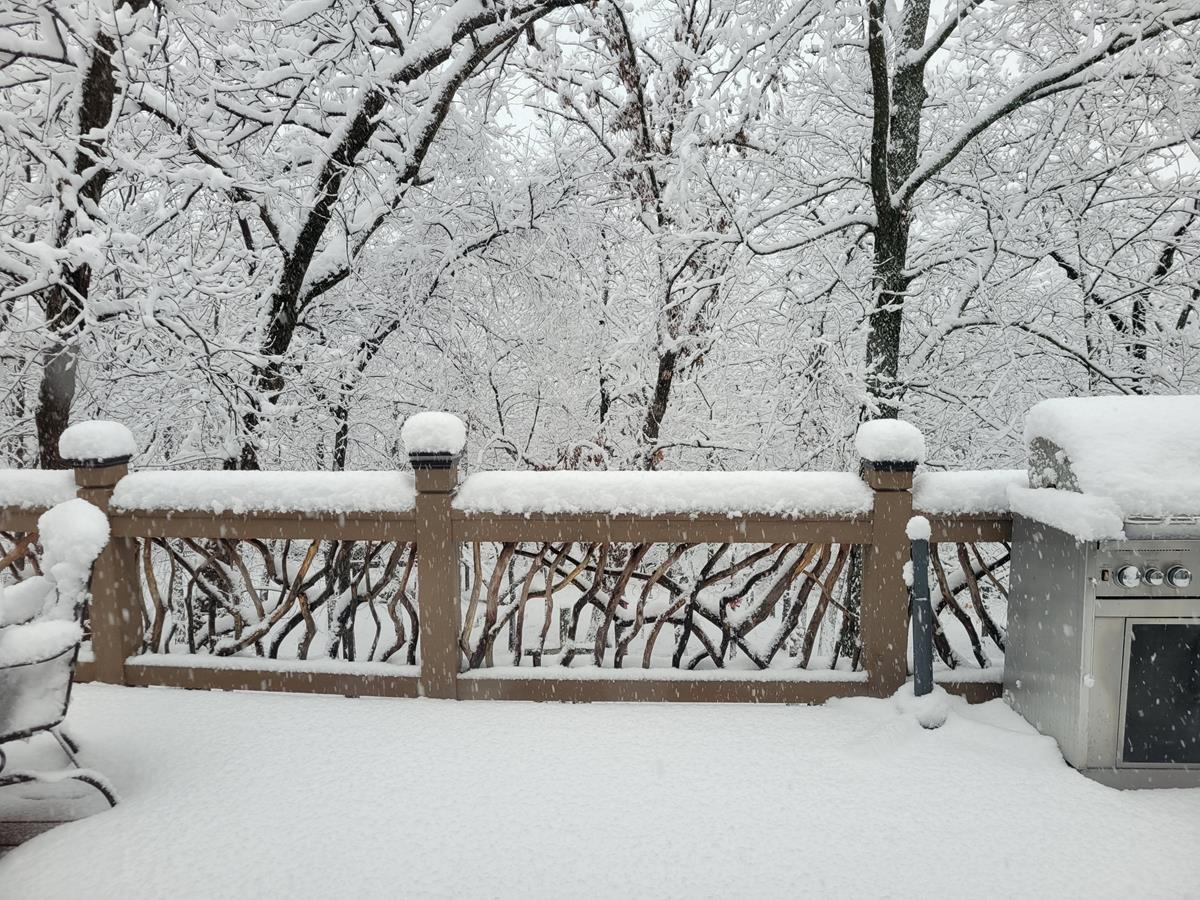
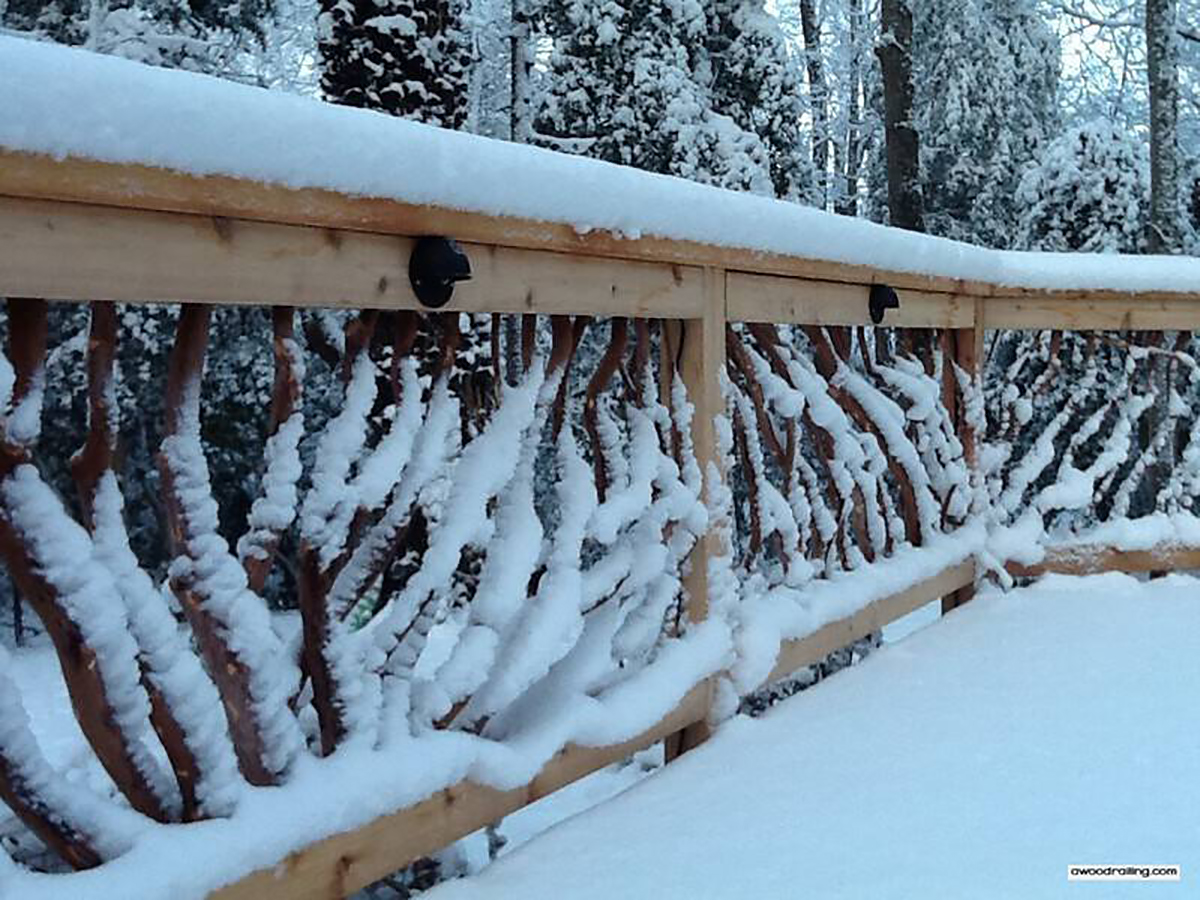
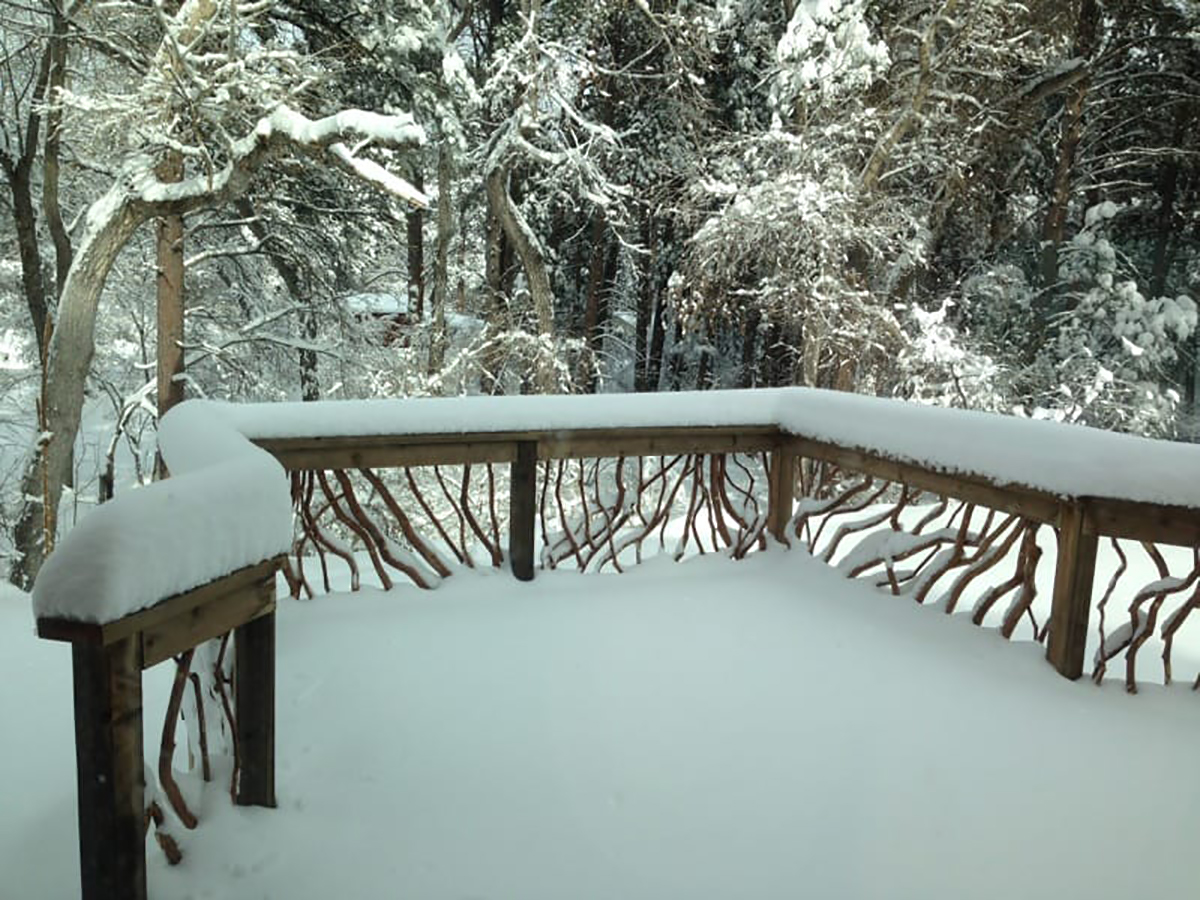
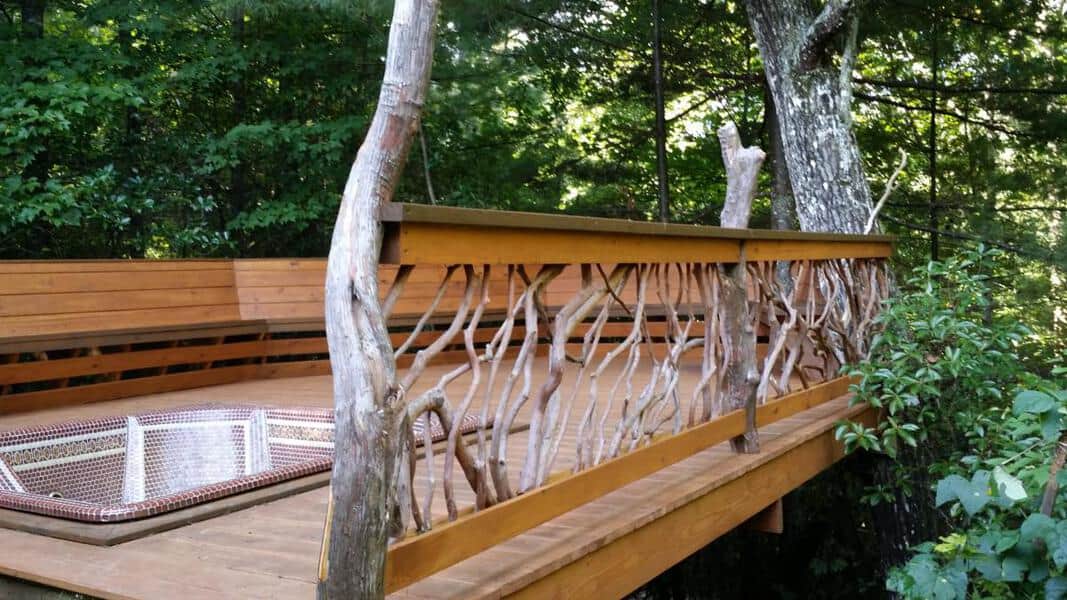
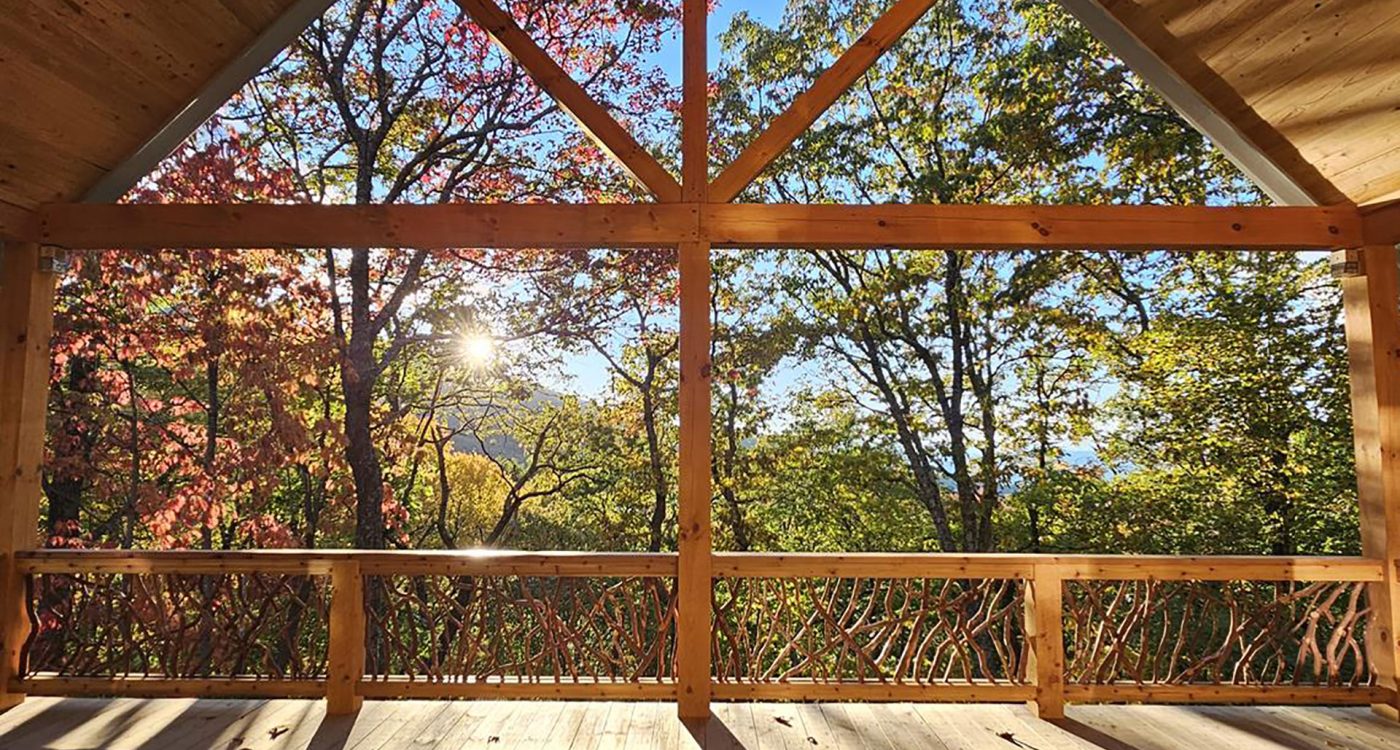
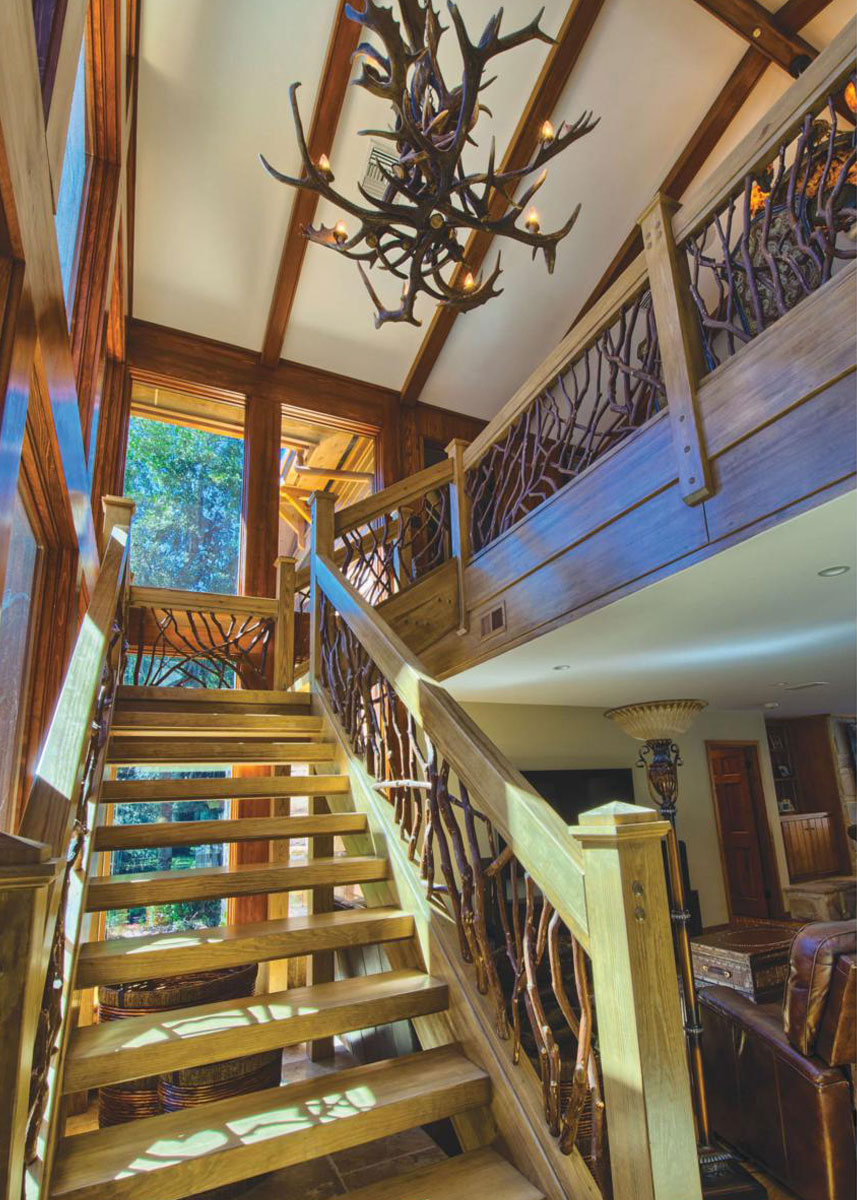
They can be installed throughout the home and look great as deck railing.
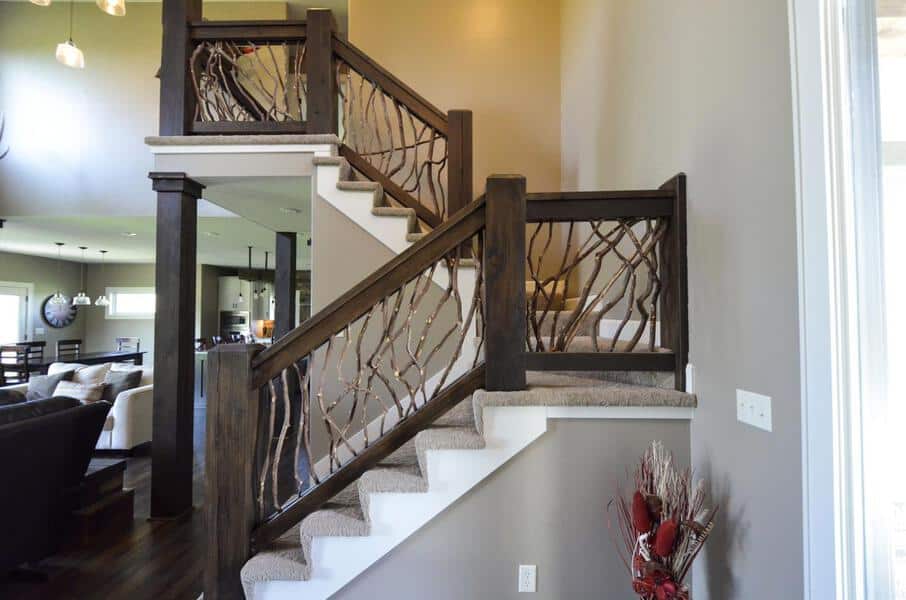
Yet still work as interior handrails with elegant modern décor.
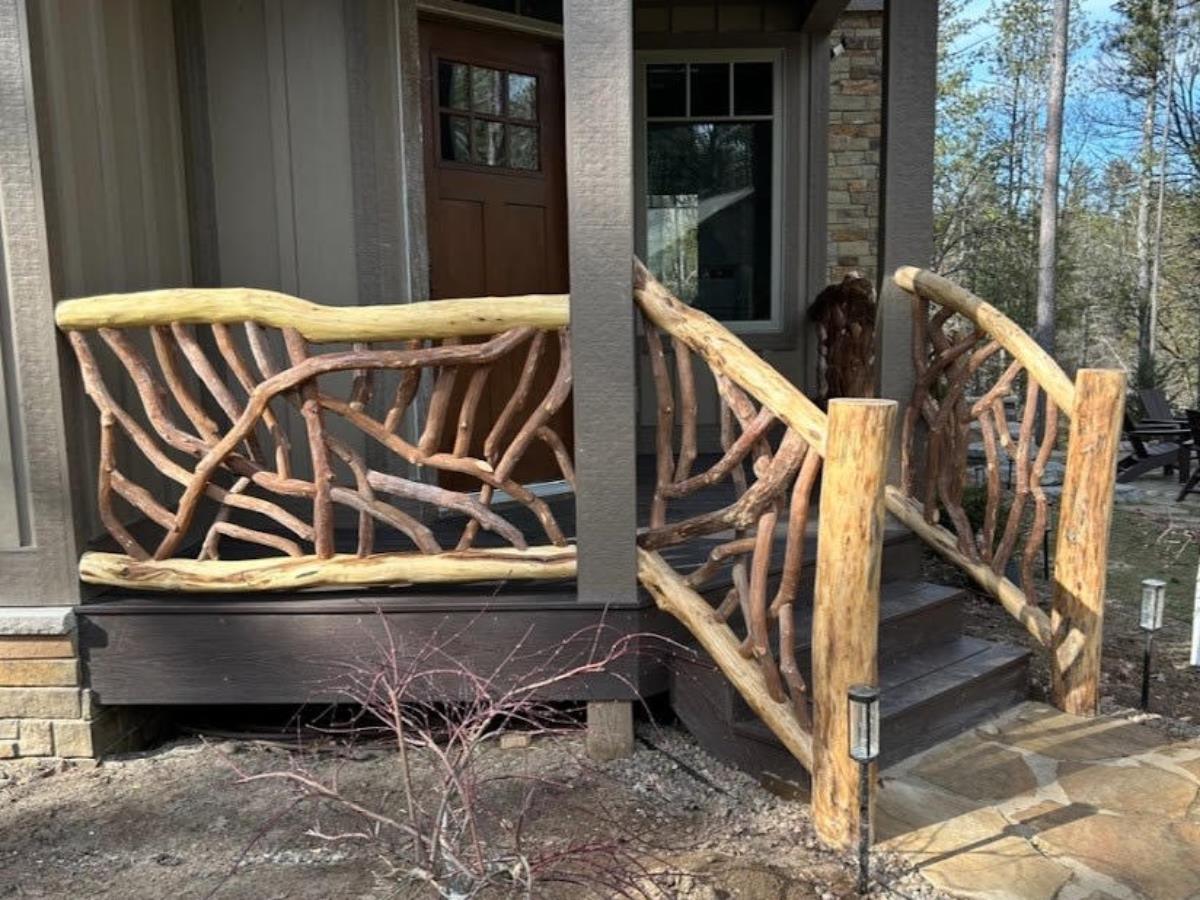
Our log railings with peeled locust rails are the pinnacle of rustic style!
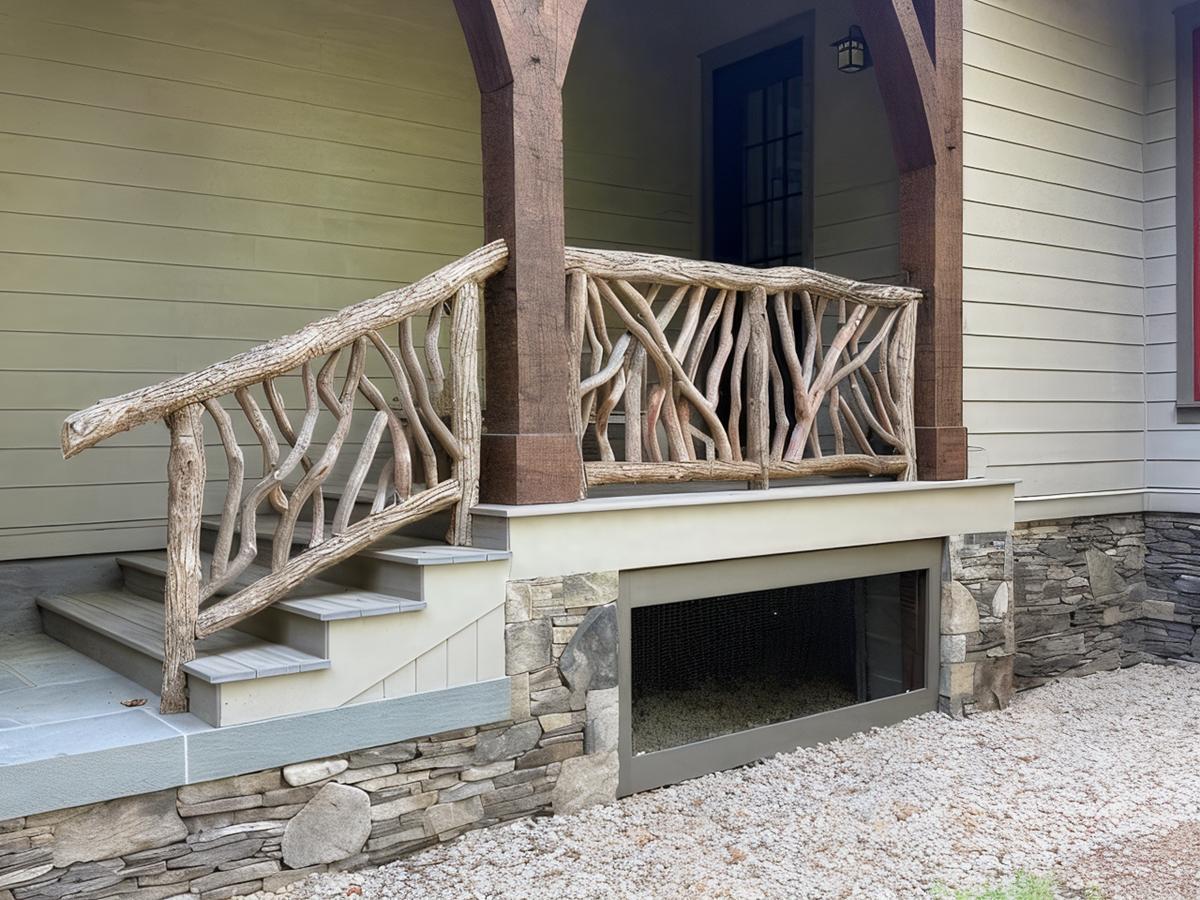
Log railings built with locust with the bark on are
a strong connection to the natural environment.
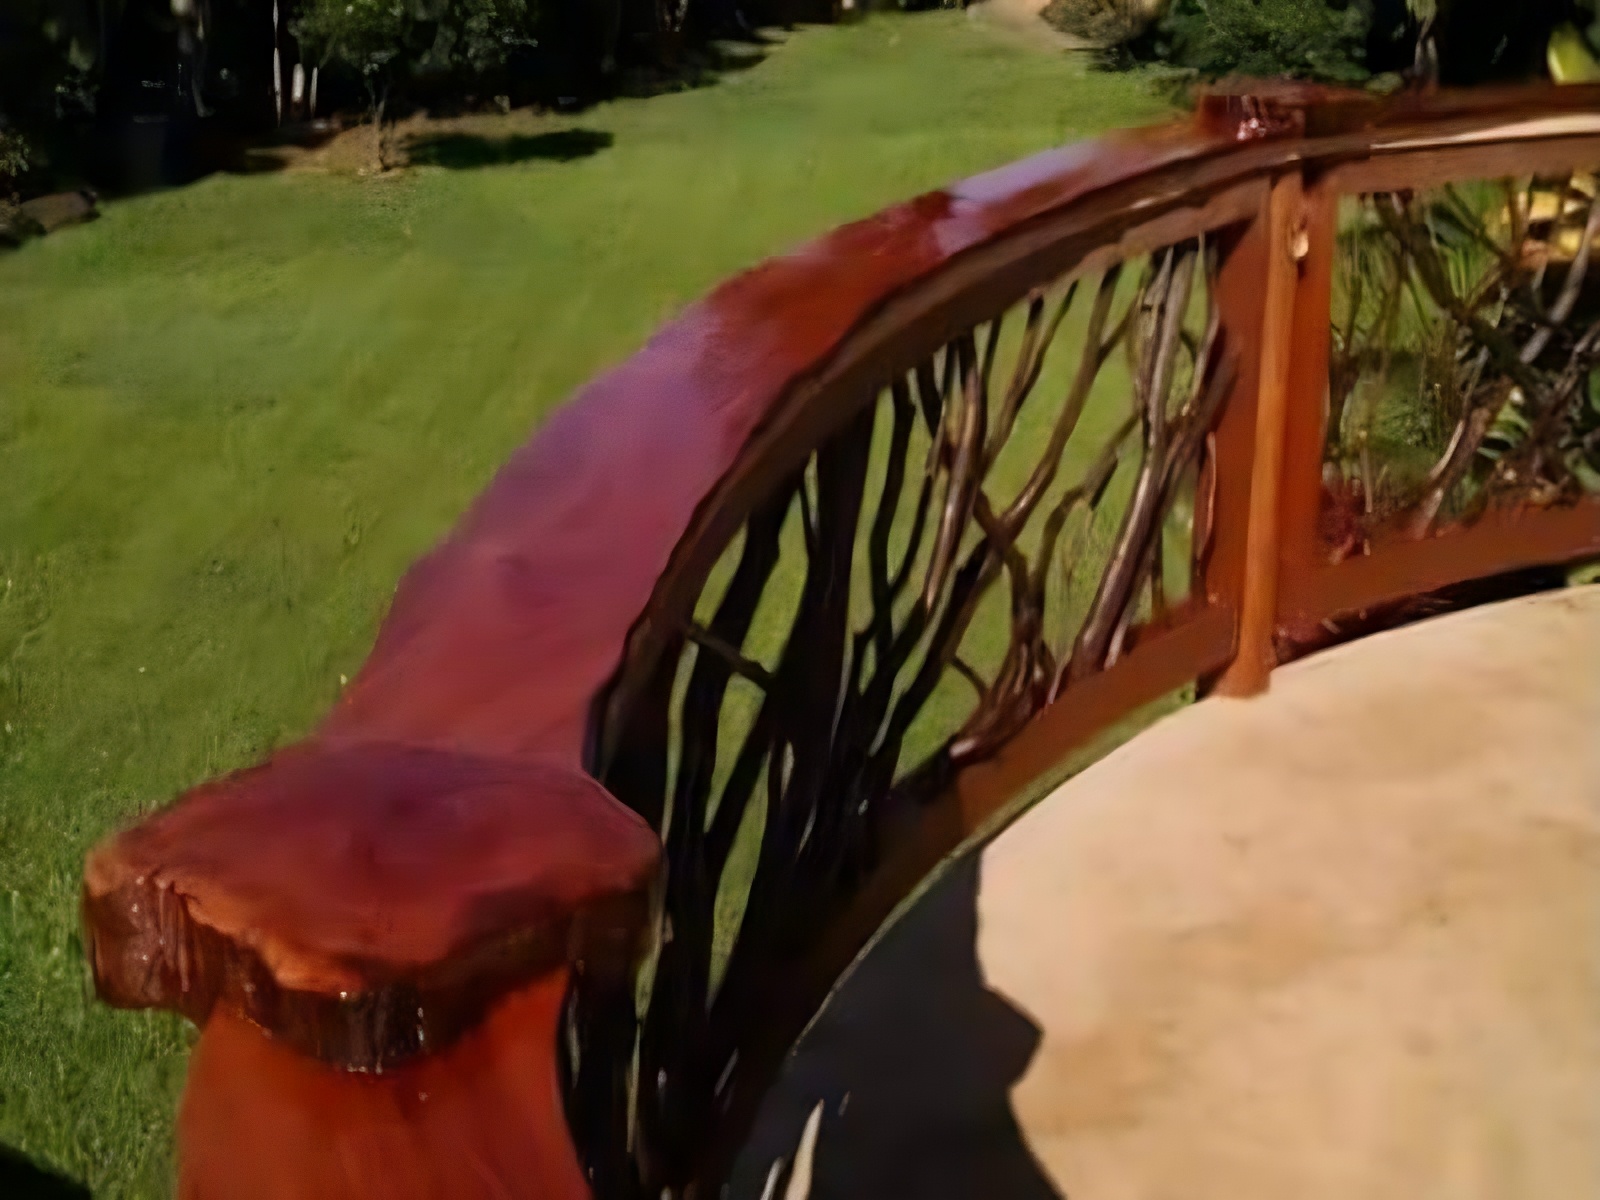
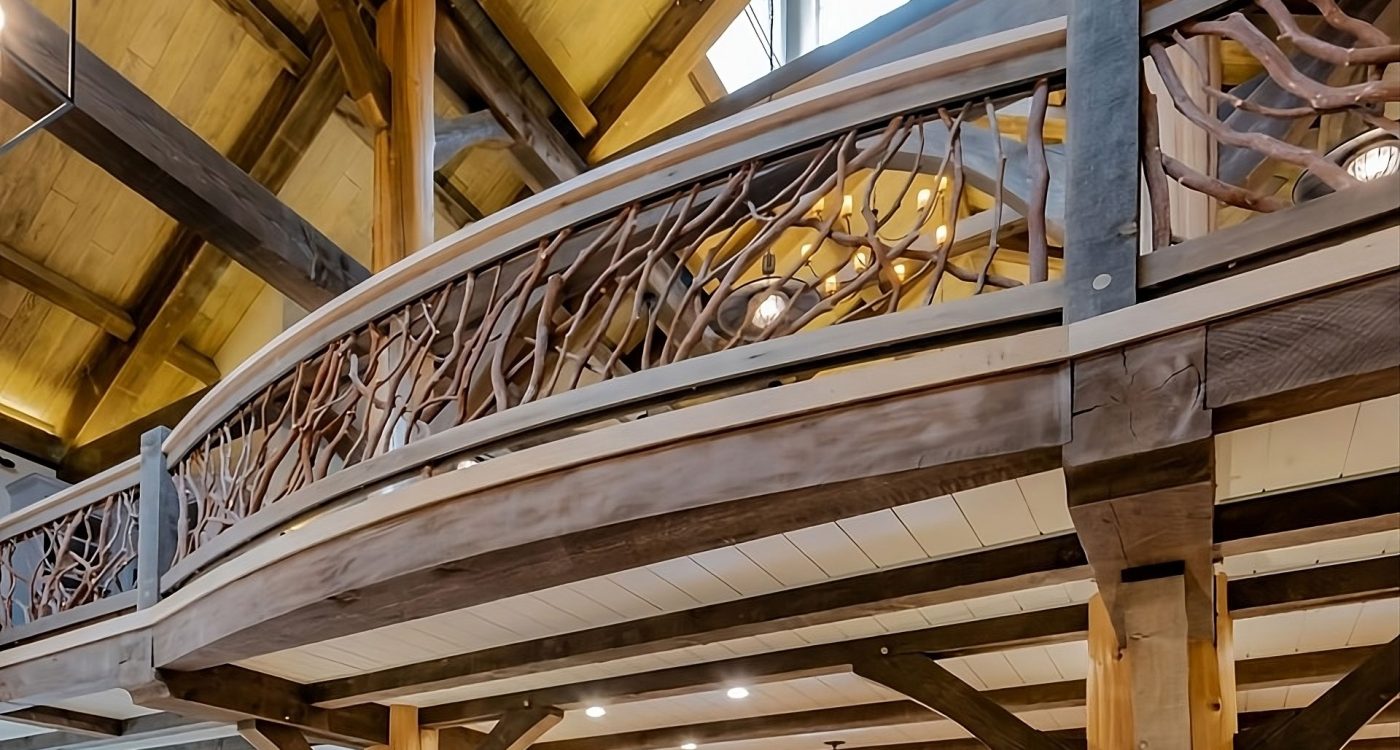
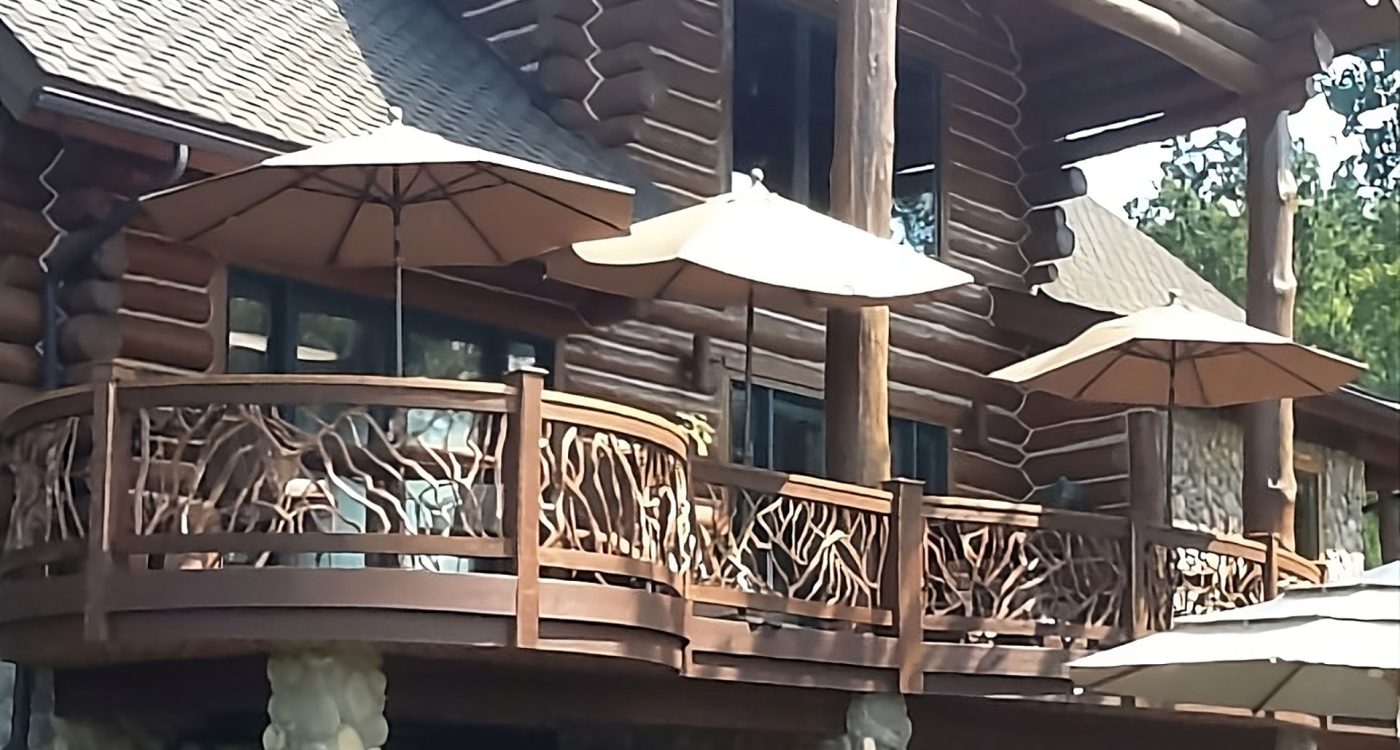
We custom bend curved railings to match the arc of your deck or balcony.
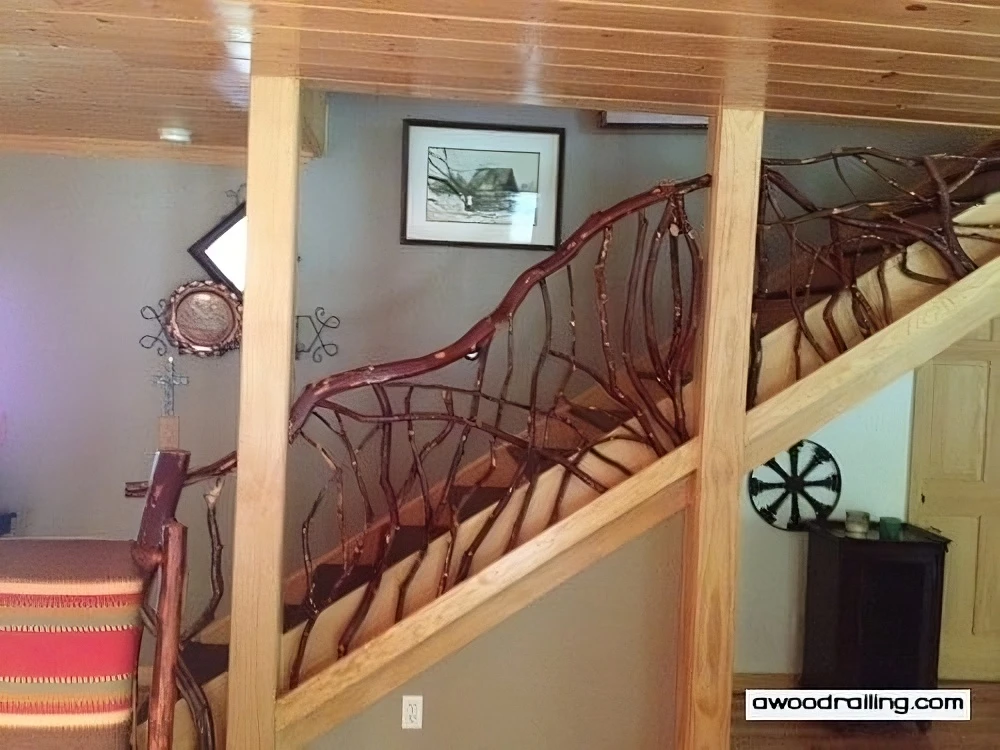
Or create something unique like this mountain
laurel branch top rail and yellow pine bottom.
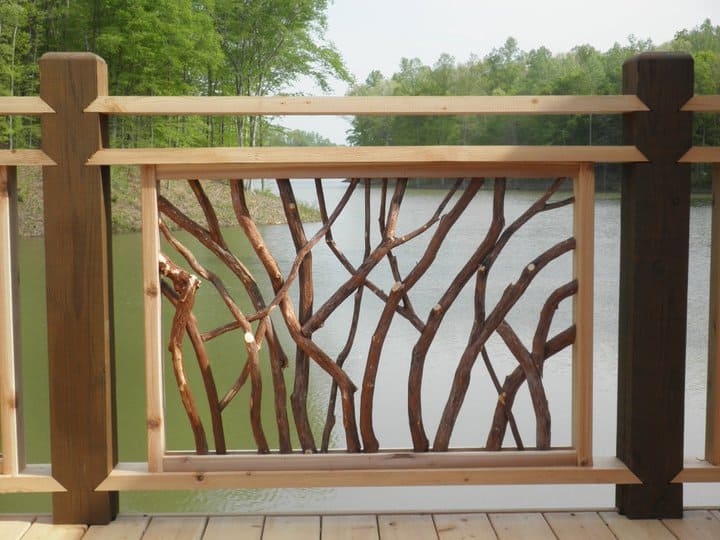
The Lissara style was designed to be especially intriguing…
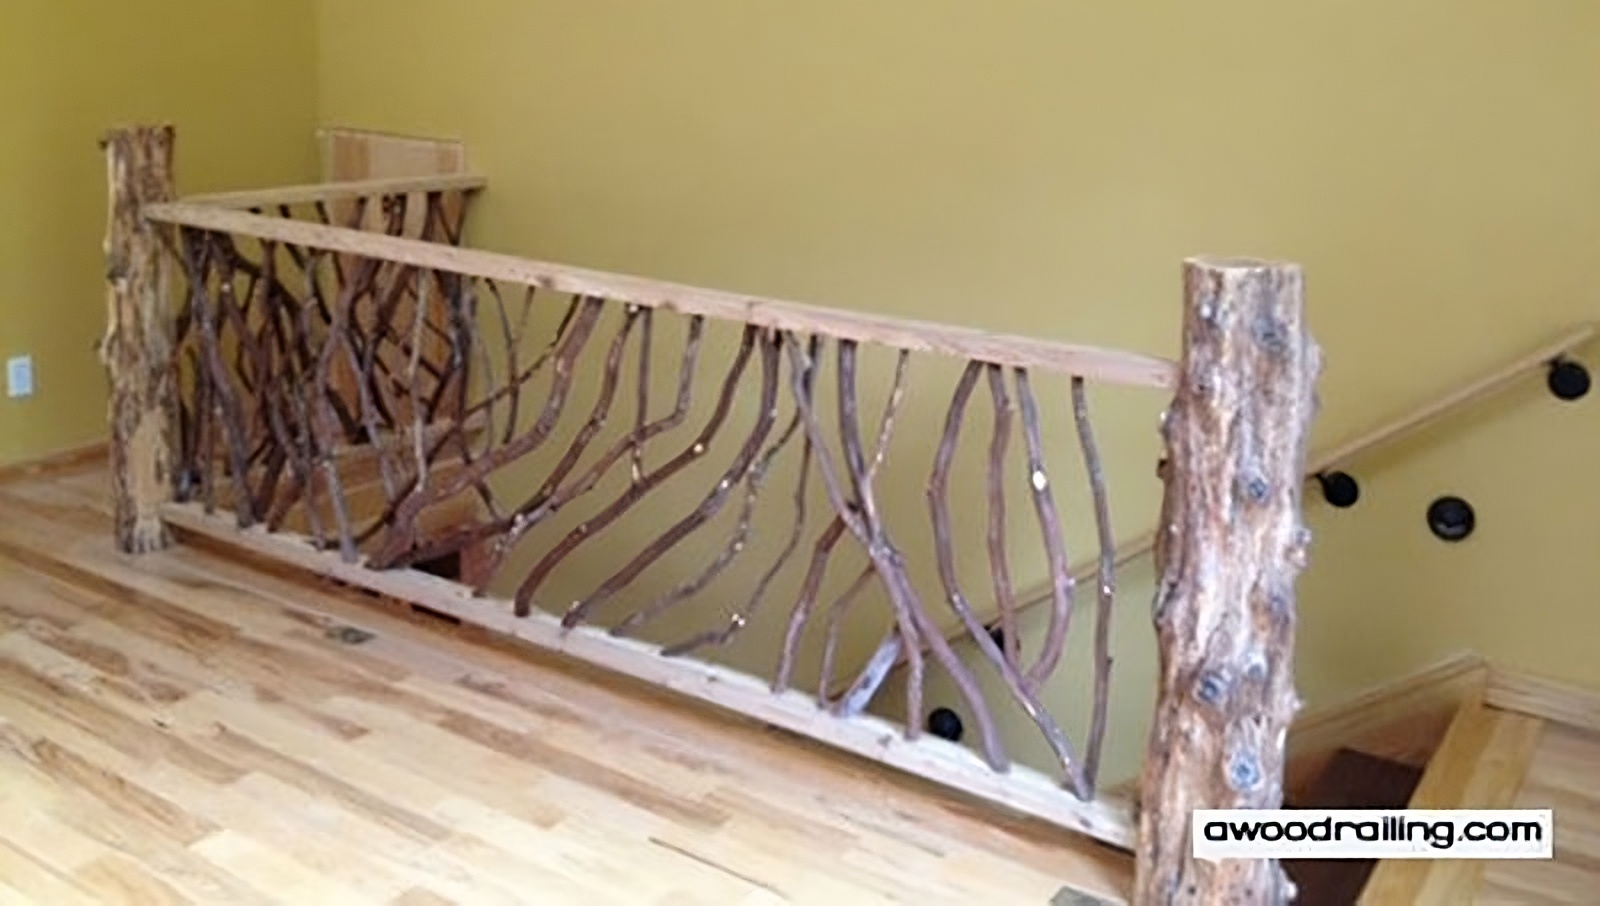
While horizontal top and bottom rails showcase the exposed joinery…
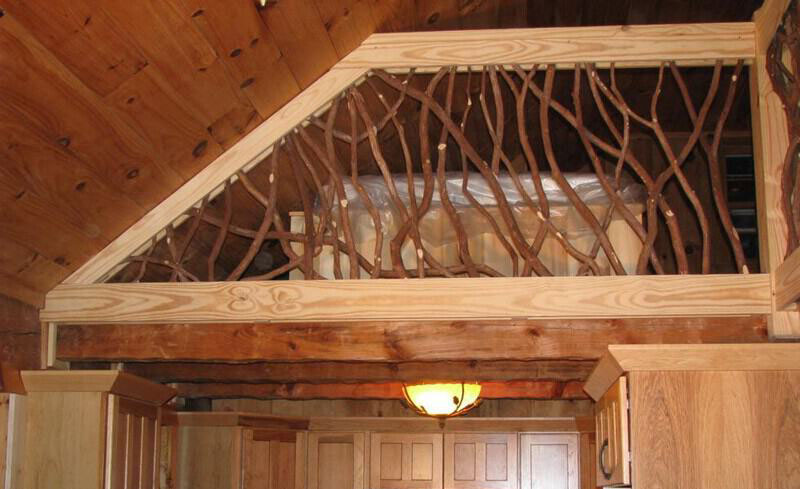
Custom shapes are no problem…
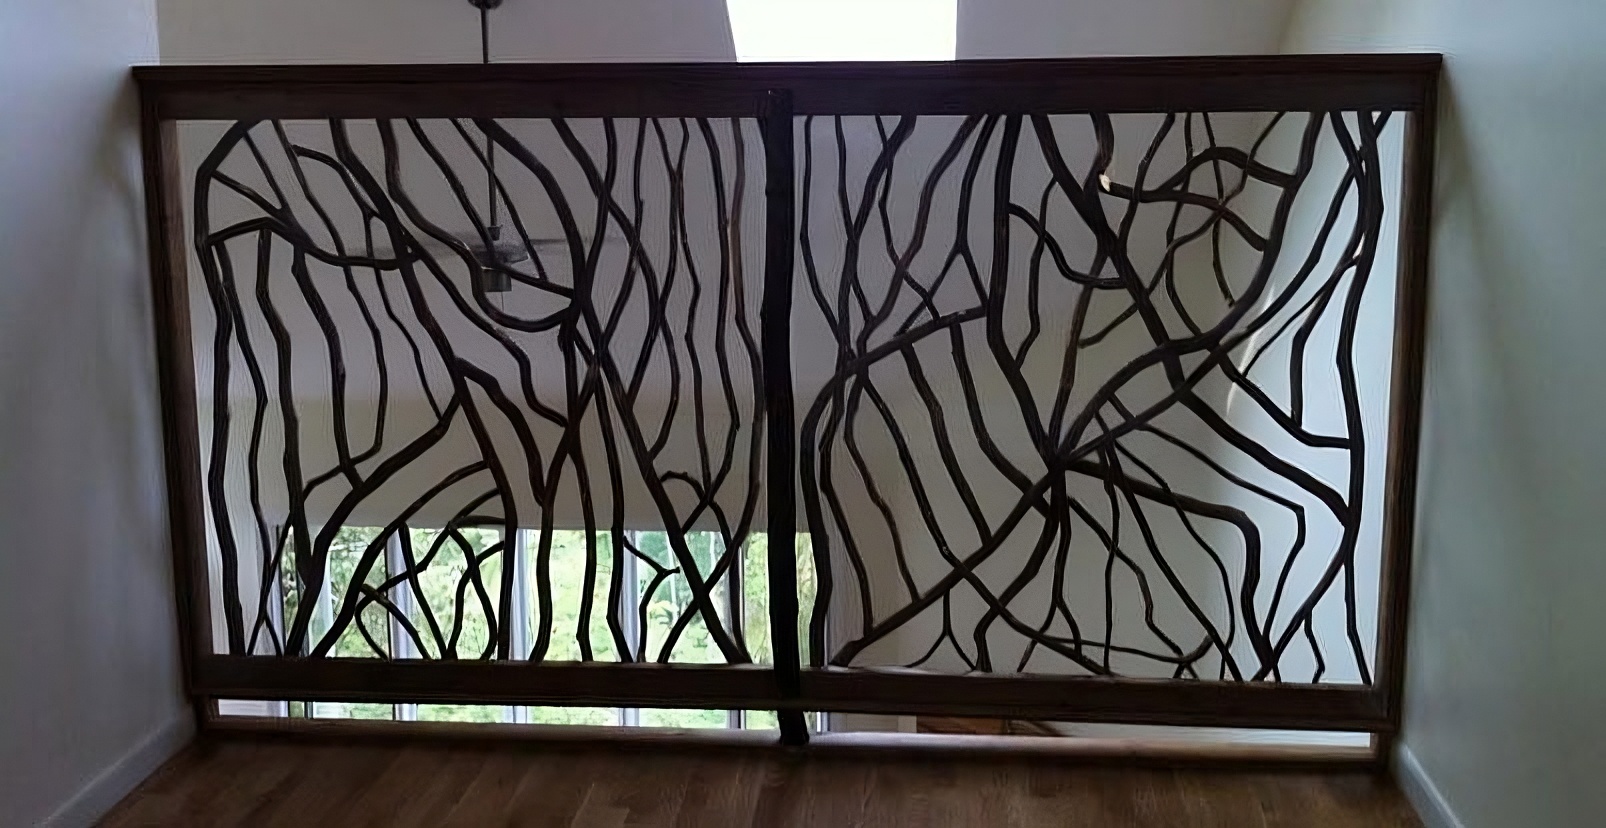
And they can be built extra-tall.
This section also has a Mountain Laurel Newel Post.
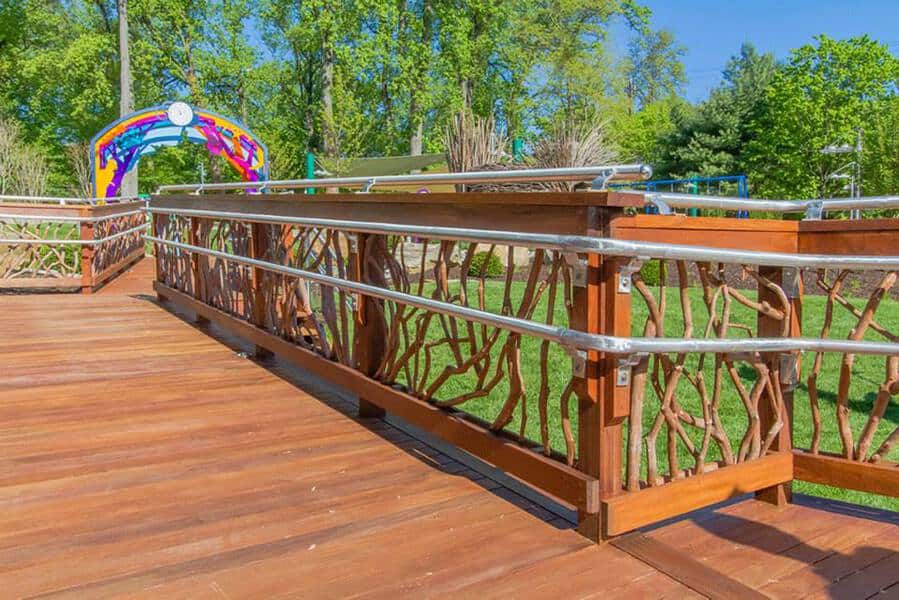
Railings are built to meet common code requirements like the 4″ sphere rule.
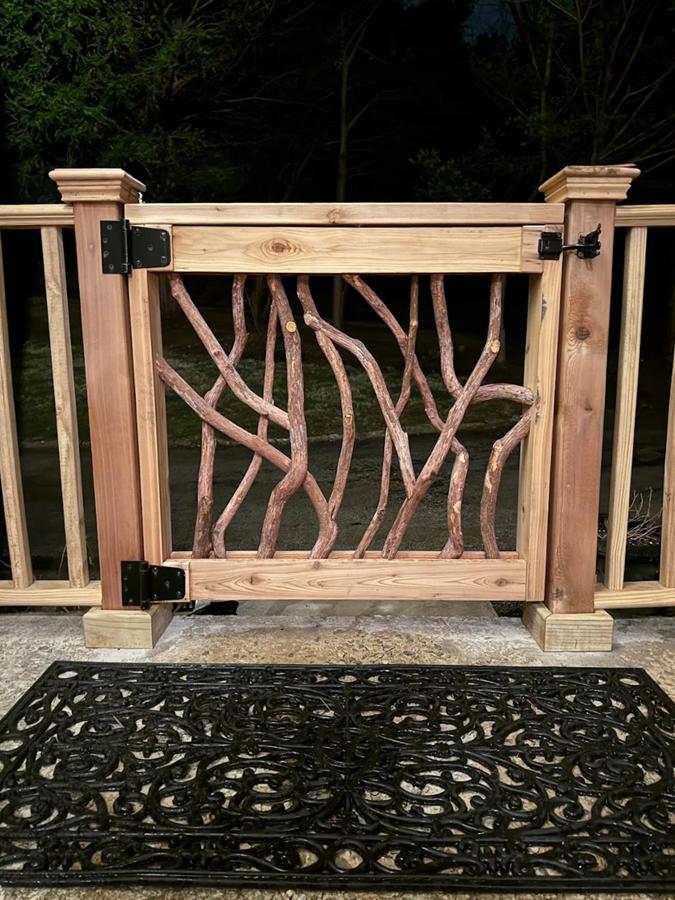
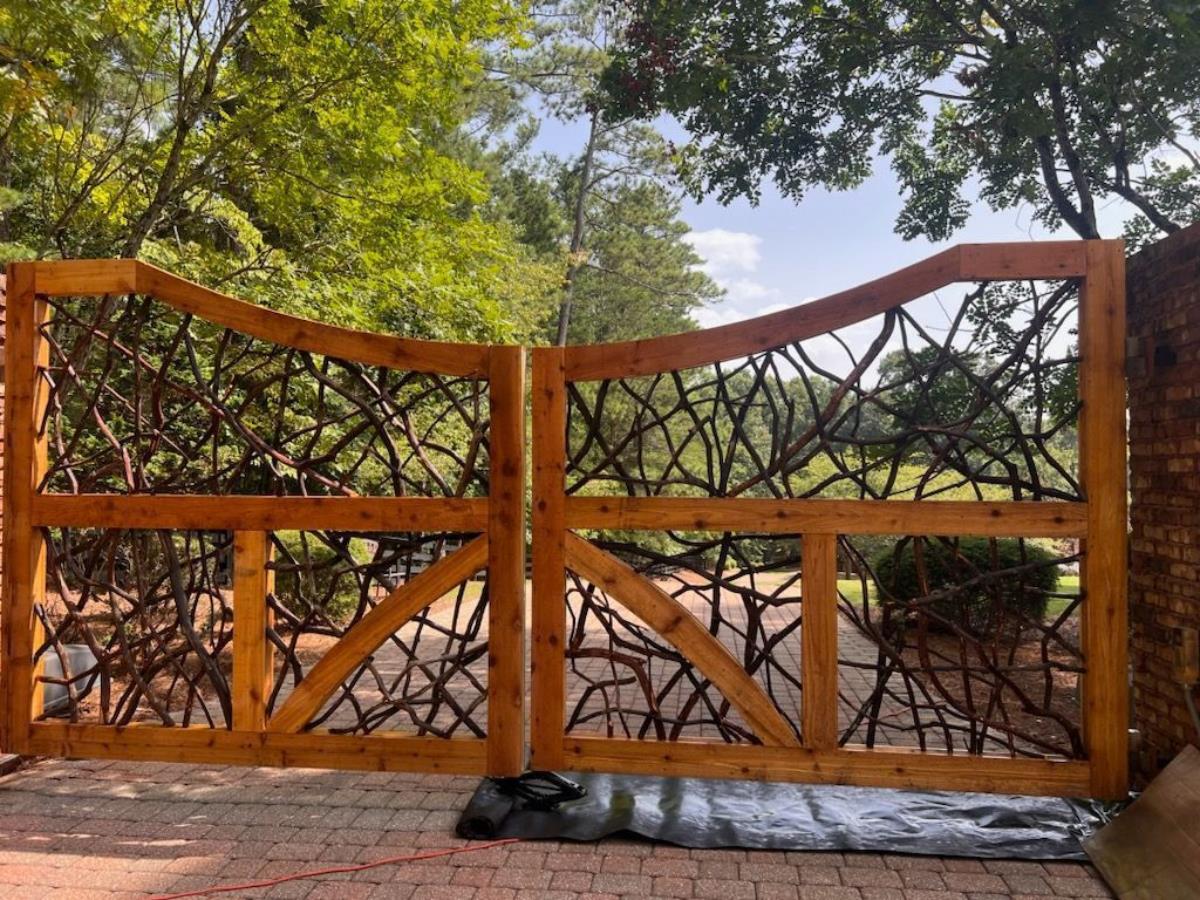
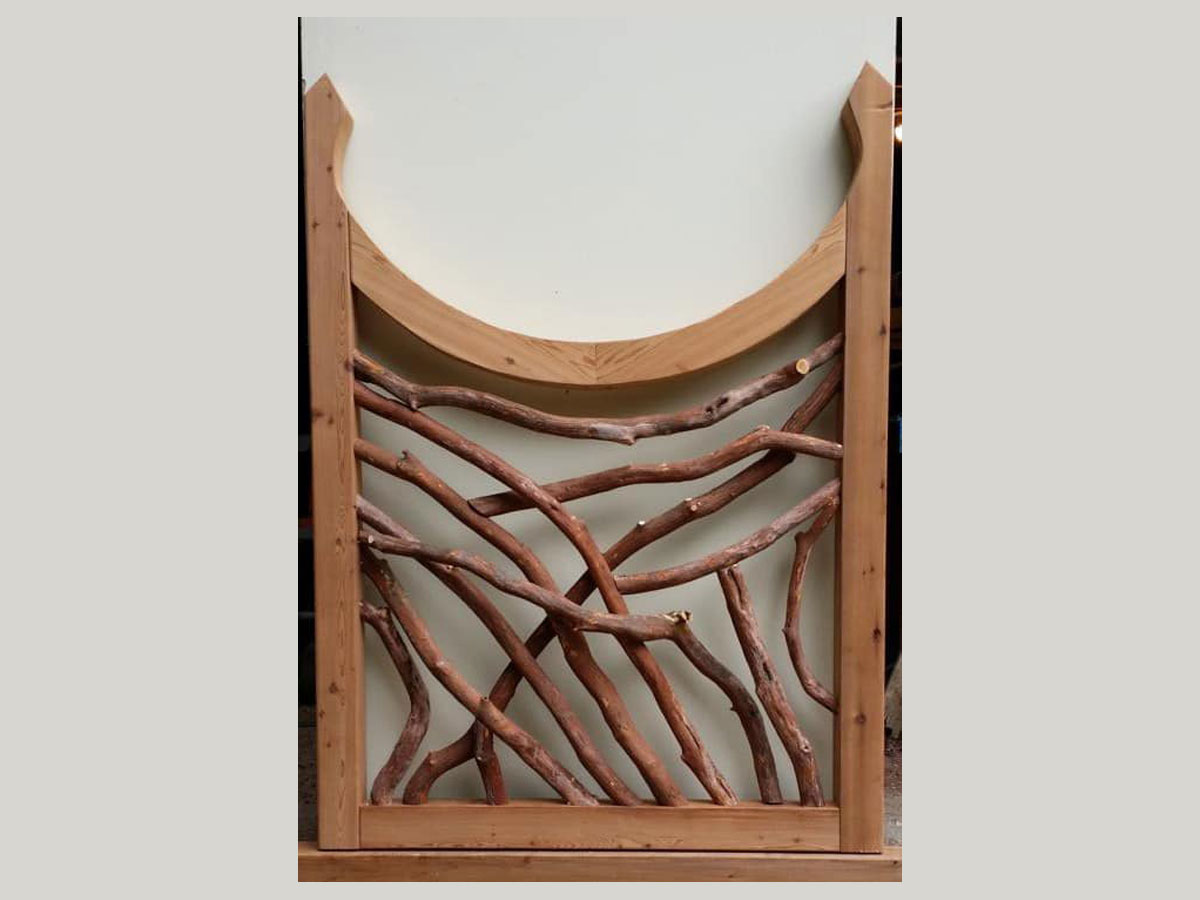
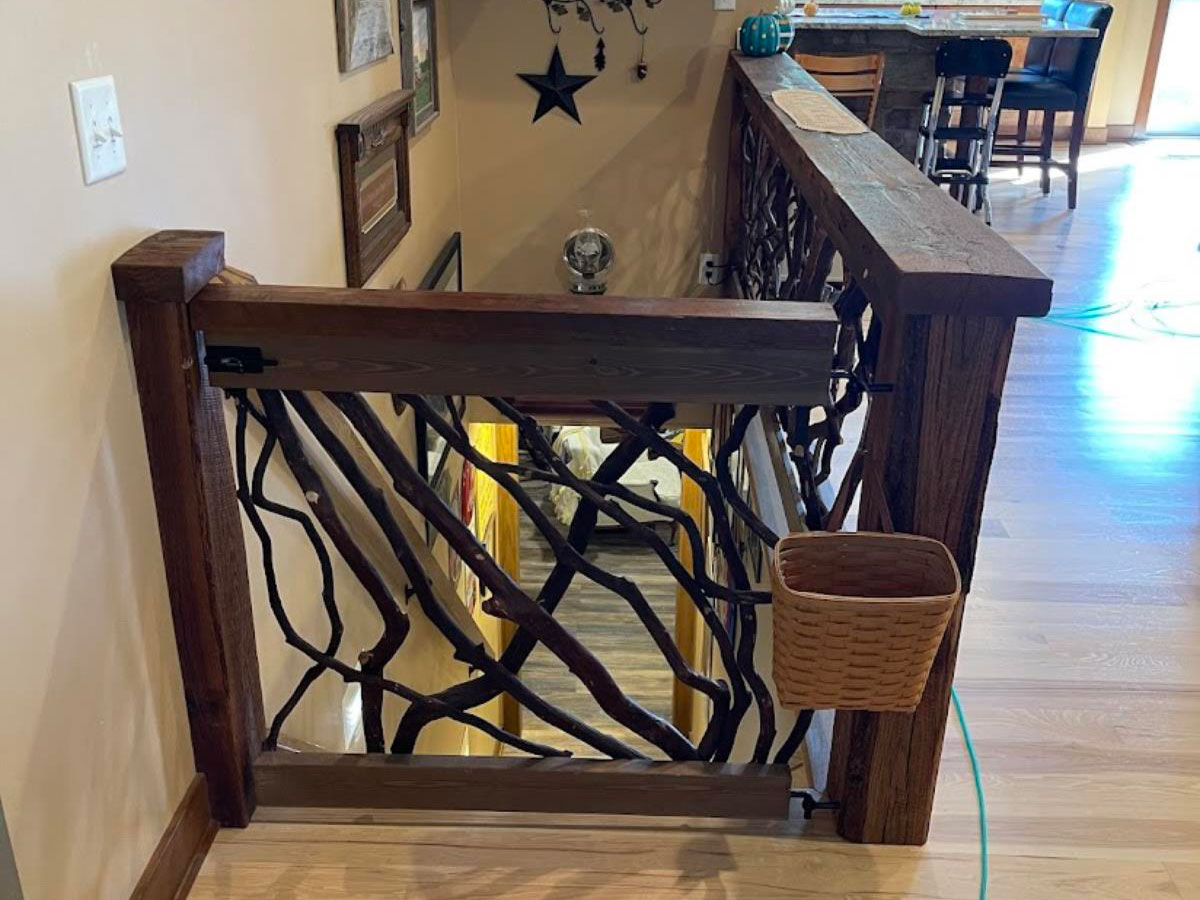
Mountain Laurel Branch Banister is approximately 2″ diameter and each piece is unique. We provide the material cleaned and ready to endjoin. Your contractor installs and end joins on site and provides the mounting hardware. Prices start at $10/lf plus shipping.
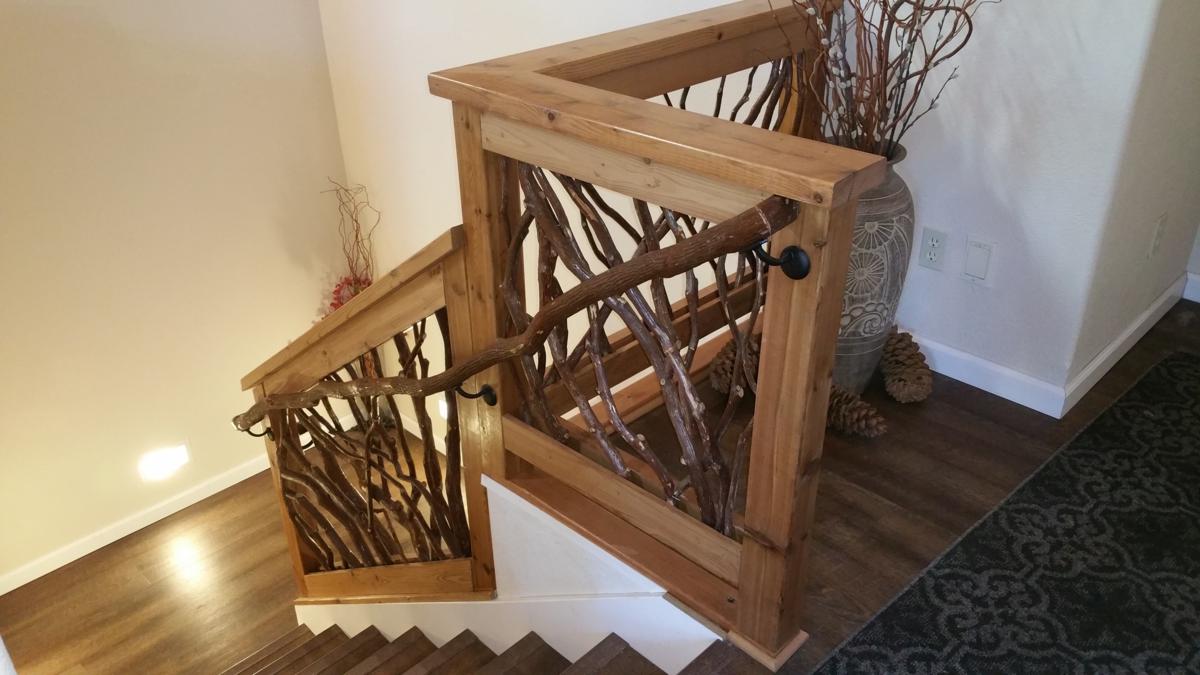
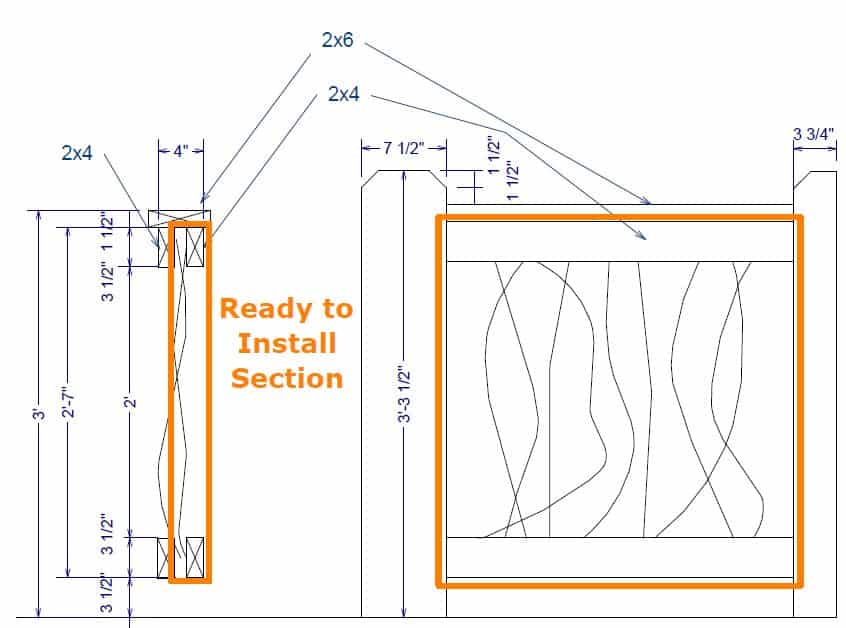
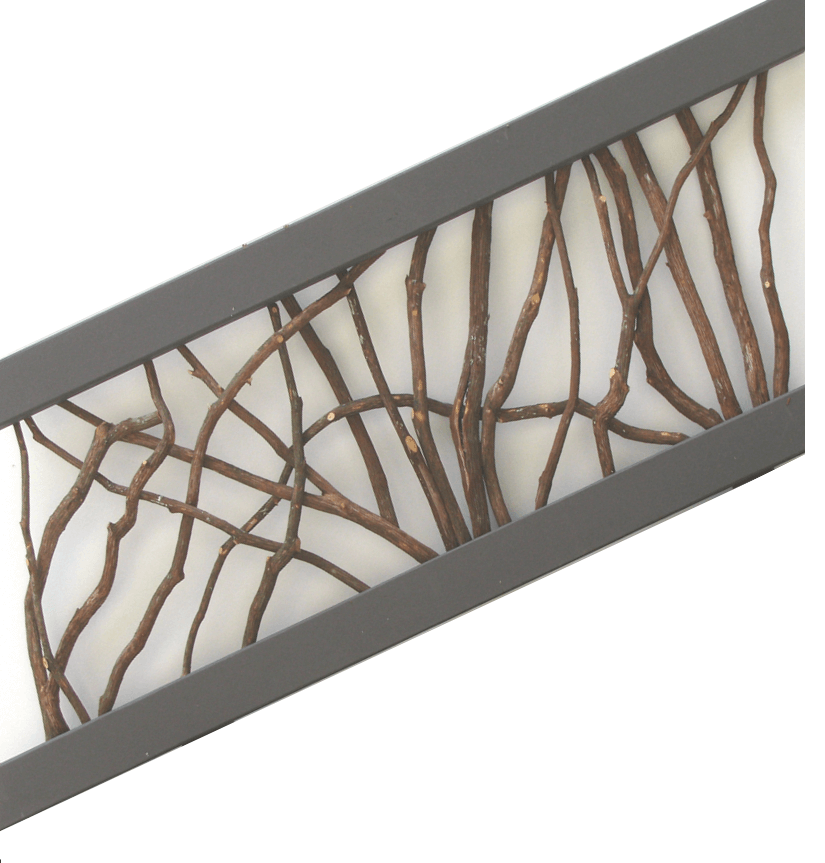
Mountain Laurel Handrails come in preassembled sections that are easy to install. You provide your actual post-to-post measurements. A typical section is a top and bottom cedar 2×4 with the mountain laurel branches woven in between. 2×4 works well for projects where posts are 6×6 and larger. For 4×4 posts, 1×4 lumber is recommended.

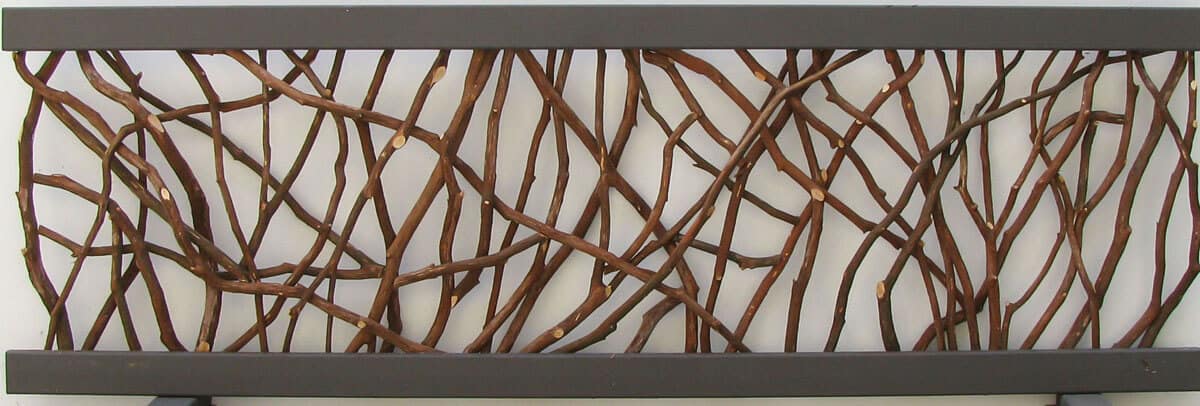
Sections are built one inch longer than your actual post-to-post measurements. You provide an additional board for the top and bottom to make a “sandwich” of the ends of the sticks, as well as the 2×6 top. Prices start at $105/lf plus shipping. To quote your project, please provide your total linear footage and city/state/zip for delivery.
When you’re ready to order, you provide your actual post-to-post measurements. Sections are built only about one inch longer than your actual measurements, so accuracy is important.
Pattern is random with the exception of the sunburst.
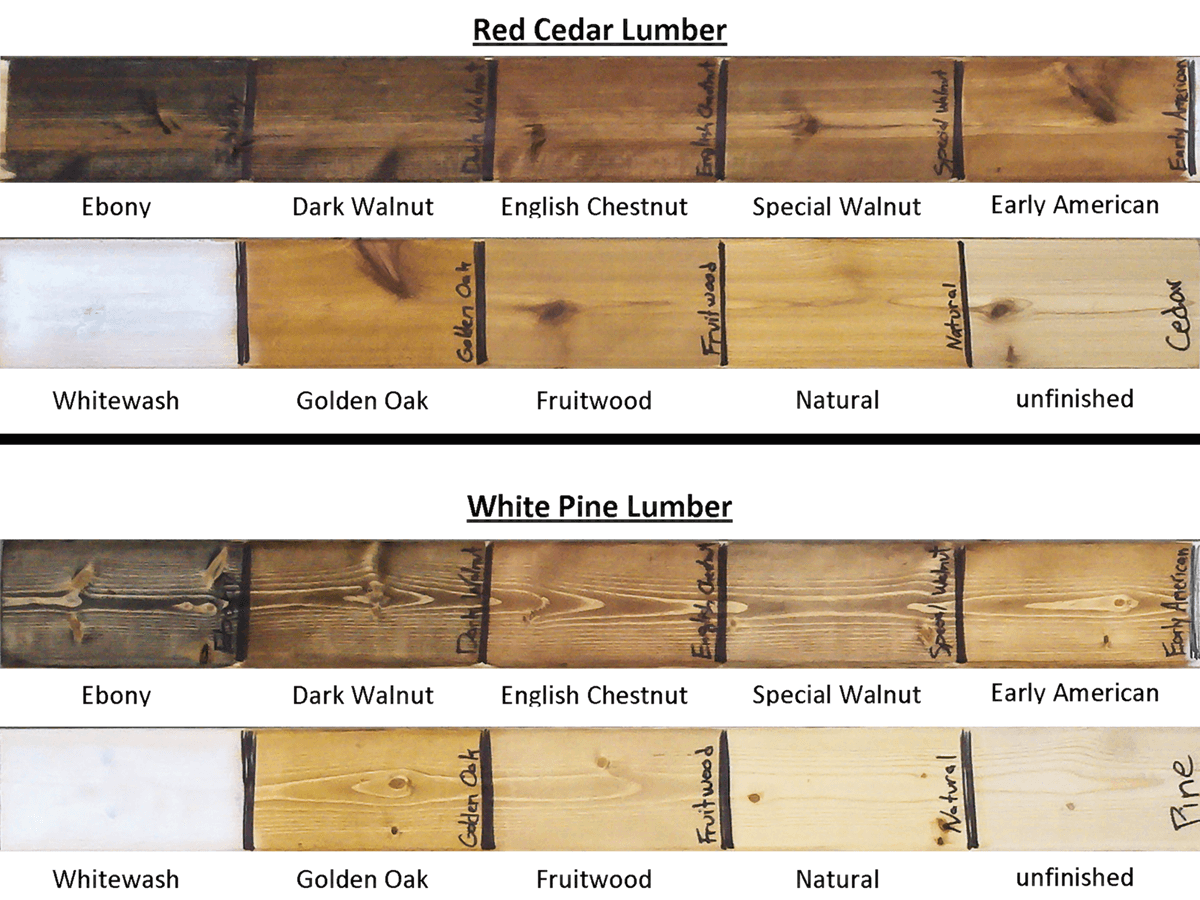
Paint or stain on the cedar 2×4 lumber is included in the price of the typical project. You select the stain and we get the same product to match what you’re already using. This picture shows some typical Minwax stain products applied to red cedar and white pine.
Sticks are typically left just the way they come from the forest for the most rustic look. We can clean the sticks to remove the loose bark and moss and lichen. Cost for this is $10 per linear foot. This is different than removing the bark from sticks.
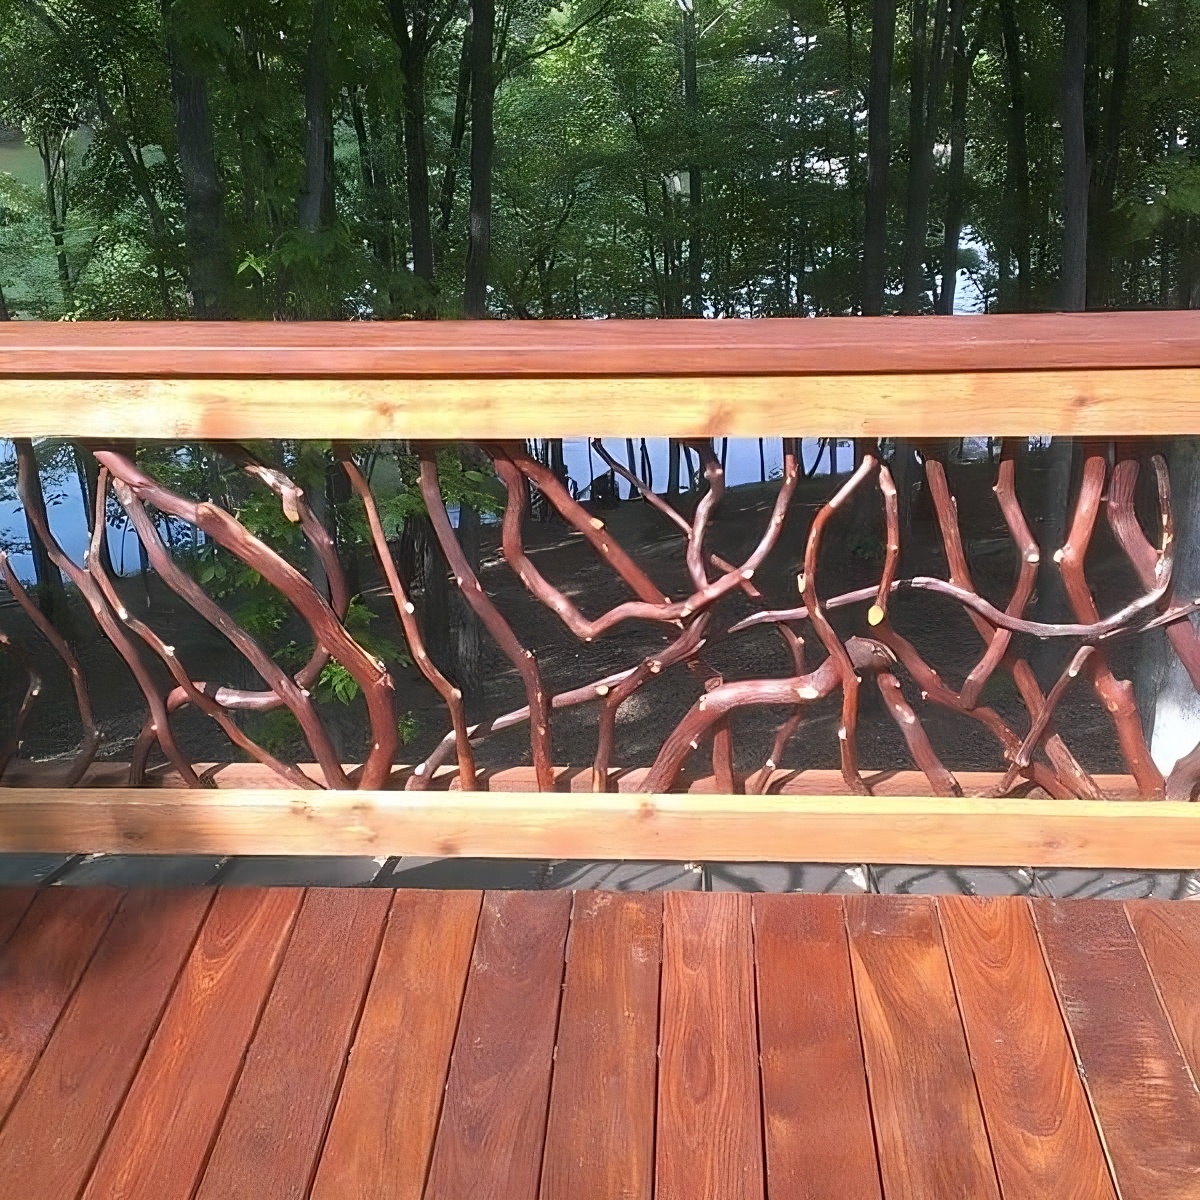
Sticks are typically not painted or stained. Some people like a natural stain on the sticks since it brings out the red color and gives them a little bit of shine. Cost for this is $20 per linear foot. Paint on the sticks is also an option and is $30/lf.
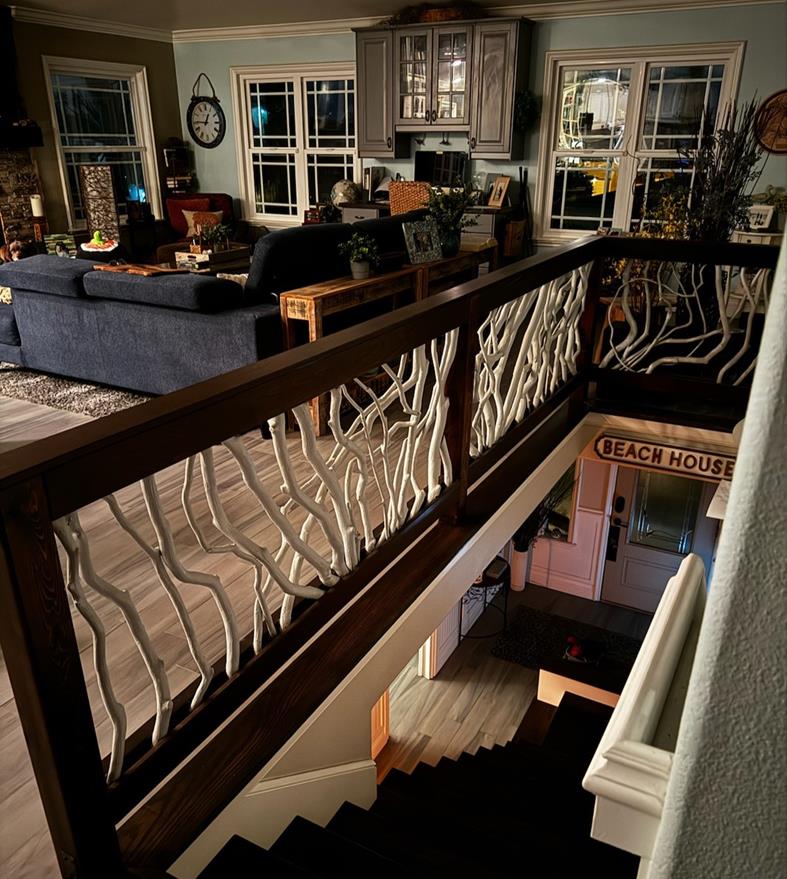
For best results on stained or painted sticks, the sticks should be cleaned.
For more details, click here to learn about stick finish options.
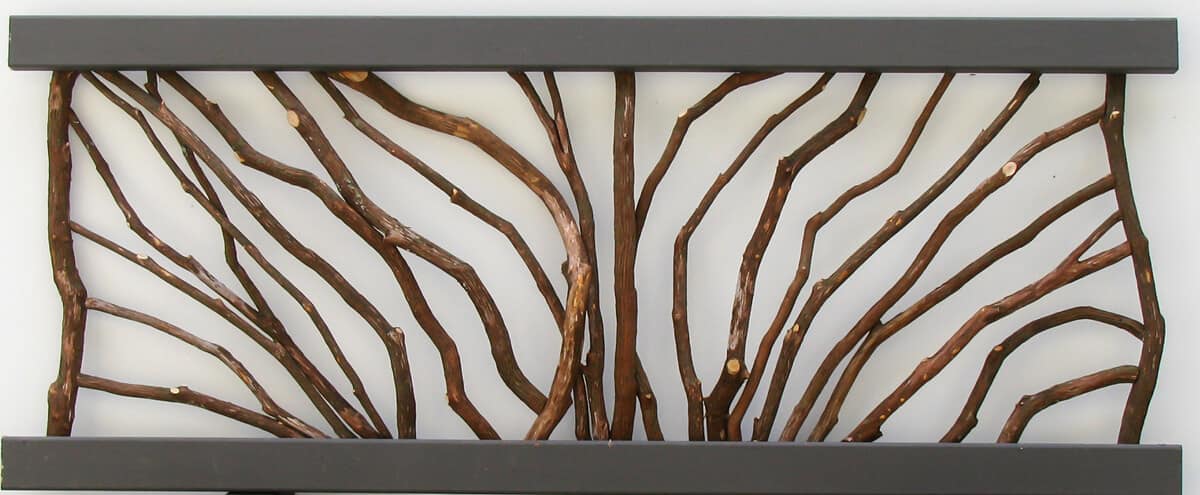
The handrail sections are one side of boards, typically 2×4 as shown here, with the mountain laurel sticks attached. You provide and install the additional 2×4 boards on the other side and the top cap 2×6 on site after installing the sections. This is so that your installer can hide fasteners in the railing.
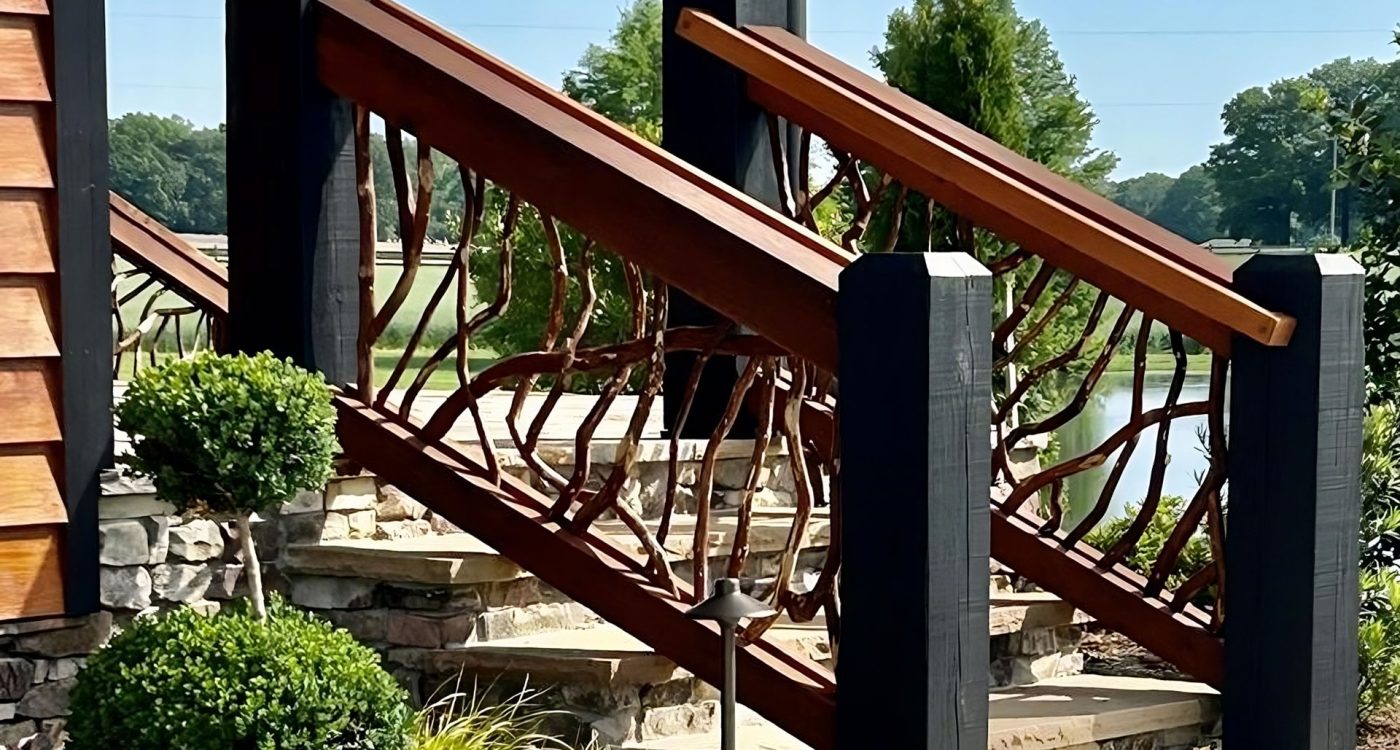
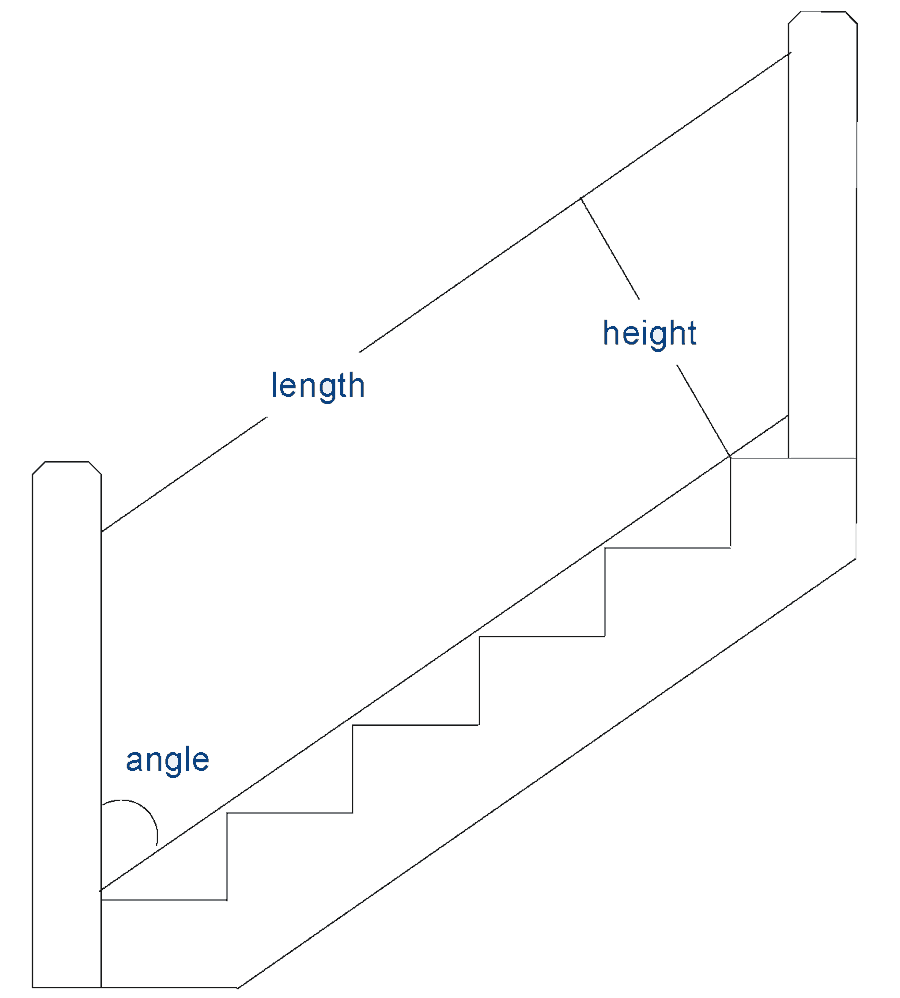
Stairs railings are built to match the angle of your stairs. Measure as shown in the drawing and provide: long-to-short, height measured perpendicular or square to the angle of the stairs, and the angle in degrees. Also include which side of the stair the railing is on as you stand at the bottom and look up.
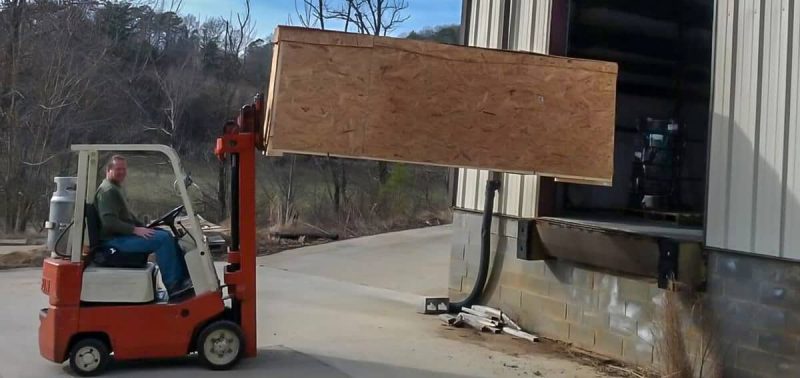
After we have finalized your order, it can be as little as 7 business days until your railings are shipped. Orders are packaged in custom built palletized crates that fit in a pickup truck and can be moved by a forklift. Orders are shipped freight and your address needs to be accessible to a full-size, 53′ tractor trailer.
When it arrives on site, open the box and spread the sections out. Place each section on 2×4 blocks to space it off the floor. Mark the top, bottom, left, and right, and cut the sections on your marks. Screw them into place hiding fasteners on the inside as possible. You provide additional 2x4s to sandwich the ends of the sticks, top and bottom. You also provide the 2×6 top cap.
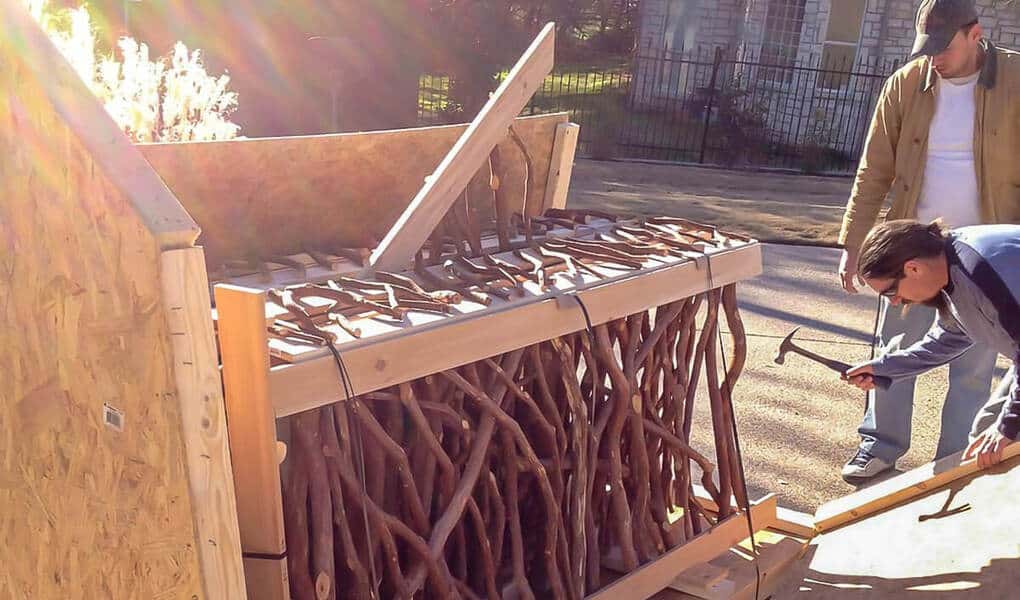
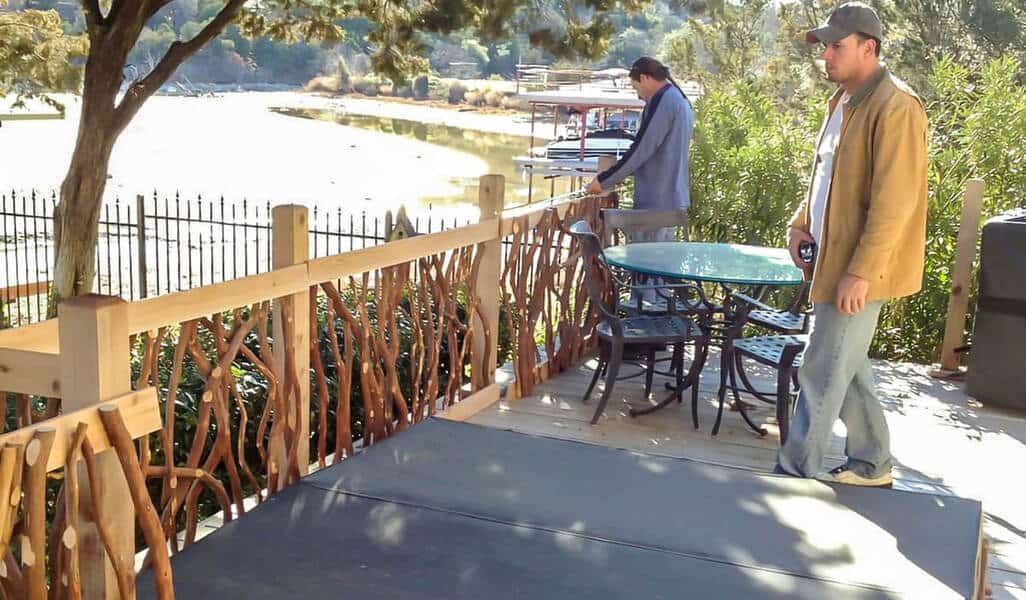
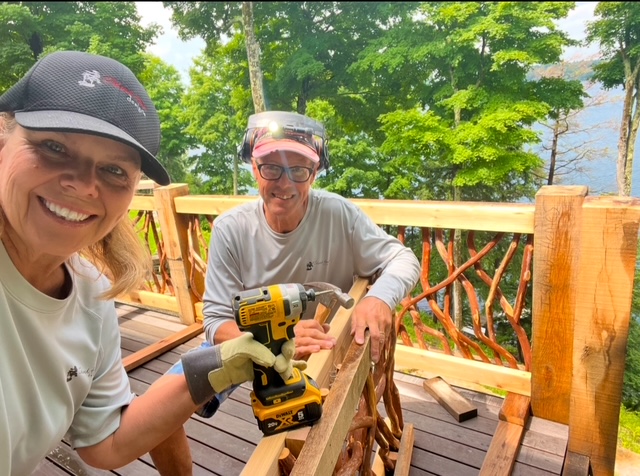
Click here to learn more about how to install Mountain Laurel Handrails
Working together throughout the process, achieves results like these!
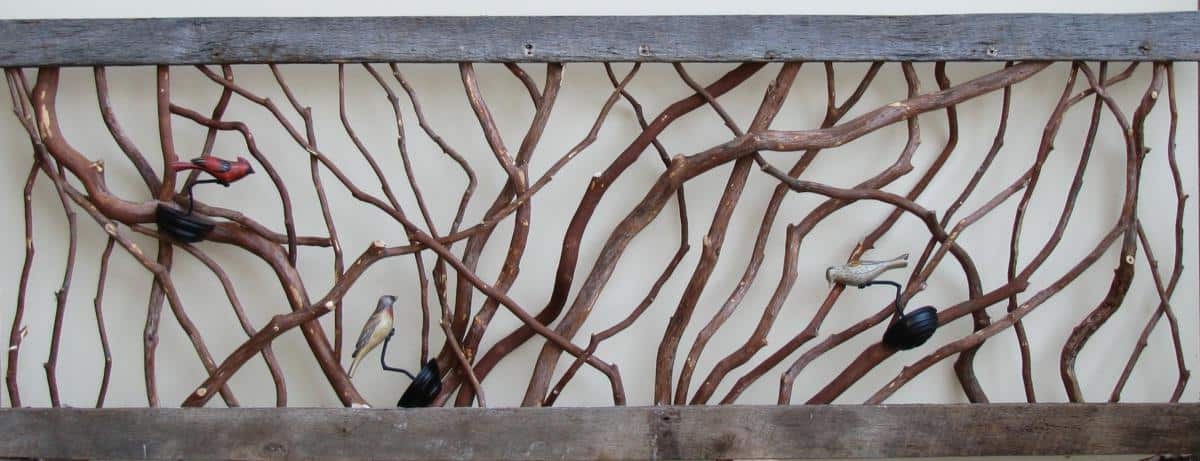
Or something completely unique like carved birds and barnwood!
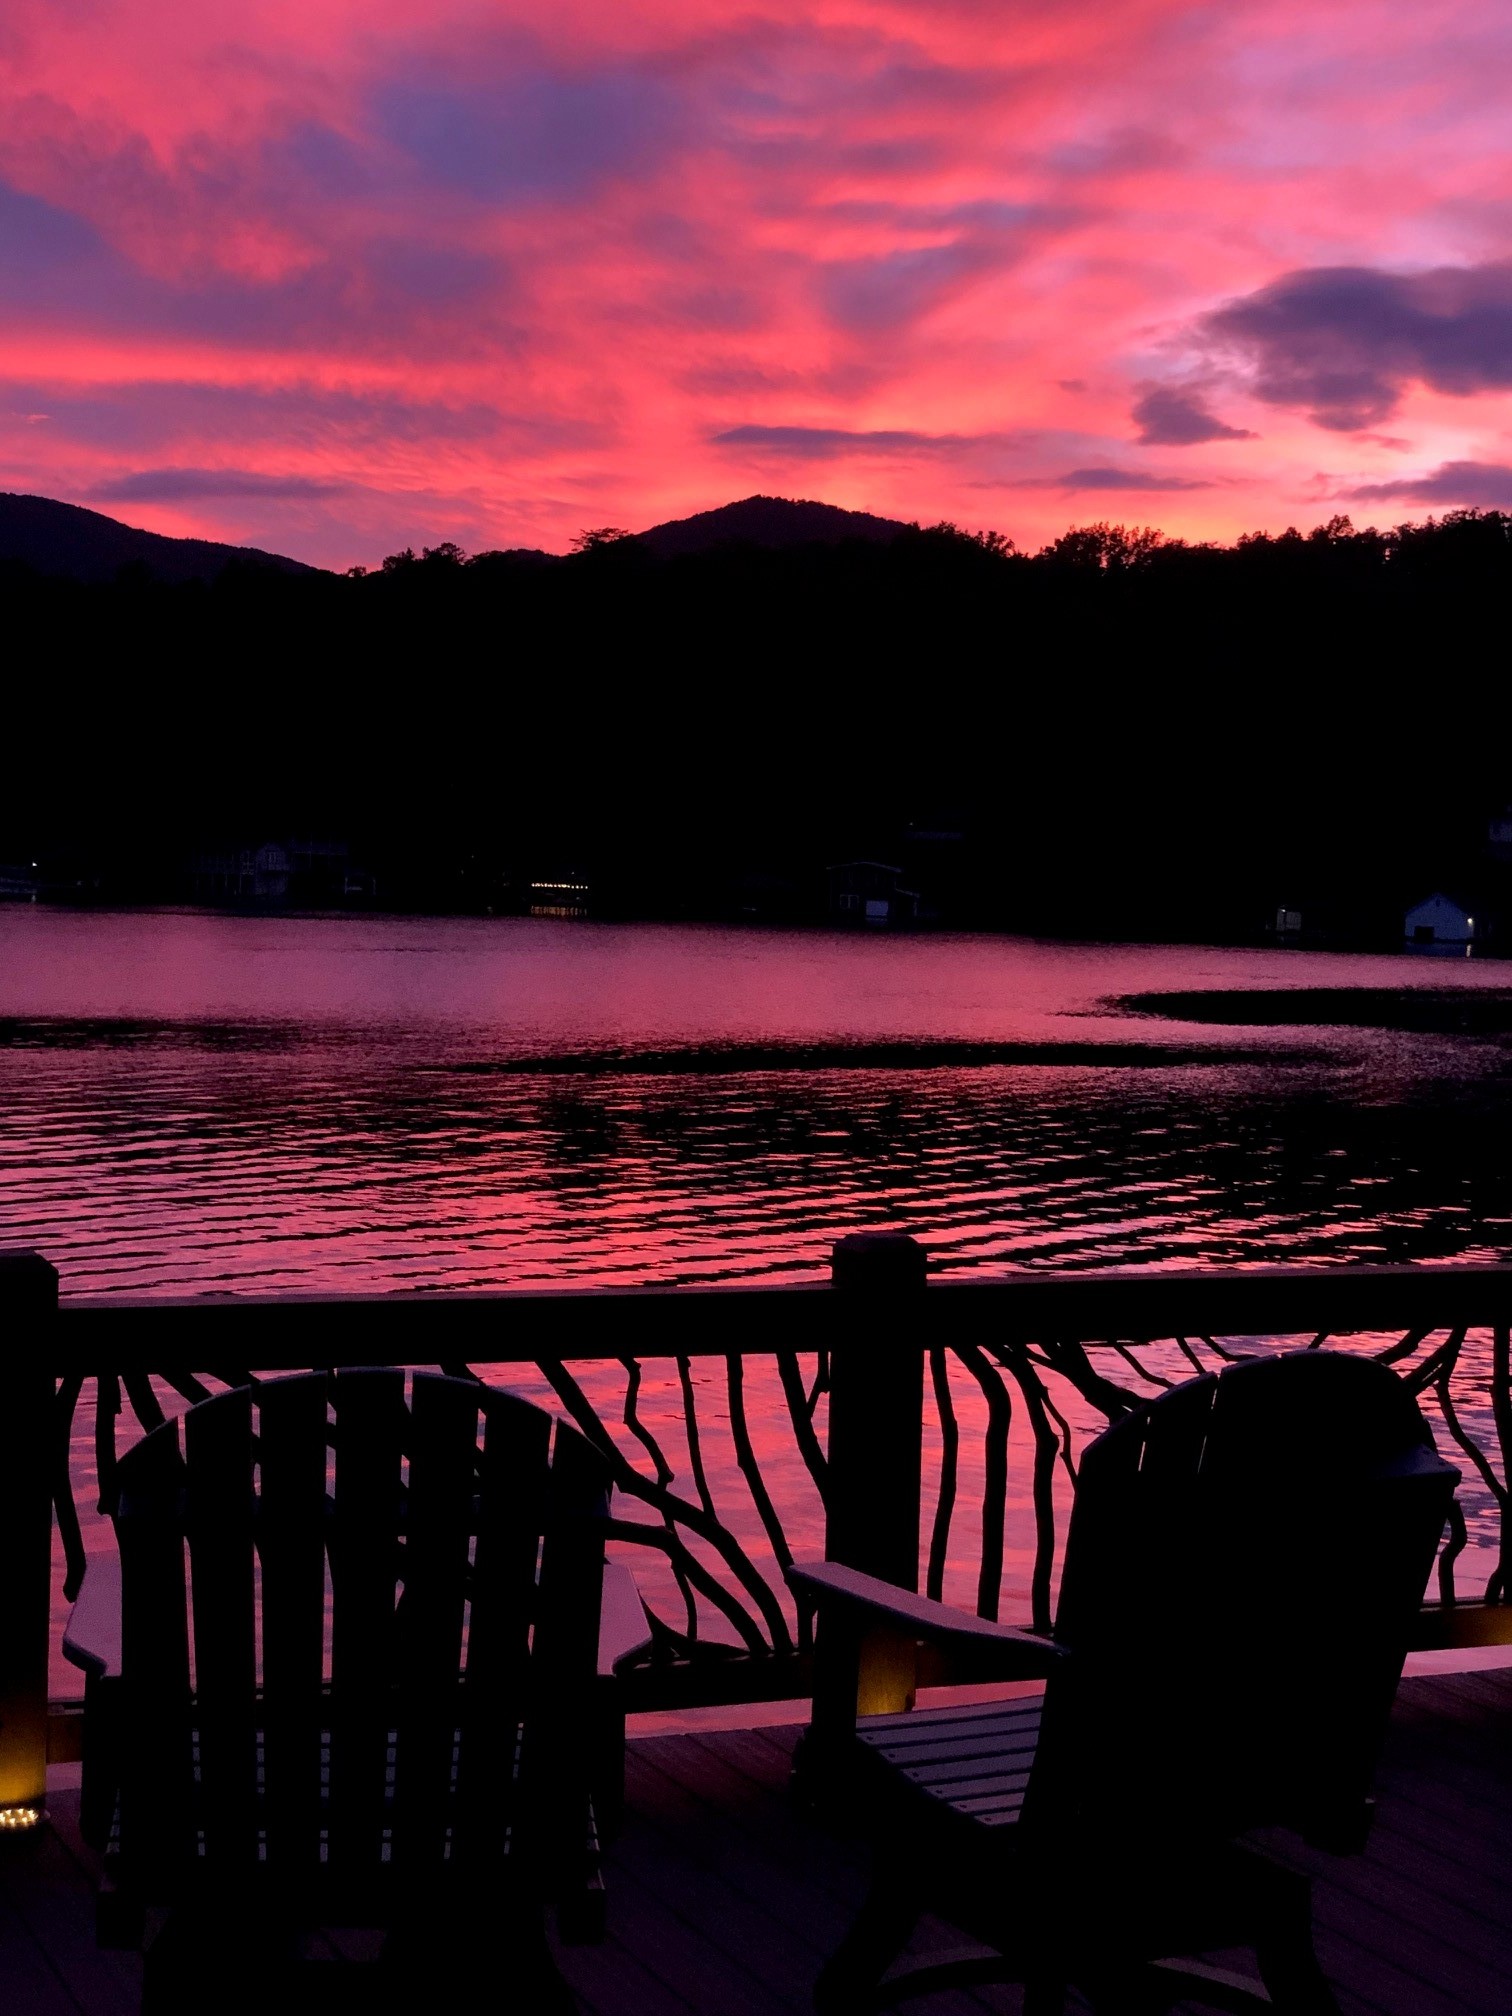
And since it’s so easy, you can just sit back, relax, and enjoy the sunset!