


Stair railings from Mountain Laurel Handrails® are a great choice for exterior decks, stairs, and landscaping!

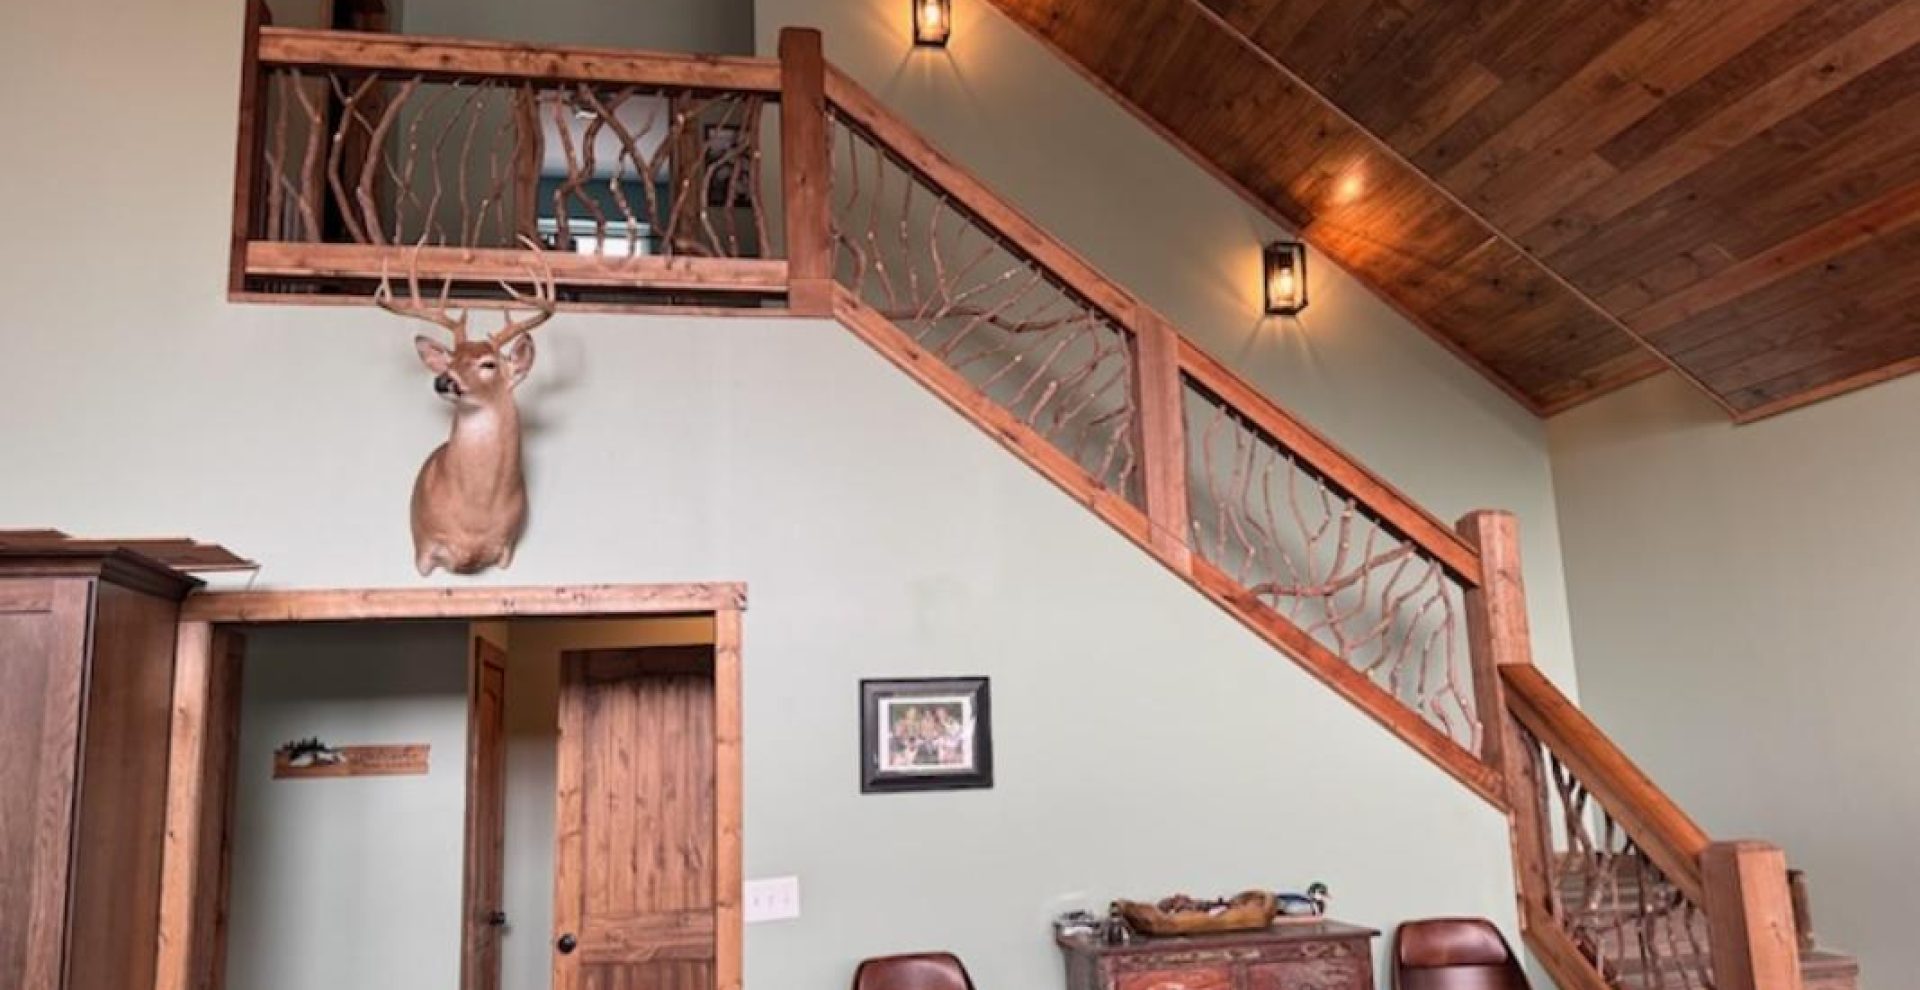
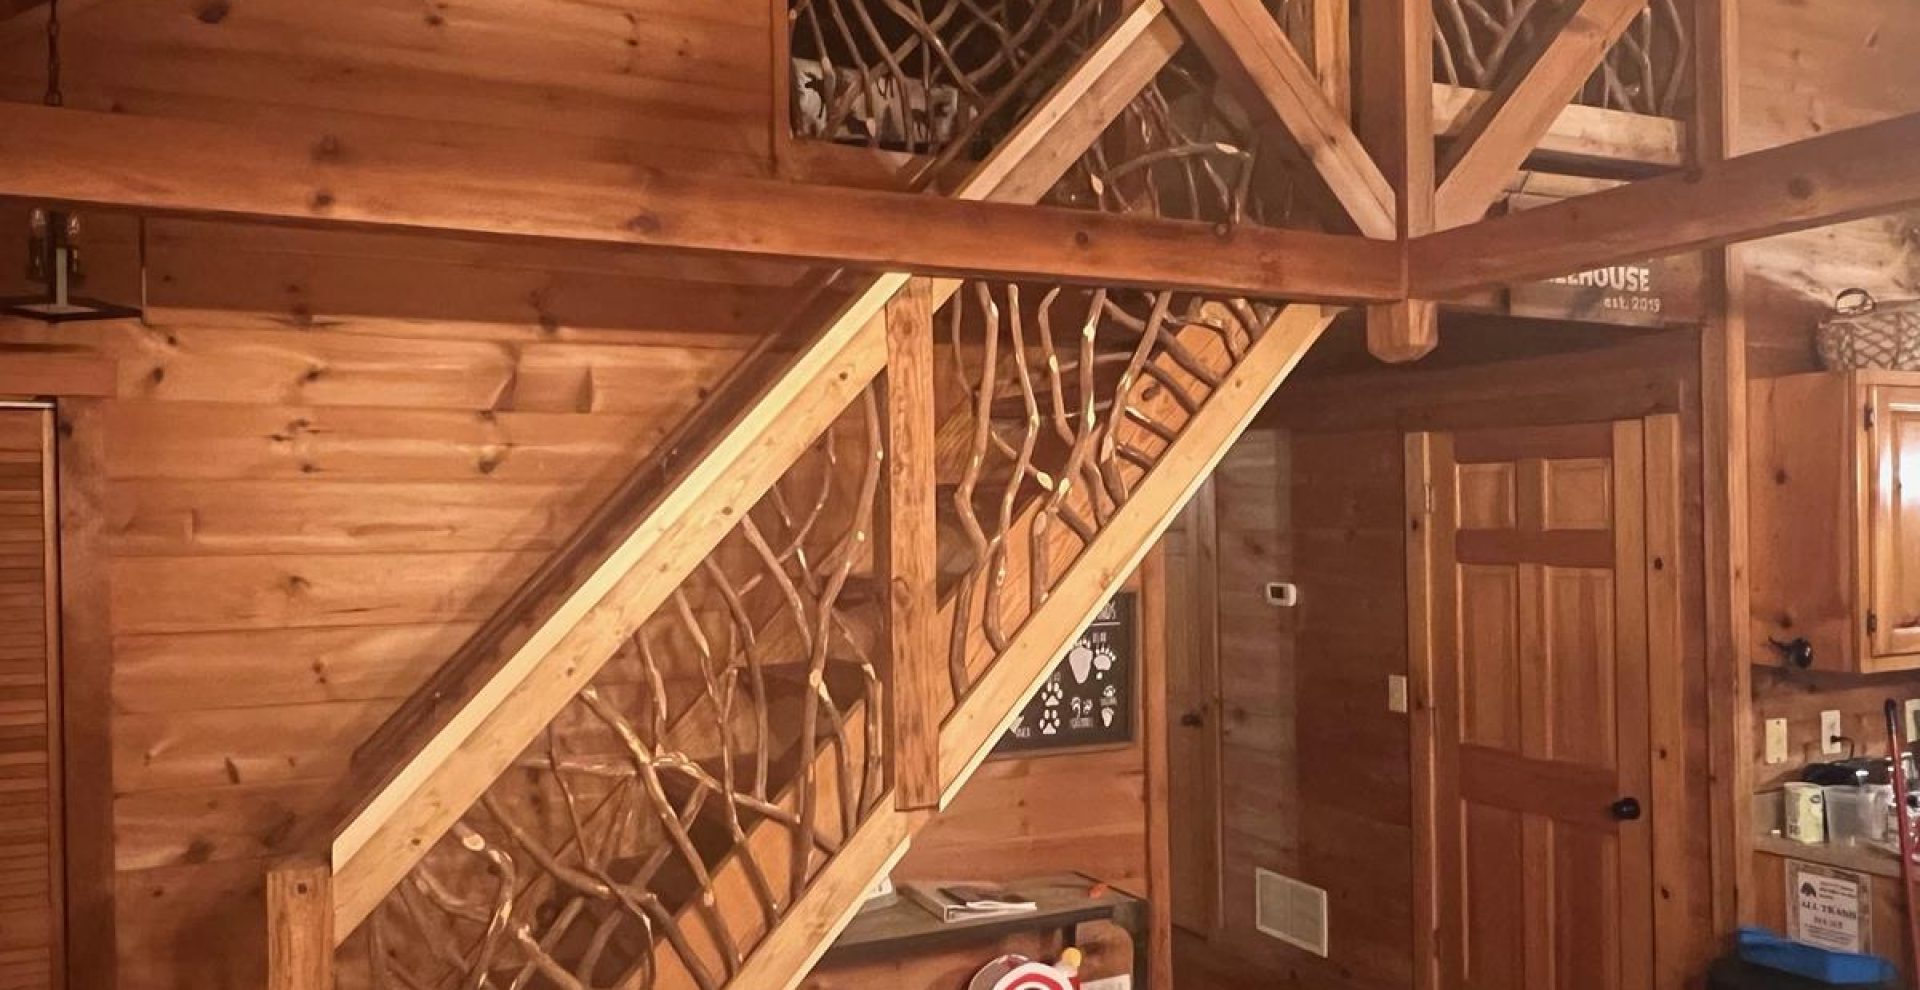
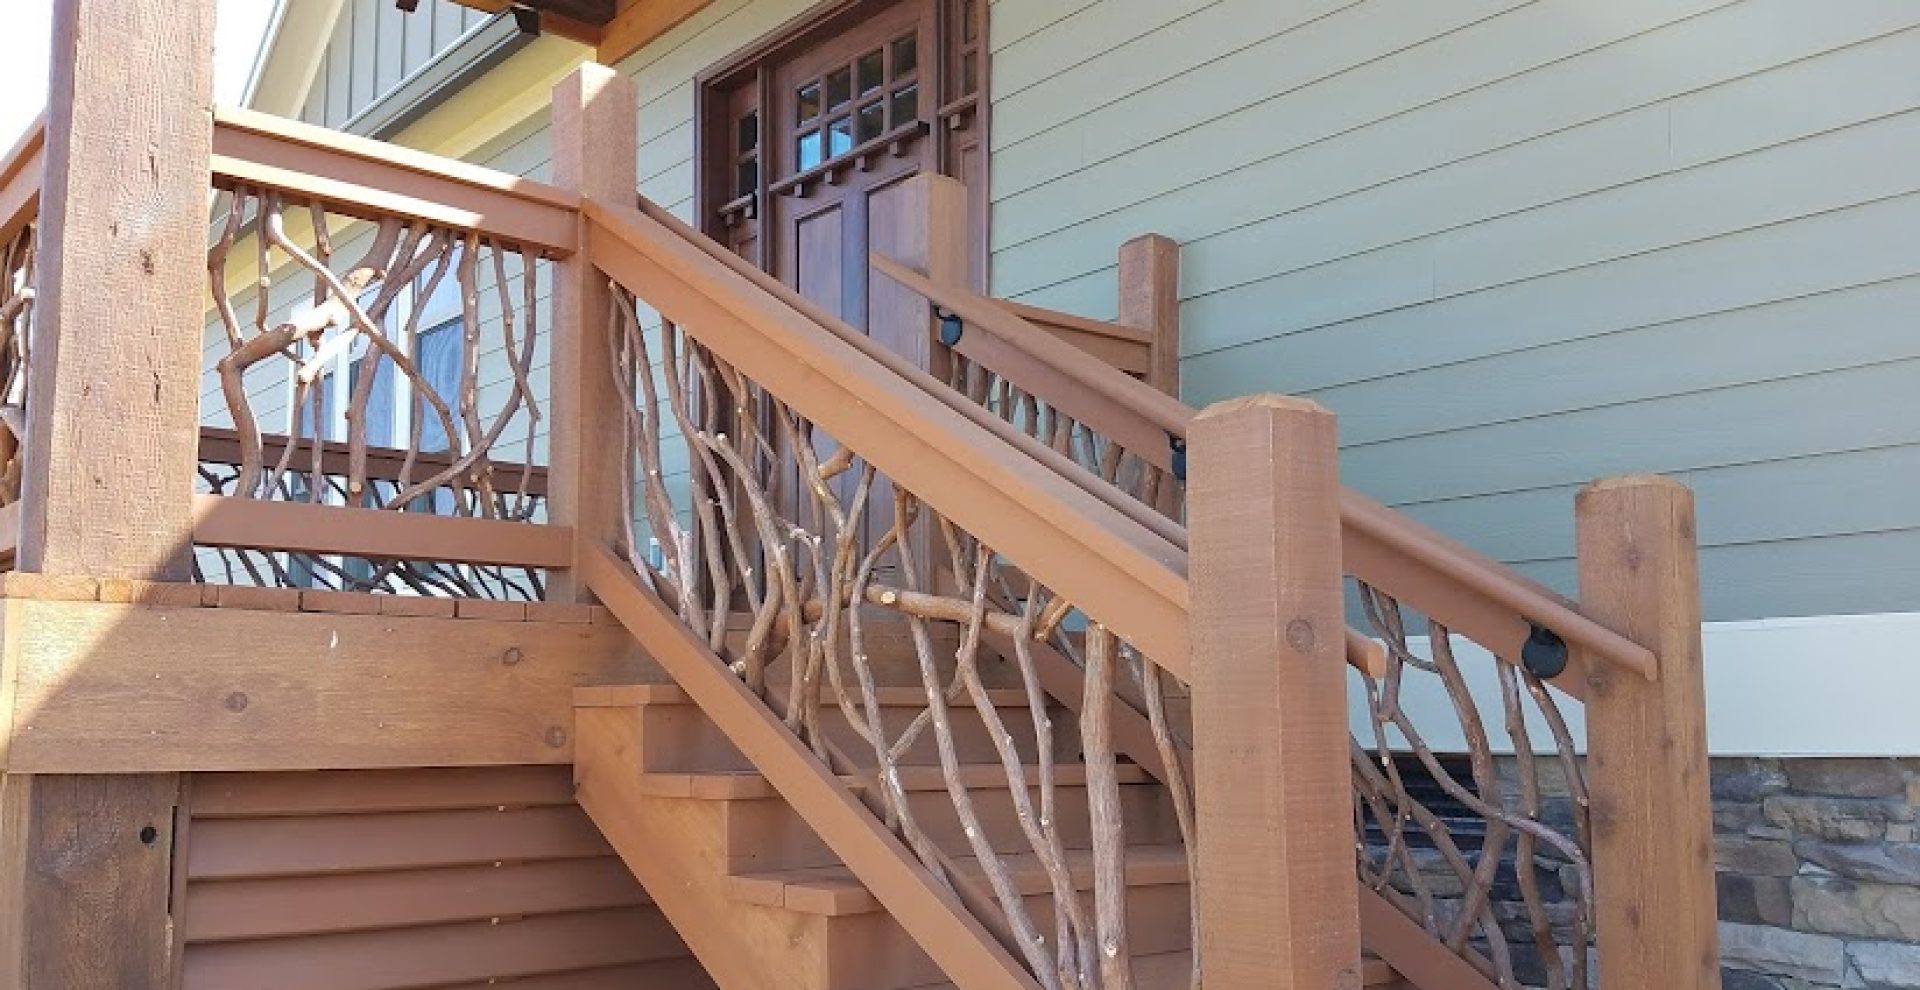
They are custom built to your measurements

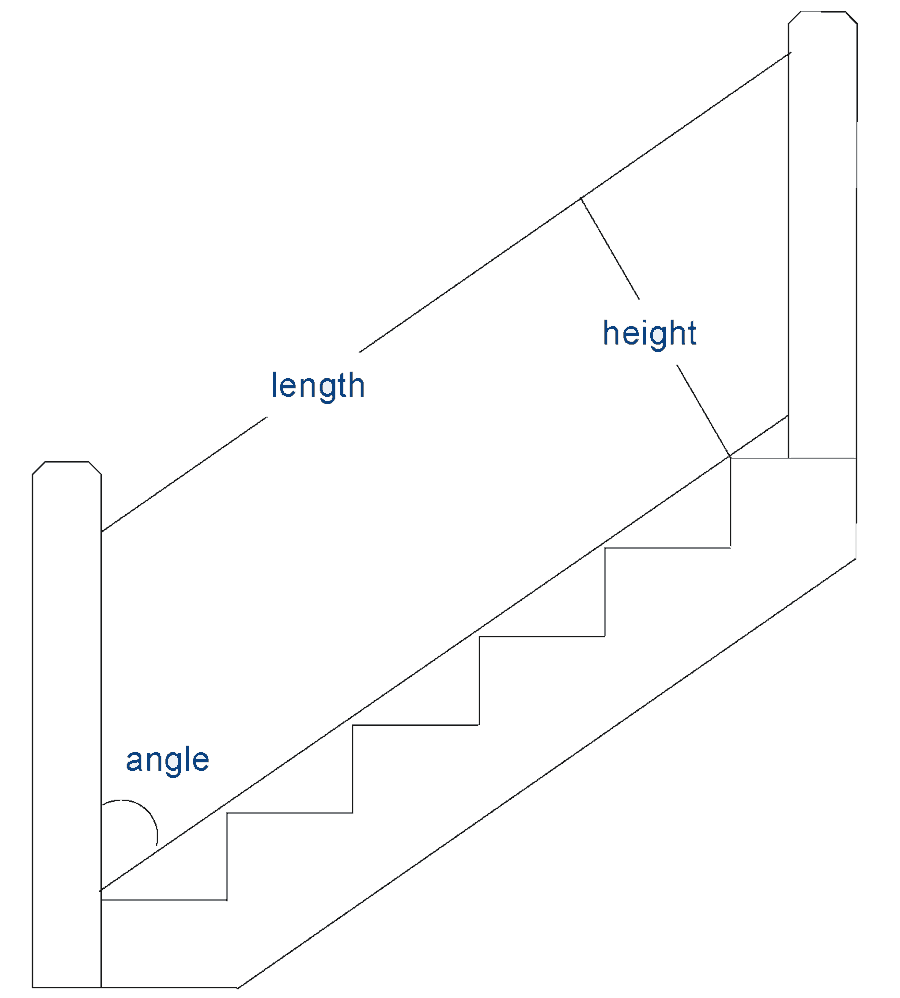
And all stairs are slightly different, with different angles, different lengths, and different heights...

So stairs railings require more detailed measurements than regular, horizontal sections.

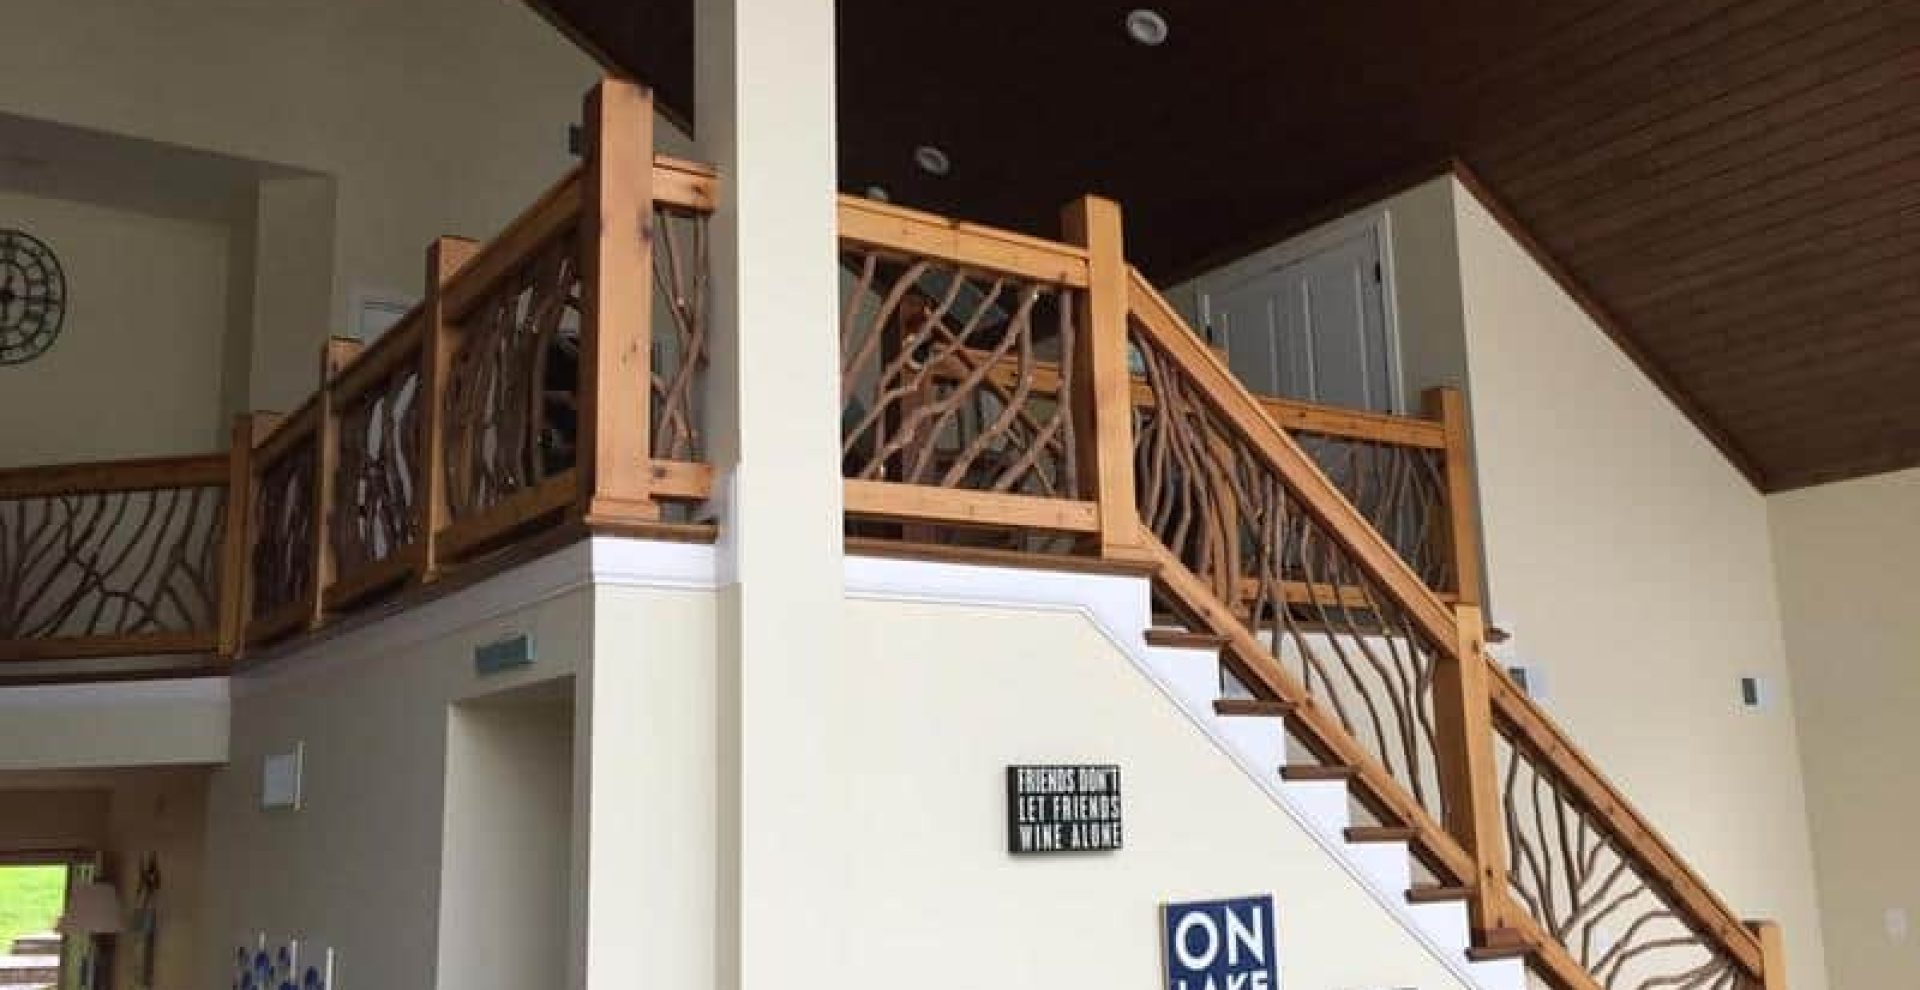
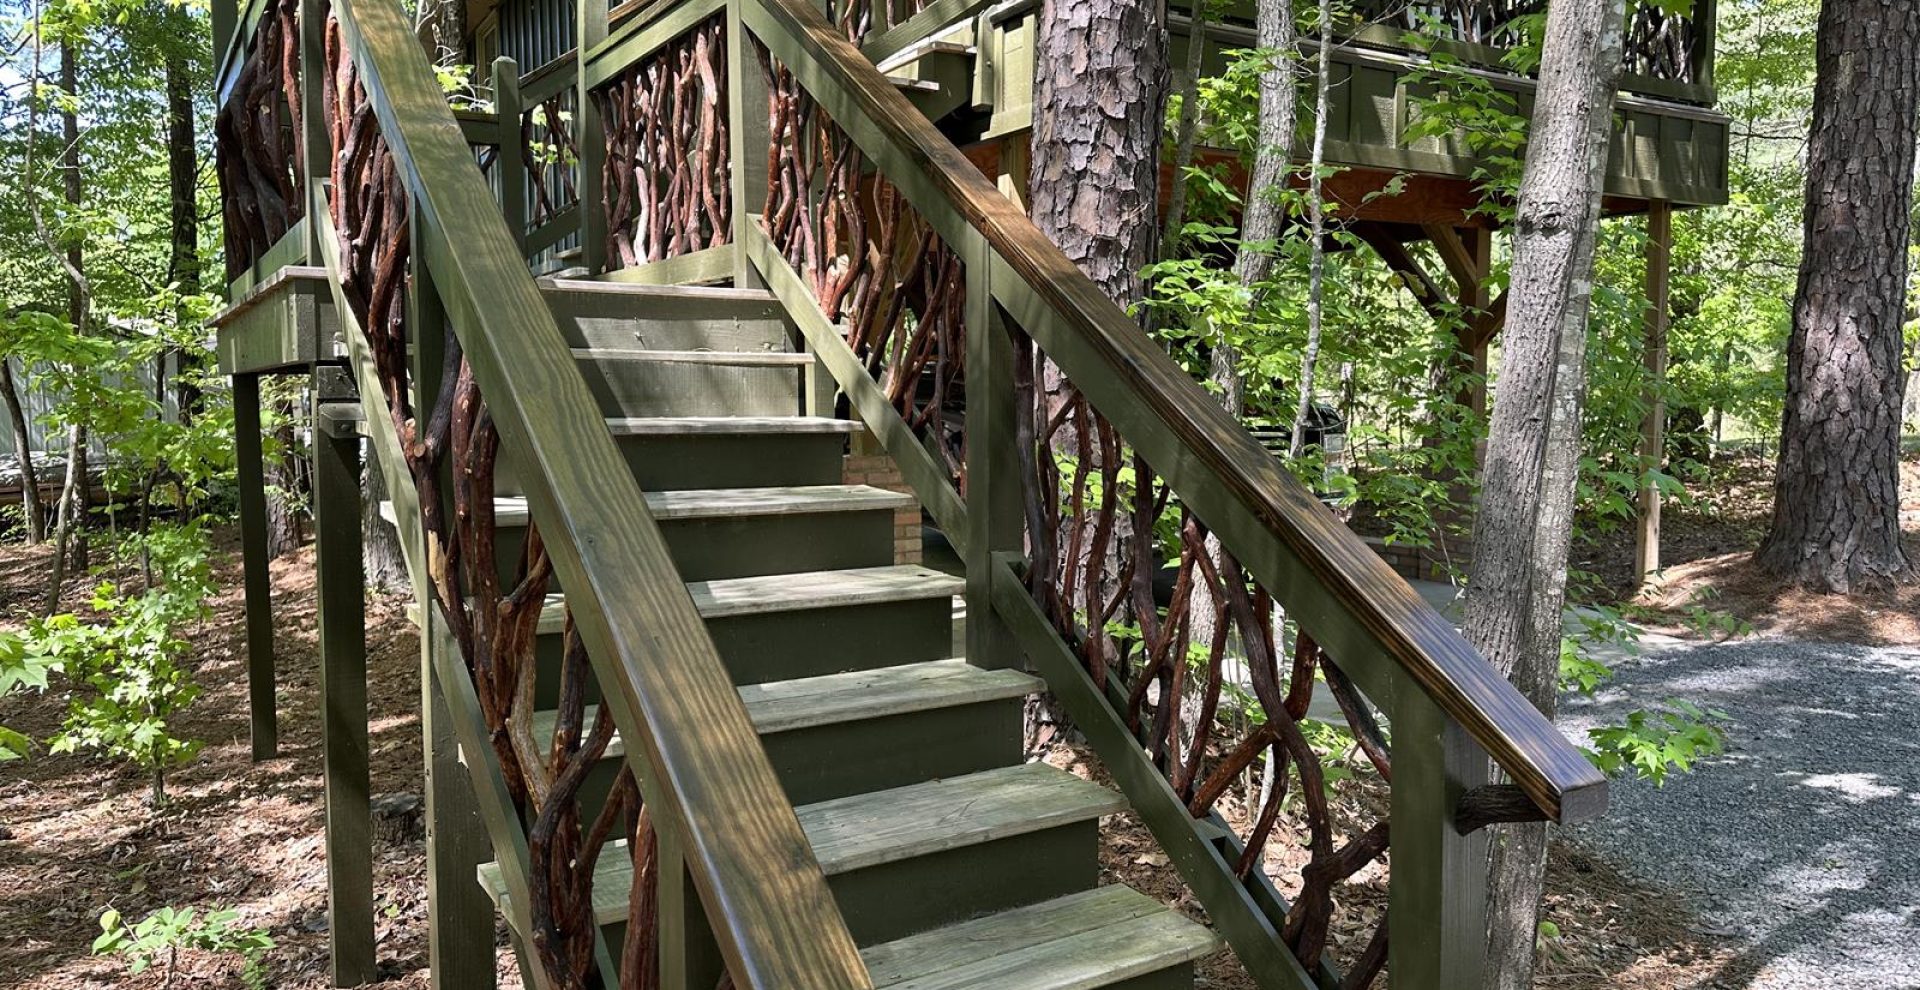
This easy railing system install means that on-site labor costs are reduced and overall build cycle times are decreased.
What is the Process?
Mountain Laurel Handrails come in preassembled sections that are easy to install. You provide your actual post-to-post measurements. A typical section is a top and bottom cedar 2×4 with the mountain laurel branches woven in between. 2×4 works well for projects where posts are 6×6 and larger. For 4×4 posts, 1×4 lumber is recommended.
Click here to learn more about how to install Mountain Laurel Handrails
How To Measure For Stair Railings
Since each staircase is different, no two stair railings are the same. Each stair railing must be measured properly and precisely to ensure the best fit. Start by installing the posts at the top and bottom of the stairs. Measure up off the nosing of the tread 34.5″ for a 2x top cap or 35.25″ for a 1x top cap and make a mark on the posts. Tie a string to connect these marks on the top and bottom posts. Measure the length of the string between the posts and this is the long-to-short measurement. Check the angle of the string with a speed square and provide this number in degrees. Using a tape measure, put the end of the tape on a nosing of one tread and find the shortest measurement which will be perpendicular to the angle of the stairs. Check multiple treads and provide an average measurement, usually approximately one half inch shorter than the actual tight measurement.
- Mark posts top and bottom
- Tie a string
- Measure the length of the string
- Check the angle of the string
- Measure the height of the string perpendicular to the stairs

For stair railings, please provide the following information as shown in the drawing:
- Long to short measurement
- Angle of the stairs in degrees
- Section height measured perpendicular to the angle of the stairs not plumb. Take a framing square and rest it on the nosing of the treads and measure like the tongue of the square.
- The side the section is on as you stand at the bottom of the stairs and look up.

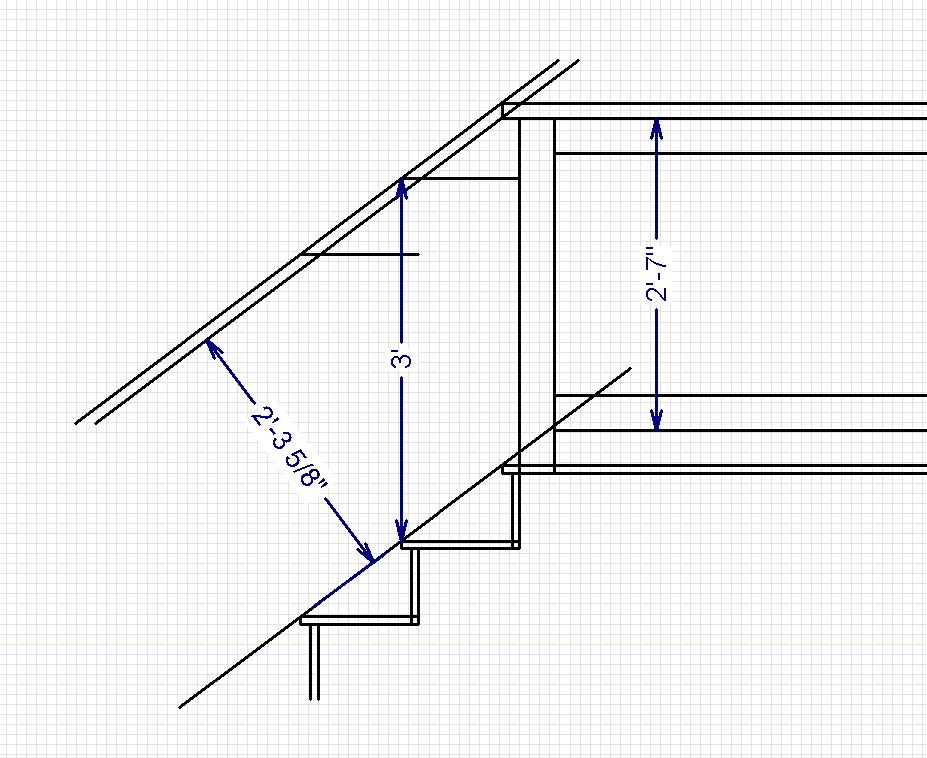
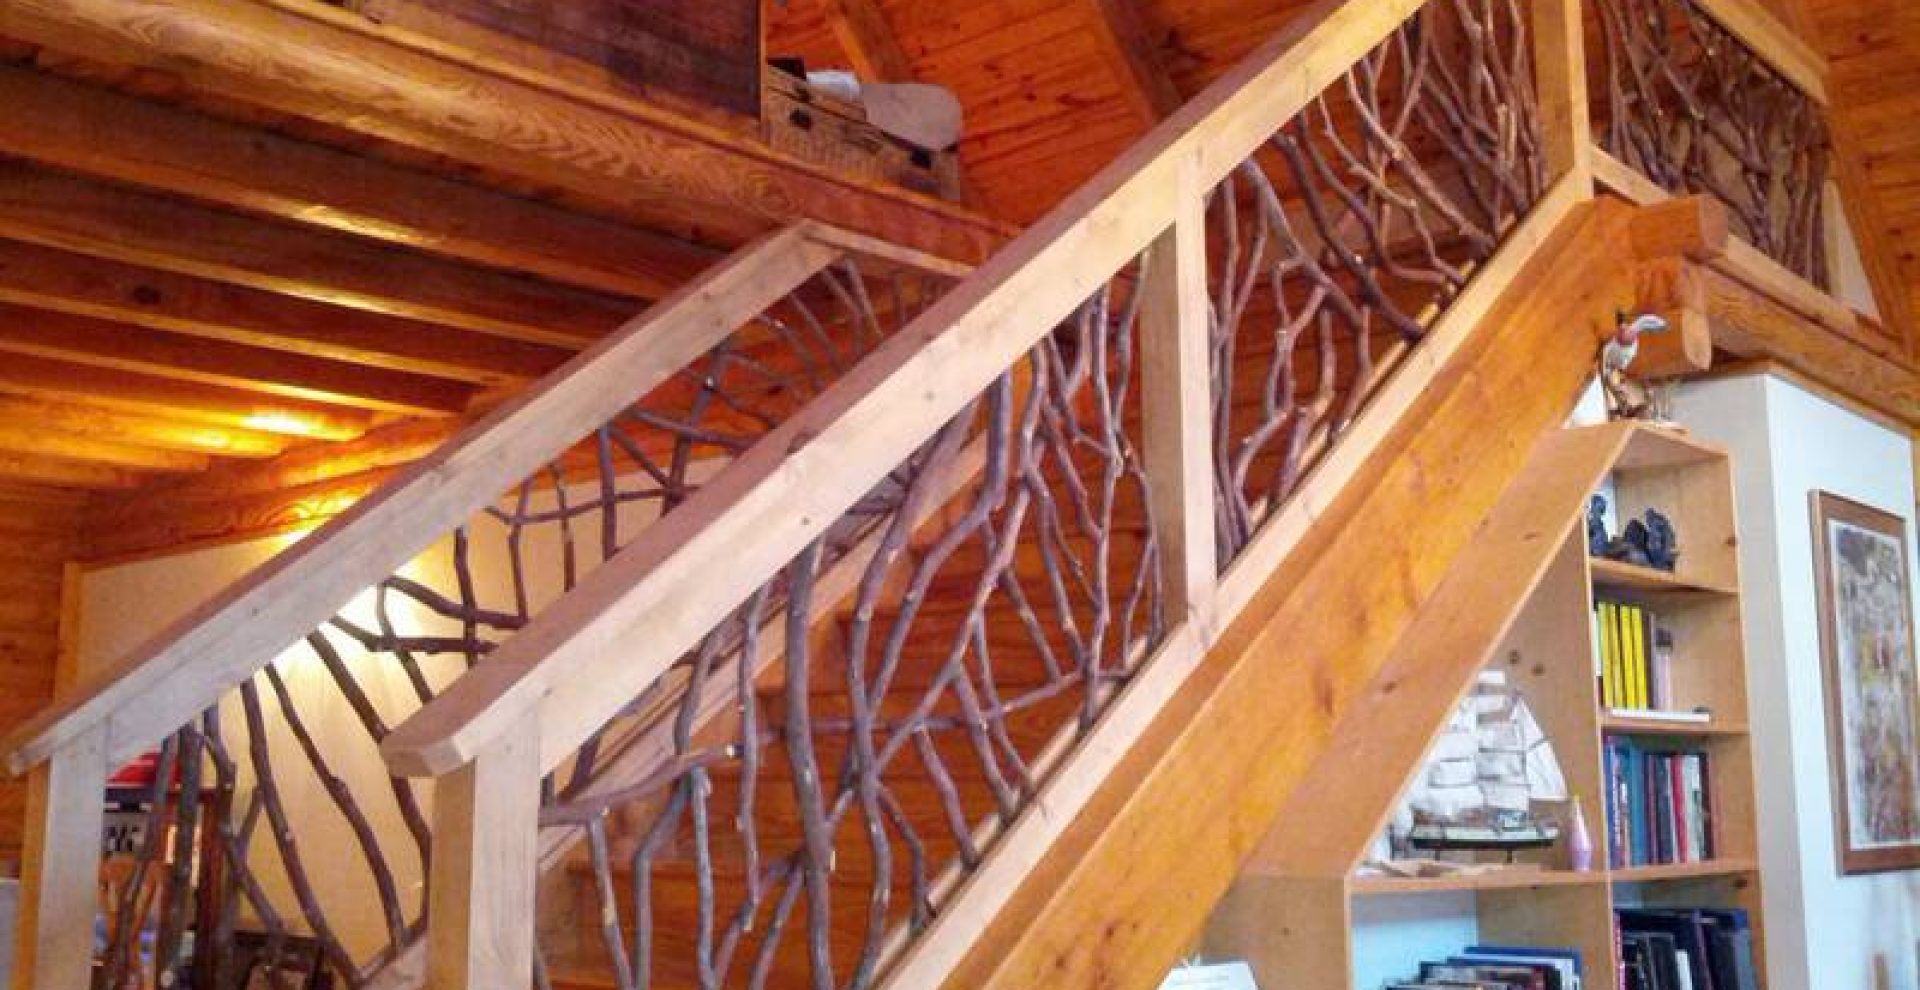
This drawing shows a stairs that has an ideal tread length of 10 inches and riser height of 7 and a half inches. And we can see that the ideal stairs section height will be around 28 inches.
