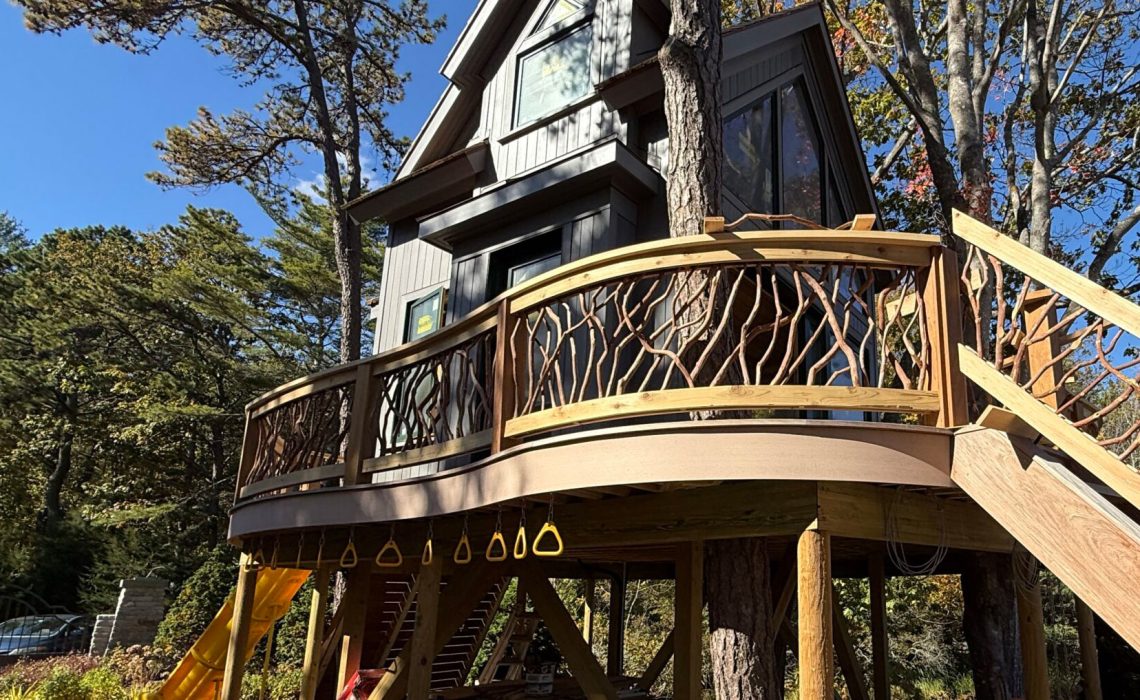
For curved railings, we use cedar 1×4 since it is bendable. For curved sections, we DO provide the additional 1x4s since we bend them here. You provide the top cap since it will need to be cut on site before the posts are installed.
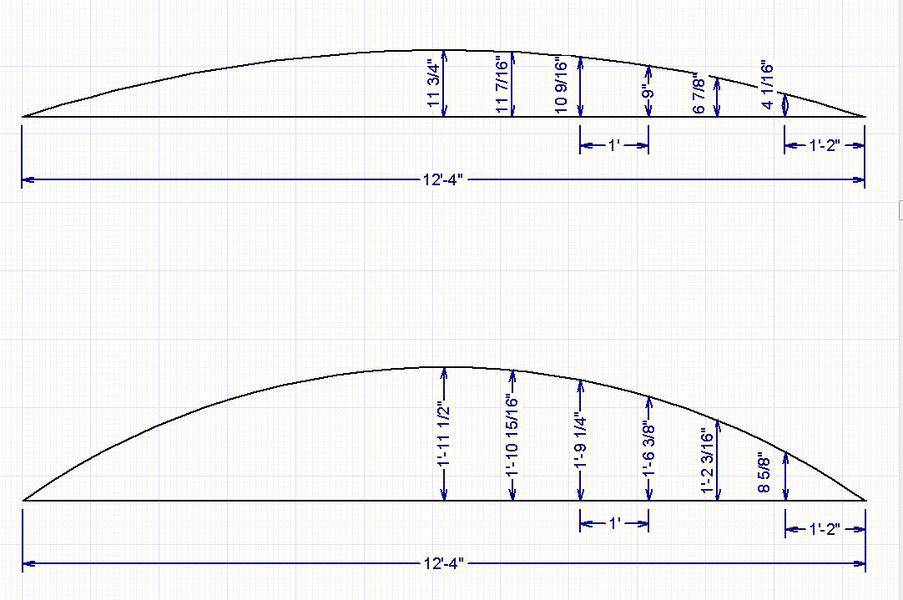
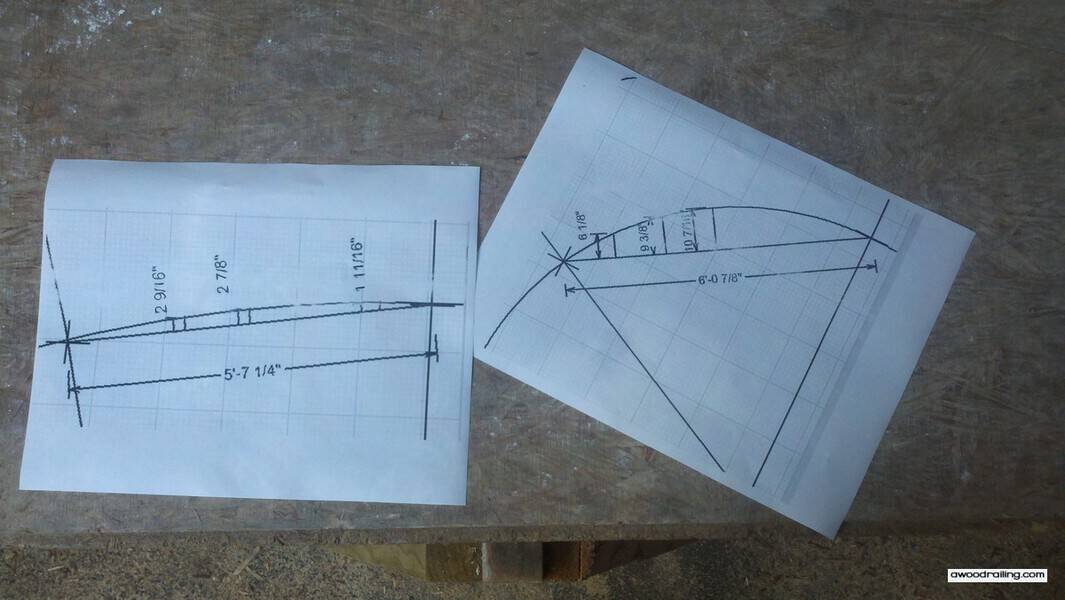
Comprehensive drawing demonstrating how to accurately measure for curved railings sections, ensuring precise installation.
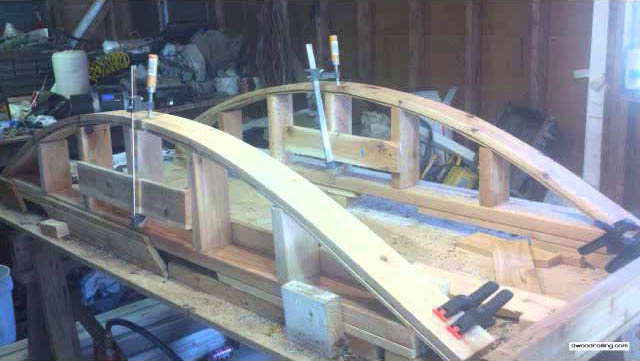
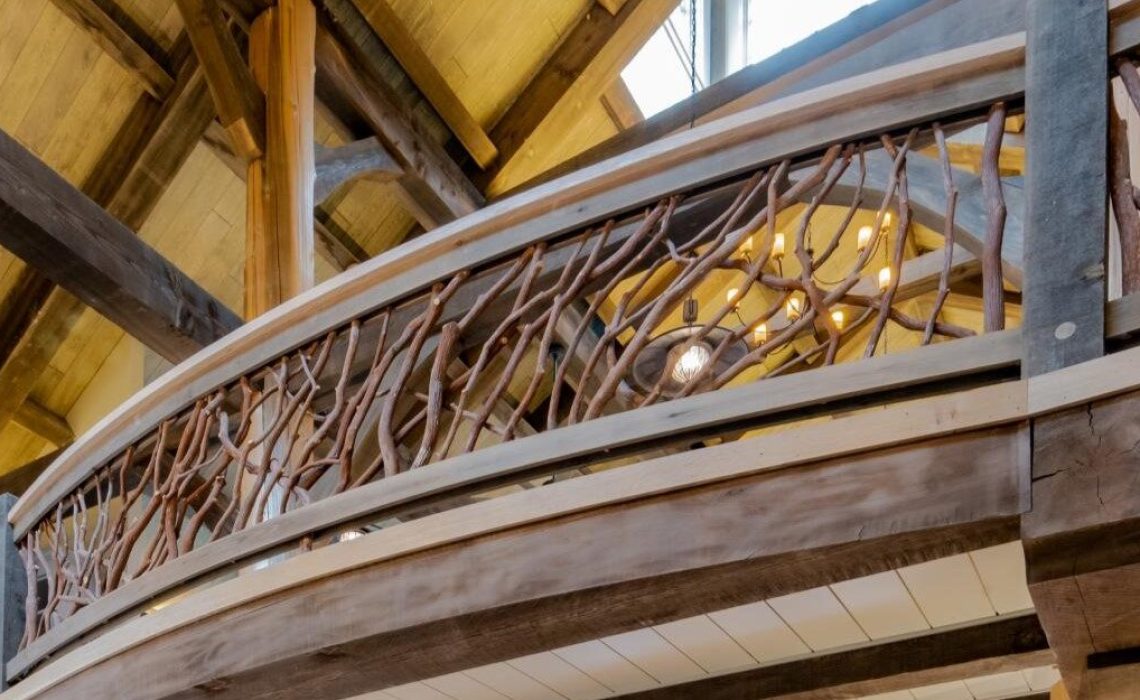
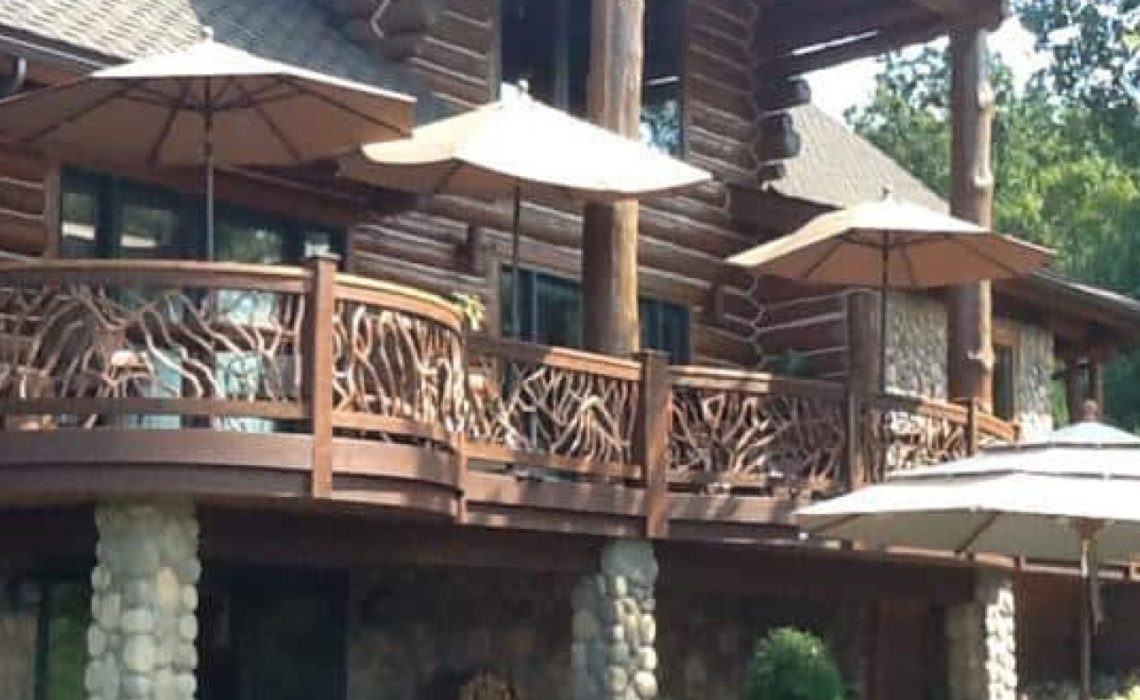
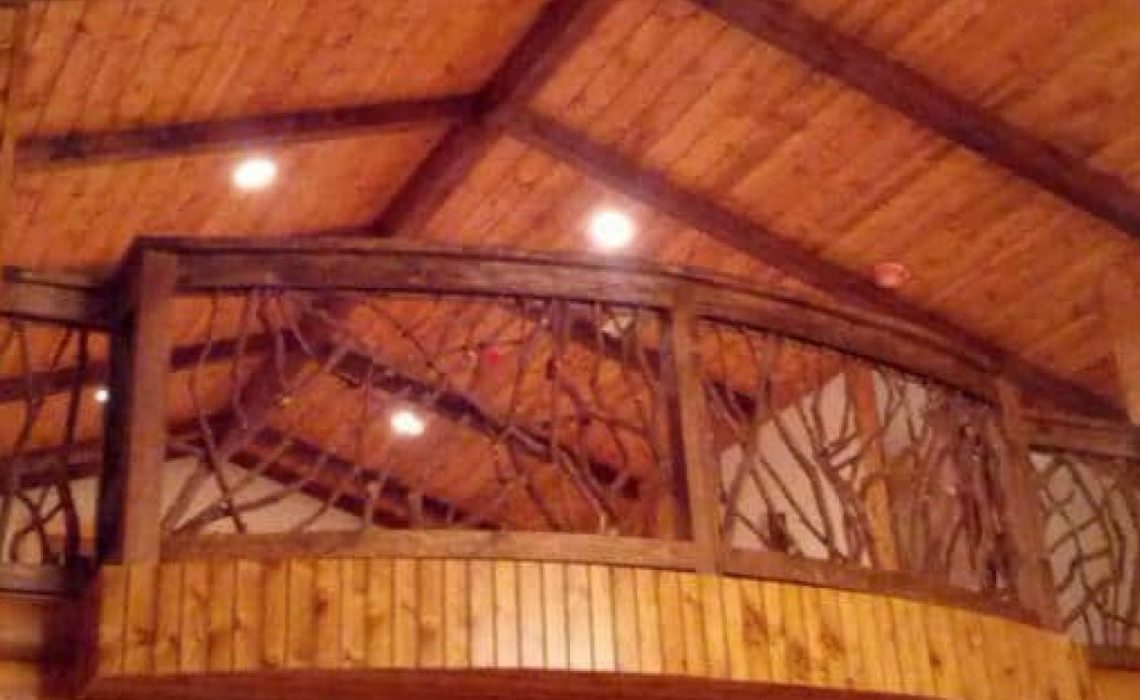
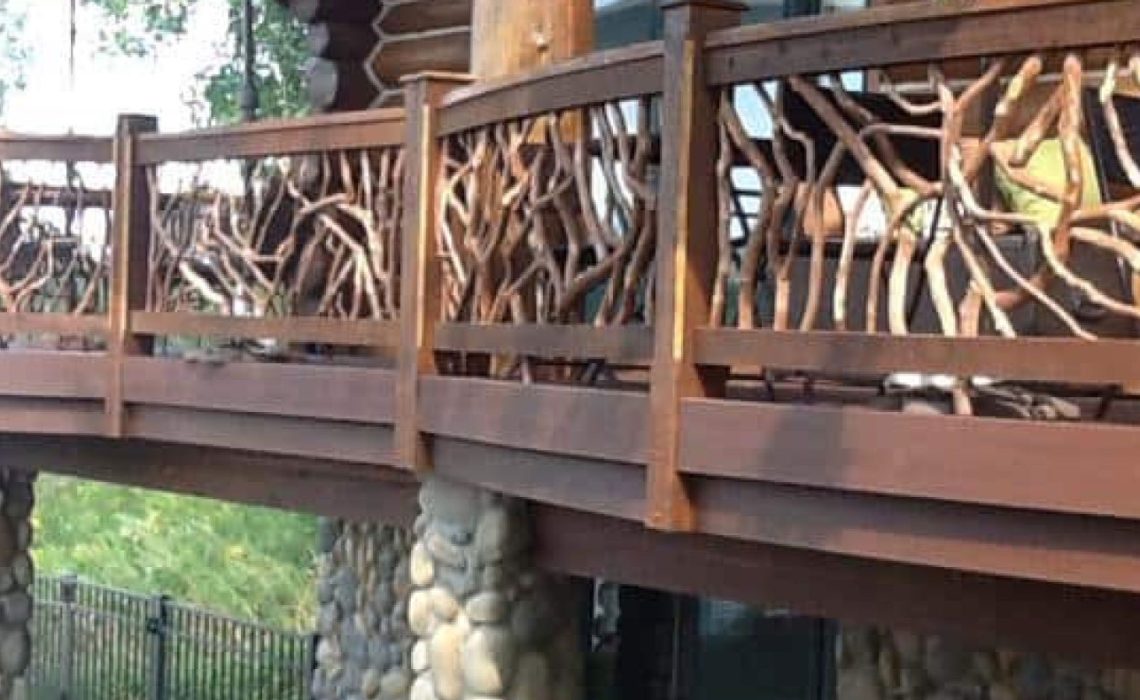
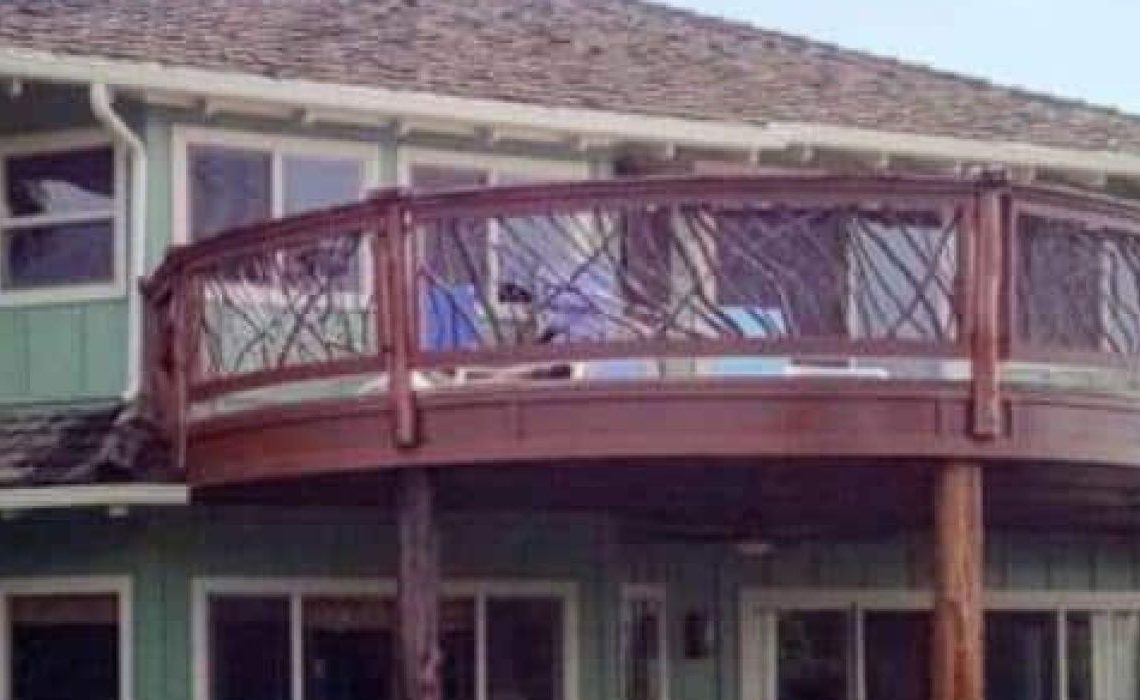
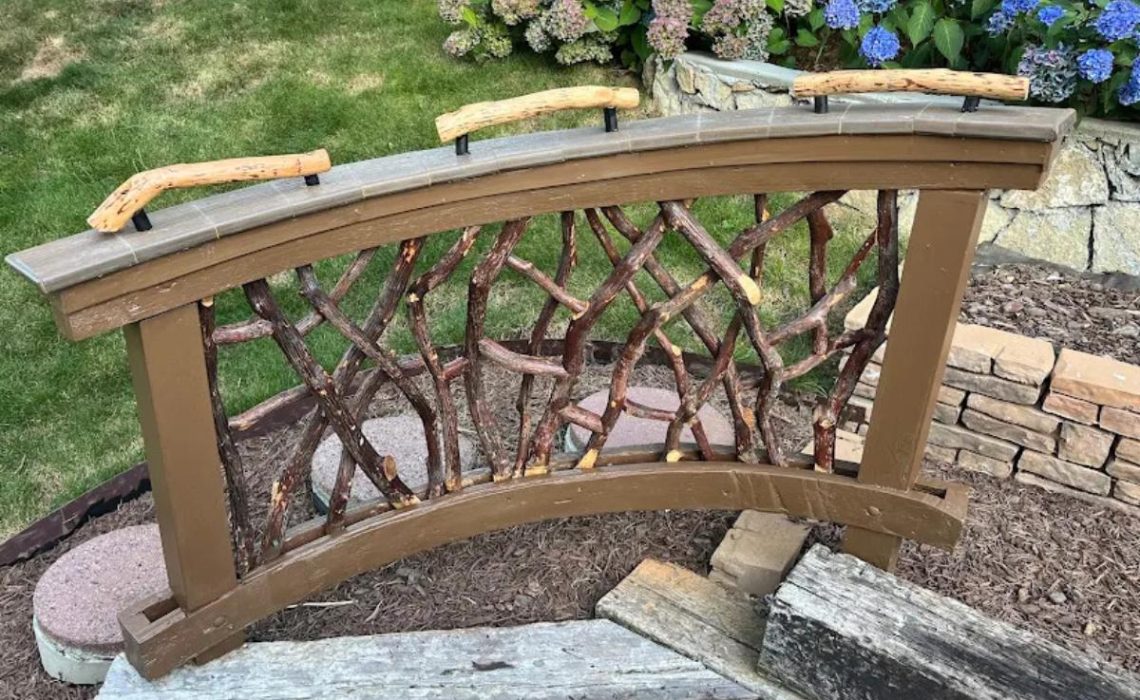
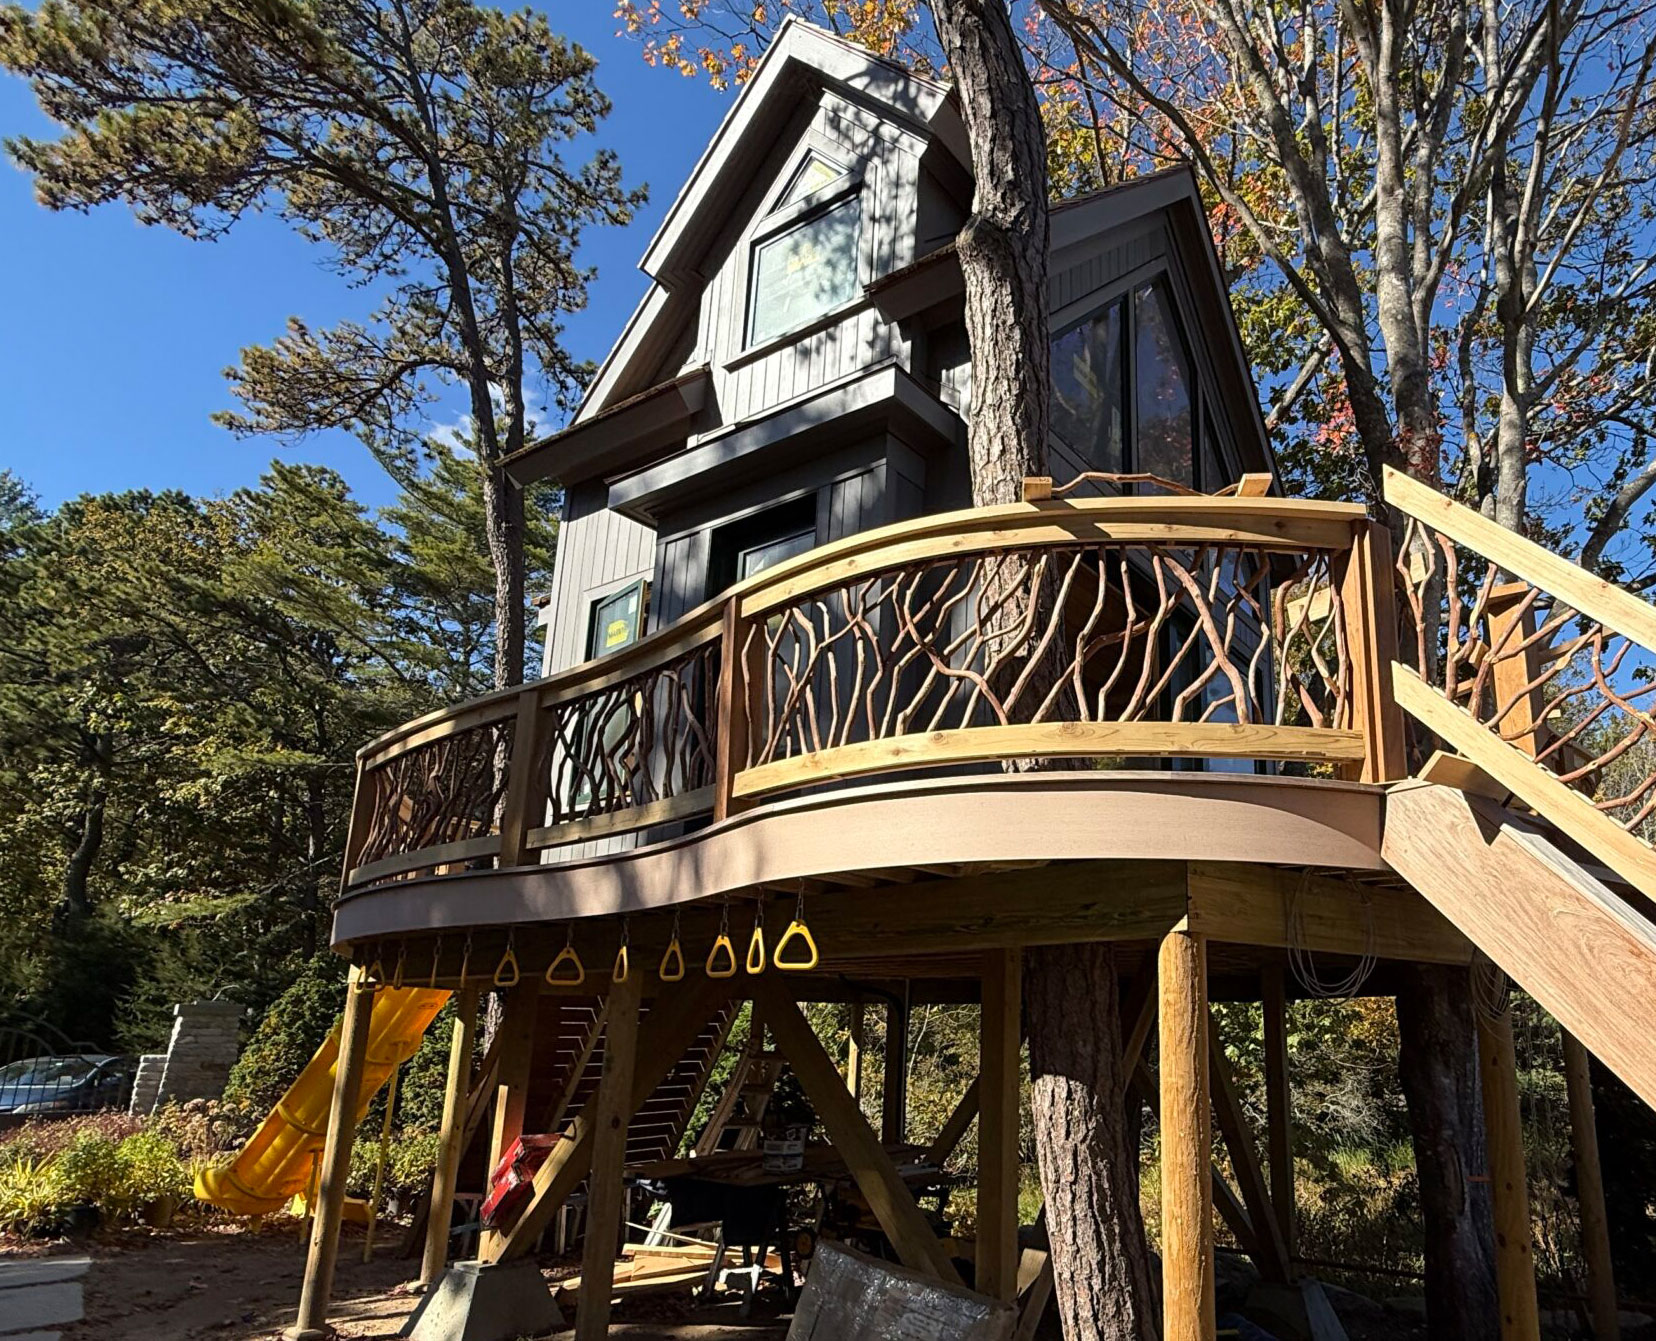
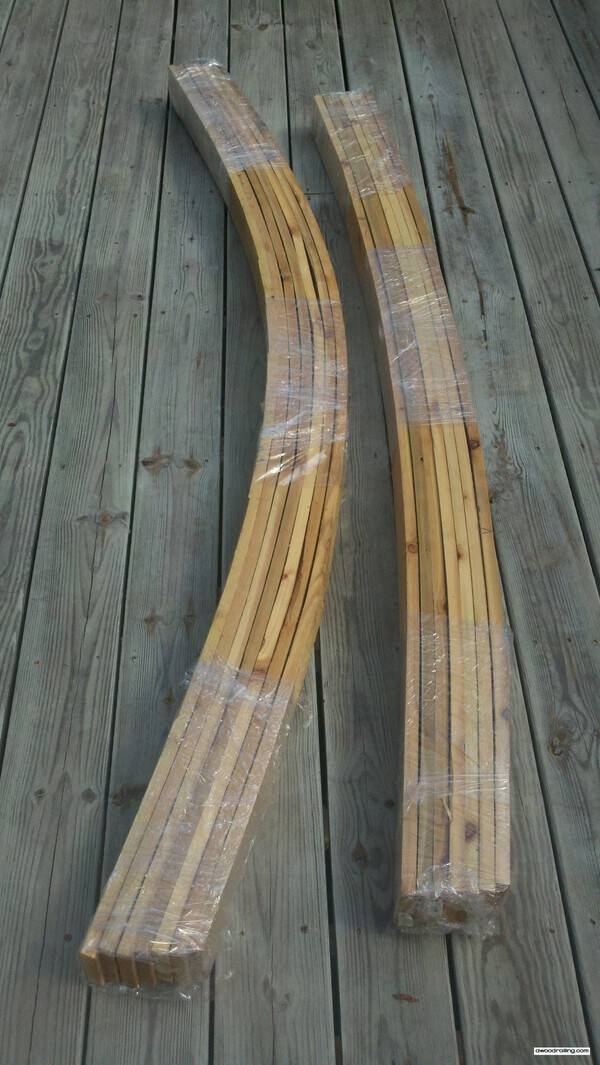
This image captures the process of making a curved railing, highlighting the craftsmanship and design techniques used to create stylish outdoor railings.
Curved Railing Plans
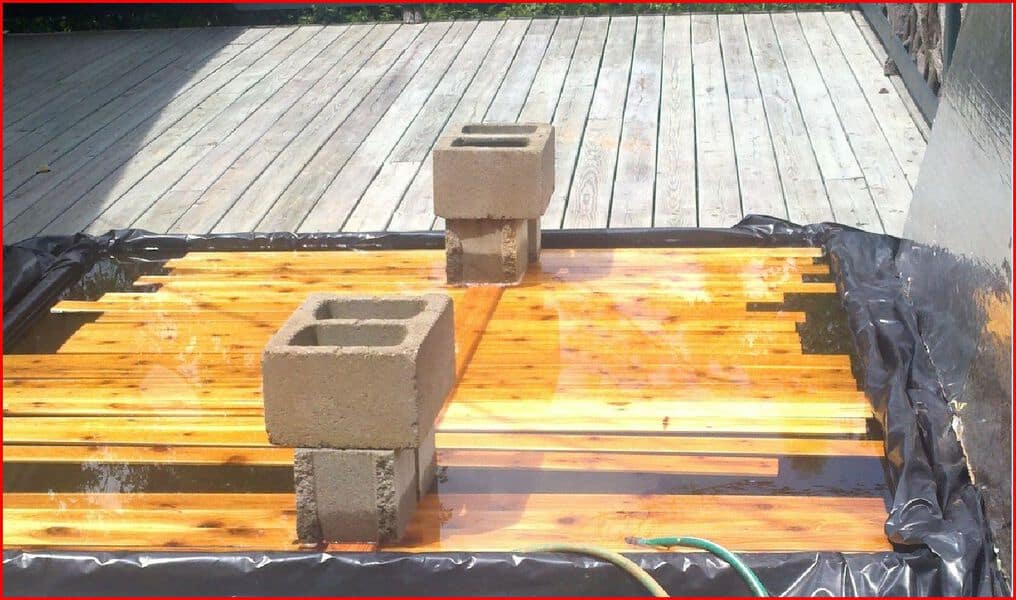
Soaking Pool for Lumber
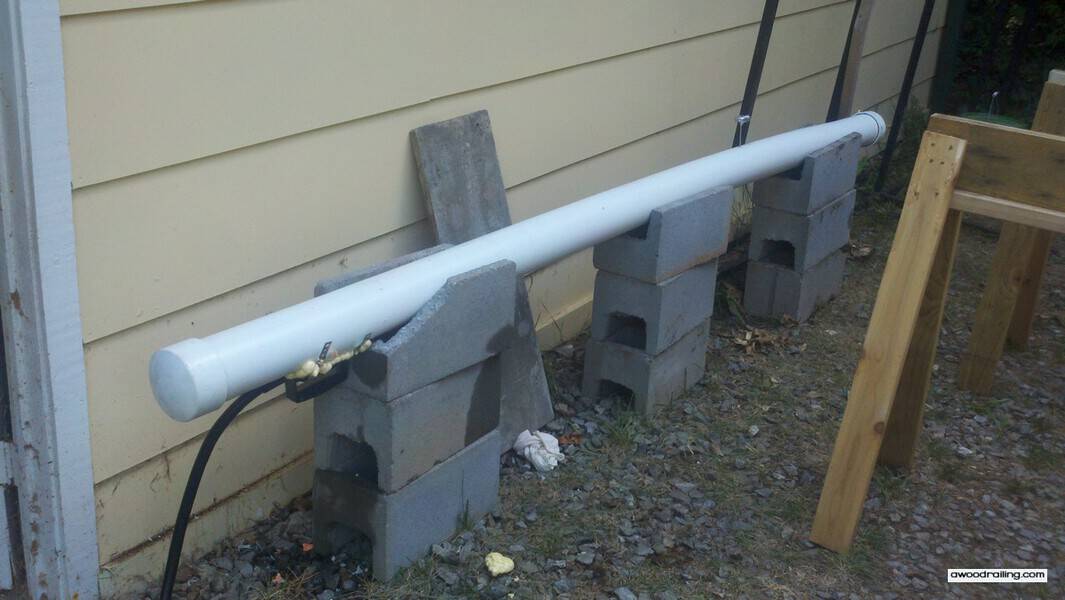
Steamer for Curved Lumber

Temperature in Steamer
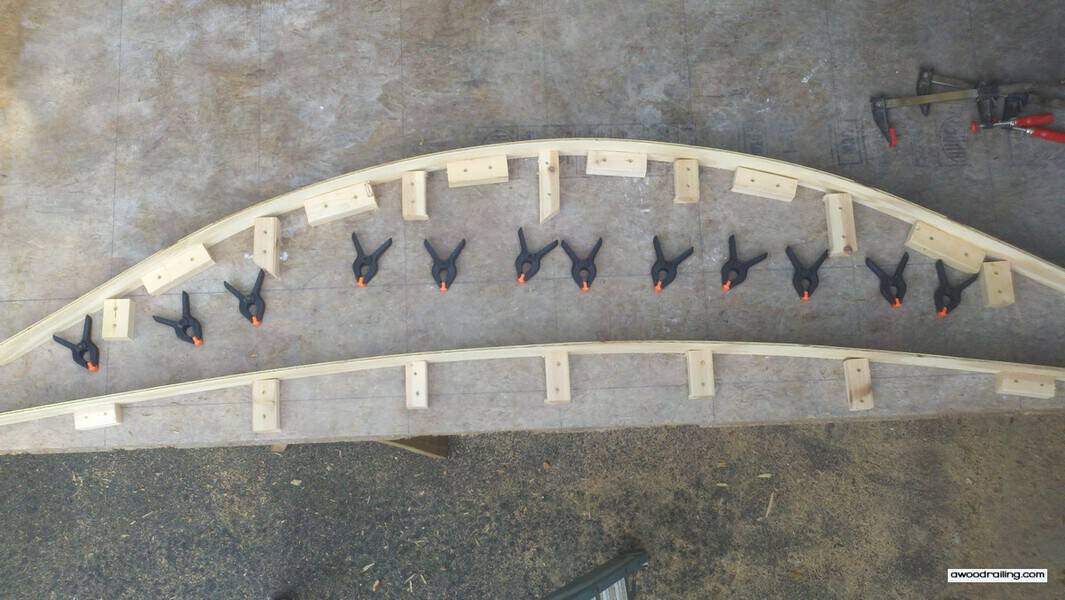
First Jigs for Curved Railing
Jig Curved Railing System
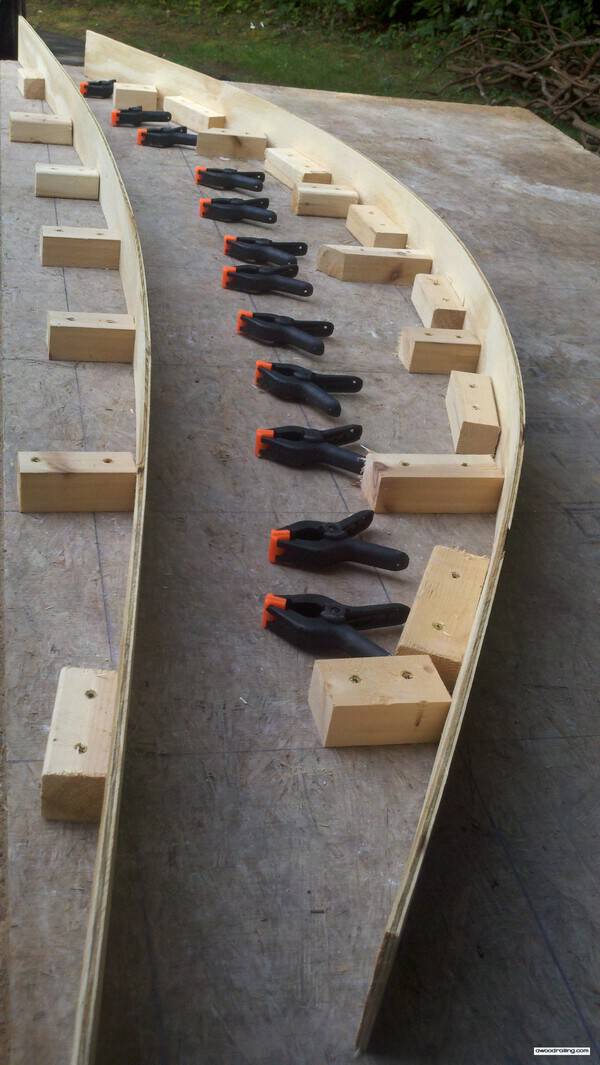
Final Jigs for Curved Railing
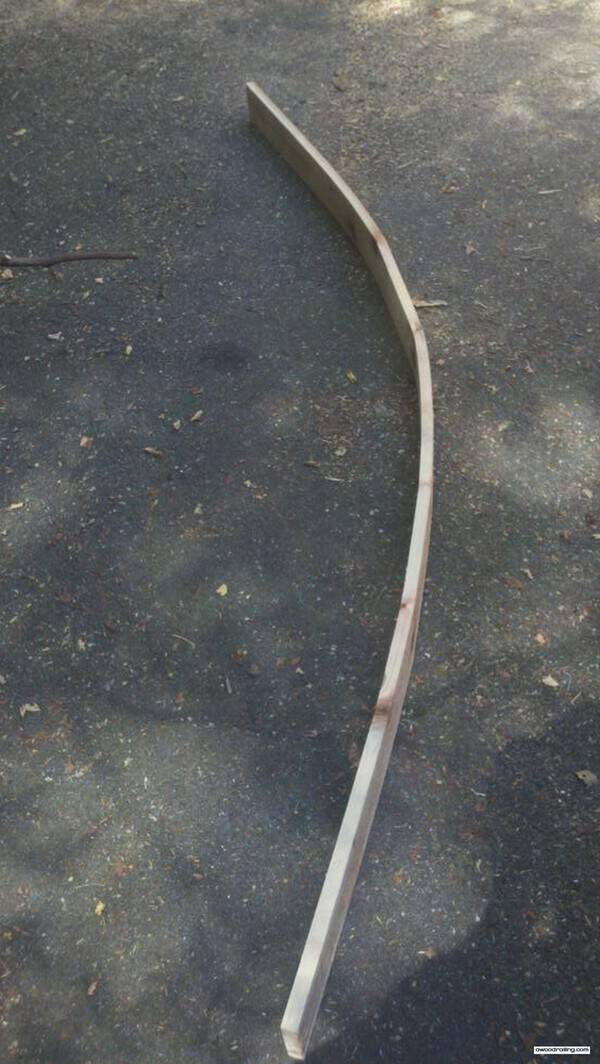
Curved Board for Railing System
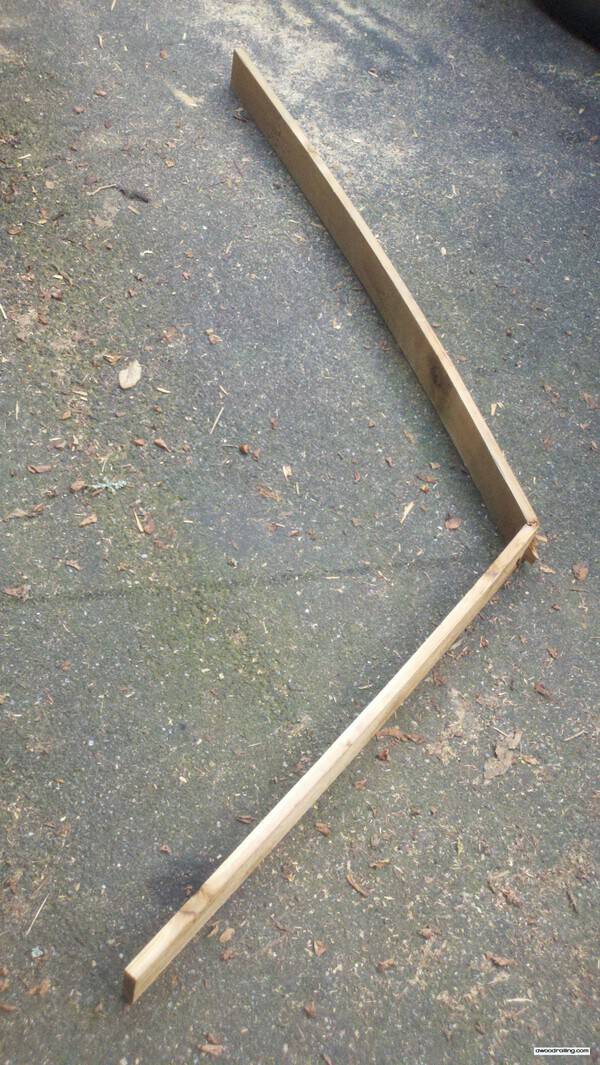
Broken Board from Bending
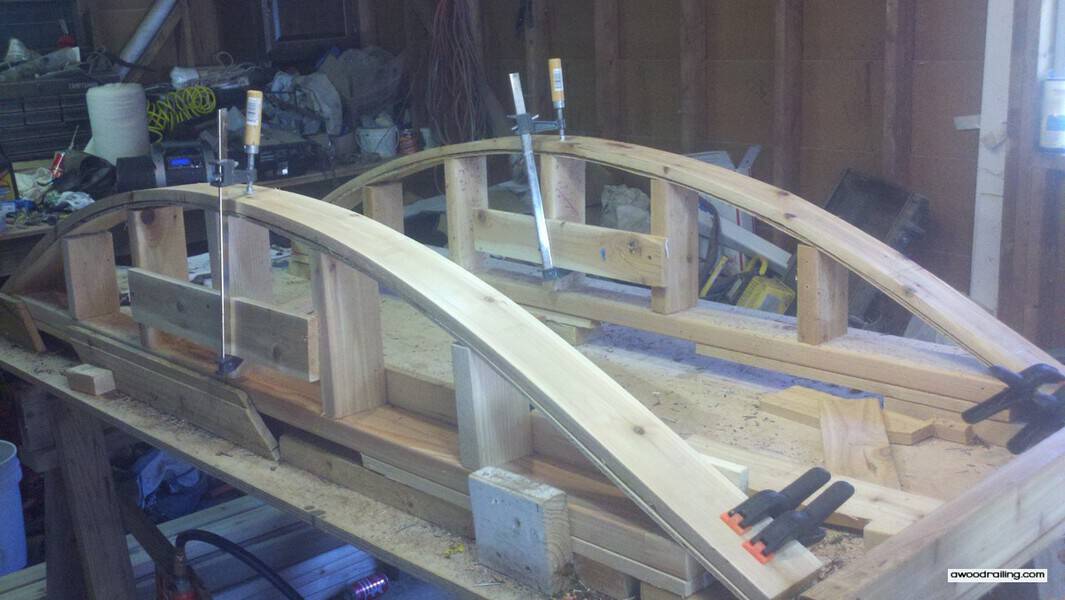
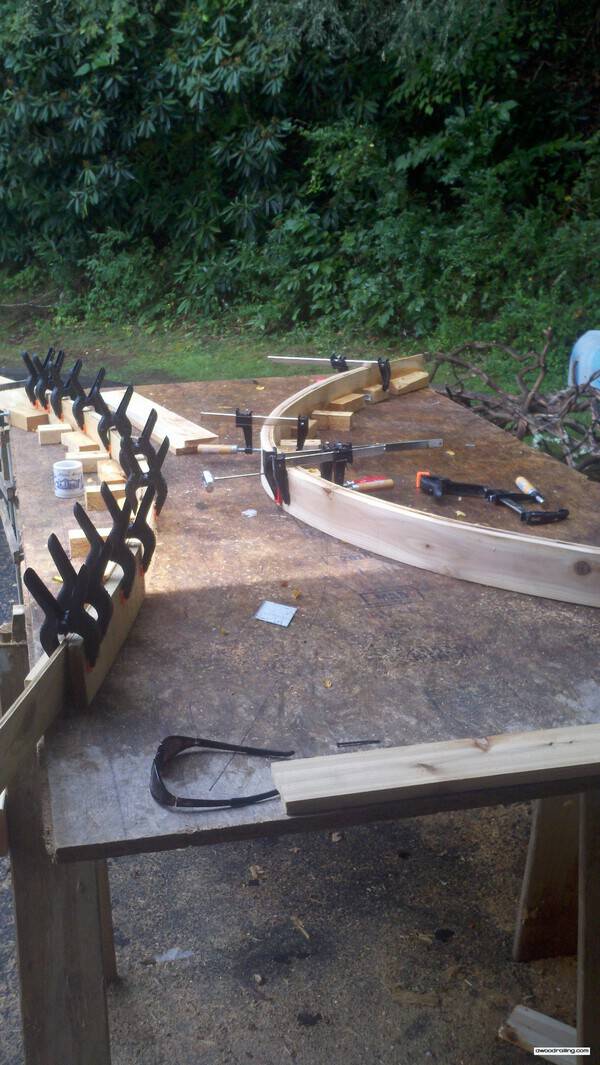
Curved Railing Construction Started
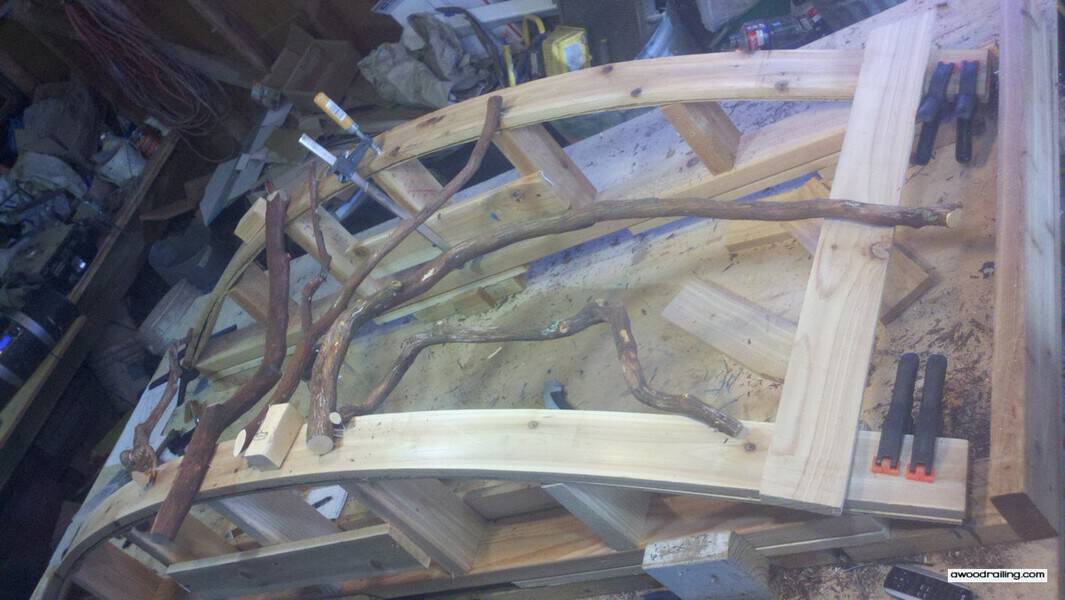
Curved Railing Construction Started
Lumber for Curved Railing System
